We are at IoT Solutions World Congress next week
IoT Solution World Congress 2016 starts next week, starting on Tuesday 25th of October until 27th of October. The night before, on Monday at 7pm, there’s also the awesome IoT Stars that thethings.iO is proudly sponsoring.
![]()
At thethings.iO we are very excited about participating at the 2nd edition of the IoT Solutions World Congress event at the Barcelona (Gran Via) expo. The industrial IoT is one of thethings.iO main markets and it’s a great opportunity to meet up companies and partners to exchange impressions of the market and show off our new developments to potential customers, resellers and partners.
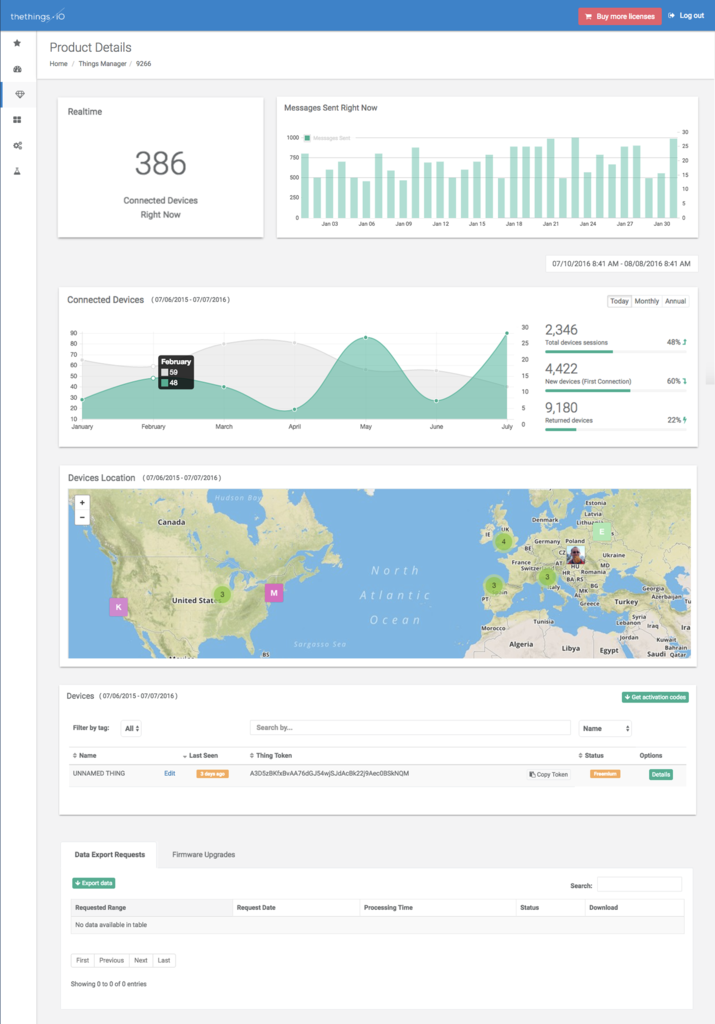
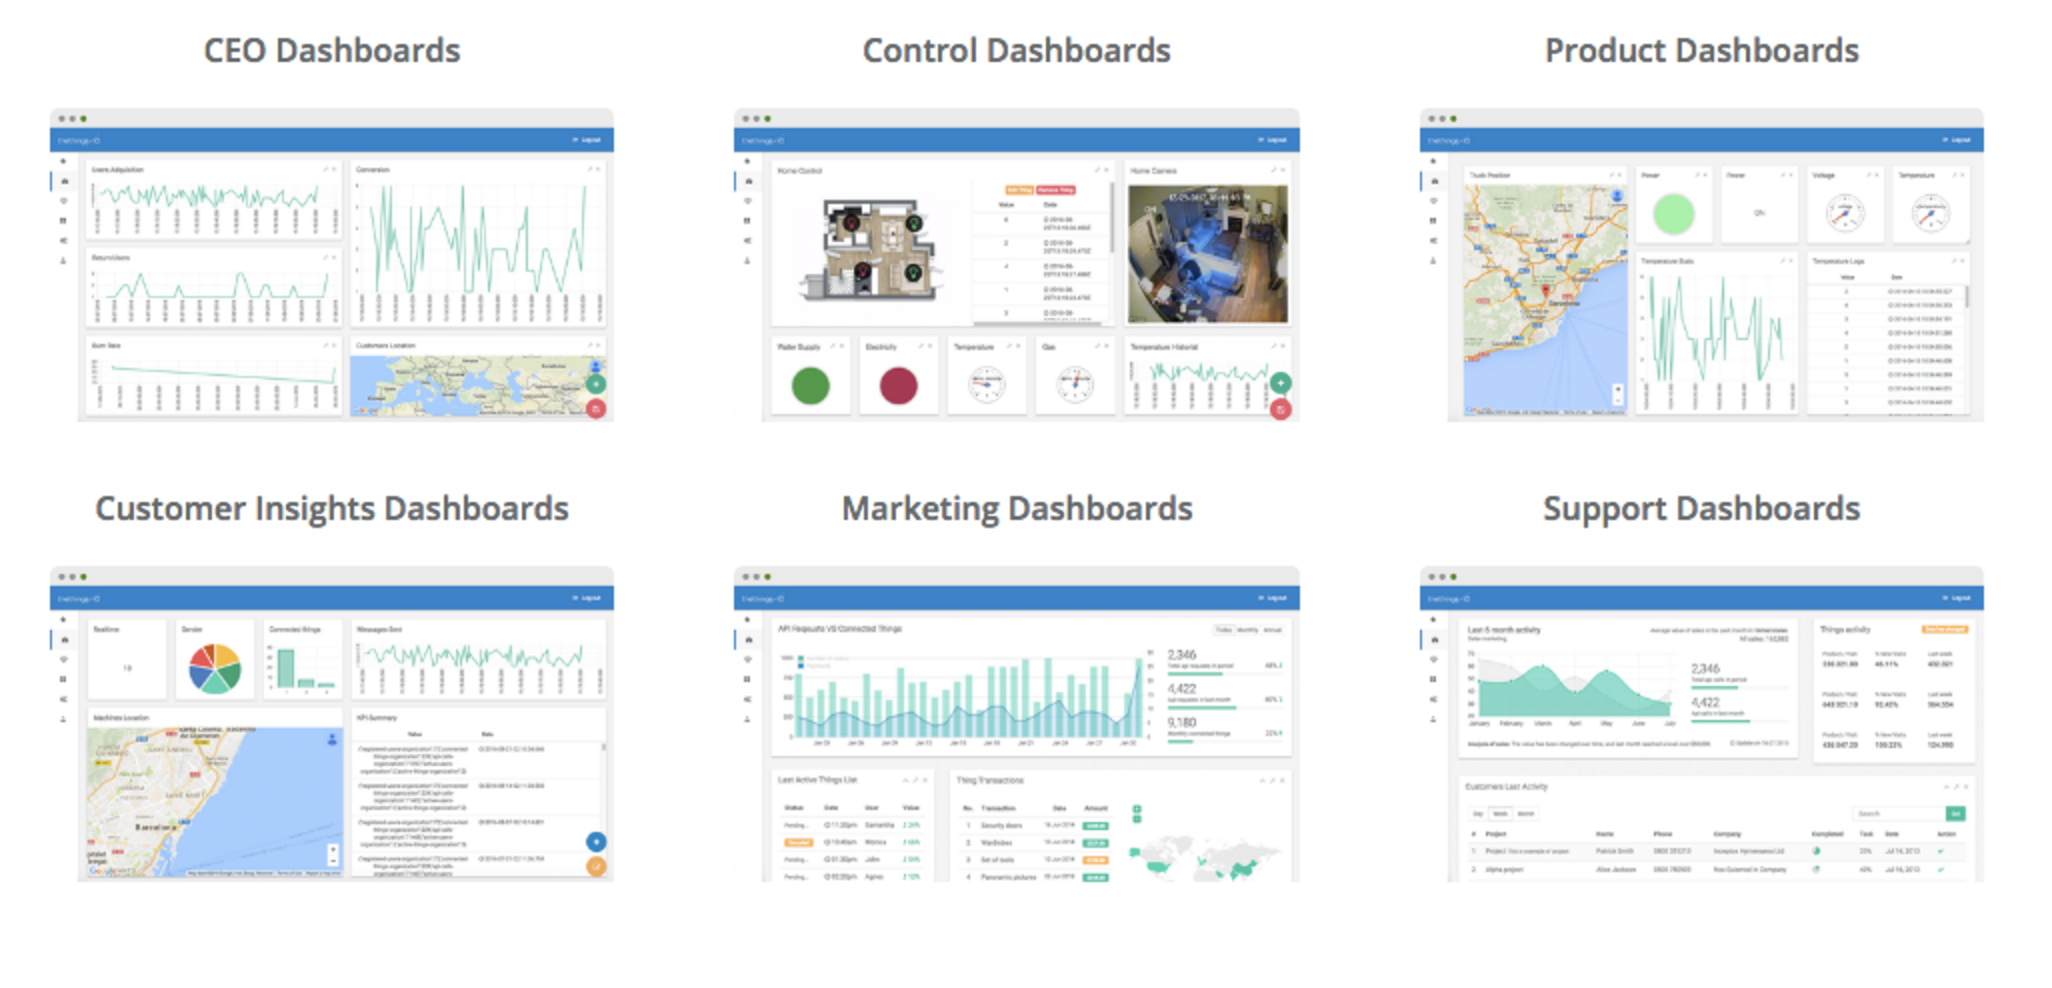
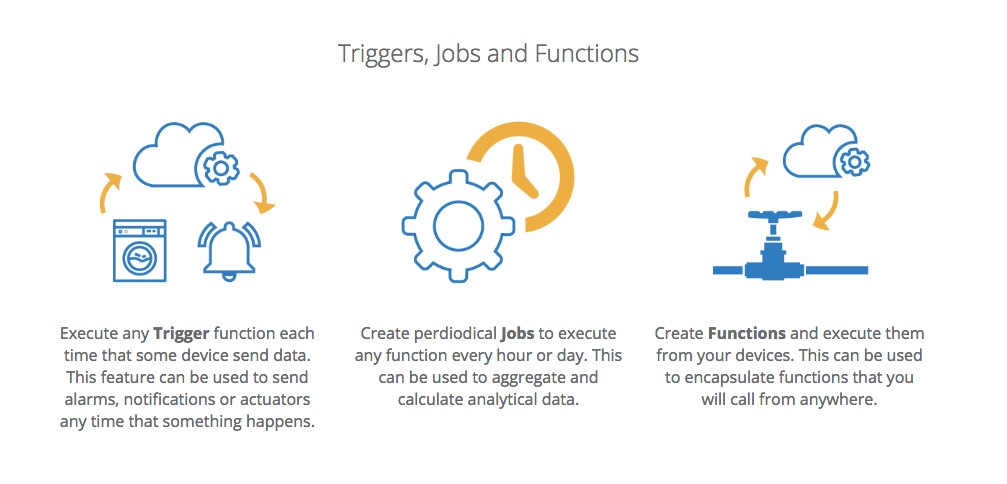
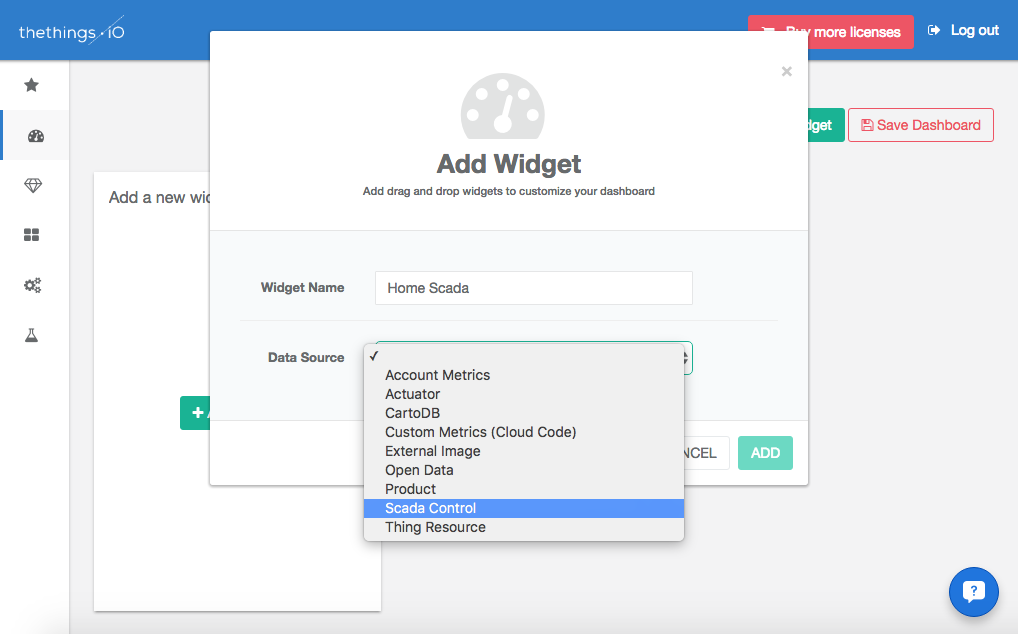
During the #IoTSWC16, we are going to introduce the last innovations at thethings.iO such as the product analytics, the node code and the marketplace. At thethings.iO we are pushing hard to become the most simple industrial IoT platform in the market.
As exhibitors, we will have a booth at the IoT Solutions World Congress. Looking forward have you visiting our booth at C371 (Barcelona Activa) and chat with us about your needs, experiences, projects and ideas with thethings.iO. Last year it was great, so we hope it will be at least the same!
Our CEO, Marc Pous, is going to give two talks during the IoT Solutions World Congress. The first one on Wednesday 26th of October at 10:00 AM inside the IoT Catalan Alliance, speaking about IoT and innovation. The second talk, it is as well on Wednesday at 3.30 PM at the ISACA Alliance and Marc will speak about industrial IoT and security.
IoT Stars
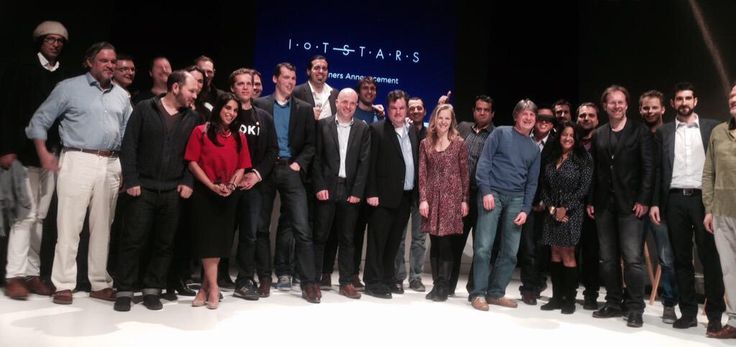
IoT Stars MWC 2015
thethings.iO is a proud sponsor of the IoT Stars. Our CEO, Marc Pous and Rudy de Waele are making a big party for IoT again, this time during the IoT Solutions World Congress. Join us to enjoy awesome speakers such as Rob Tiffany, Tom Raftery or Ignasi Vilajosana and fresh beers sponsored by Moritz. Can’t miss it!
Zolertia + thethings.iO Workshop
Finally we will be teaching a workshop with our friends from Zolertia at their event. Meet our team (Miquel and Carles) showing how to connect the Zolertia’s Remote to thethings.iO in just few clicks at this interesting (and free) workshop on Monday 24th.
Looking forward meeting you. If you can’t come to Barcelona this year, you can follow us on Twitter and the blog or just contact us by e-mail. Let’s stay connected!