6 steps to connect your first device to thethings.iO

Now it’s even easier to start with the Internet of Things with our platform, thethings.iO. In this post we are going to show you all the improvements we have made to make your first experience even better!
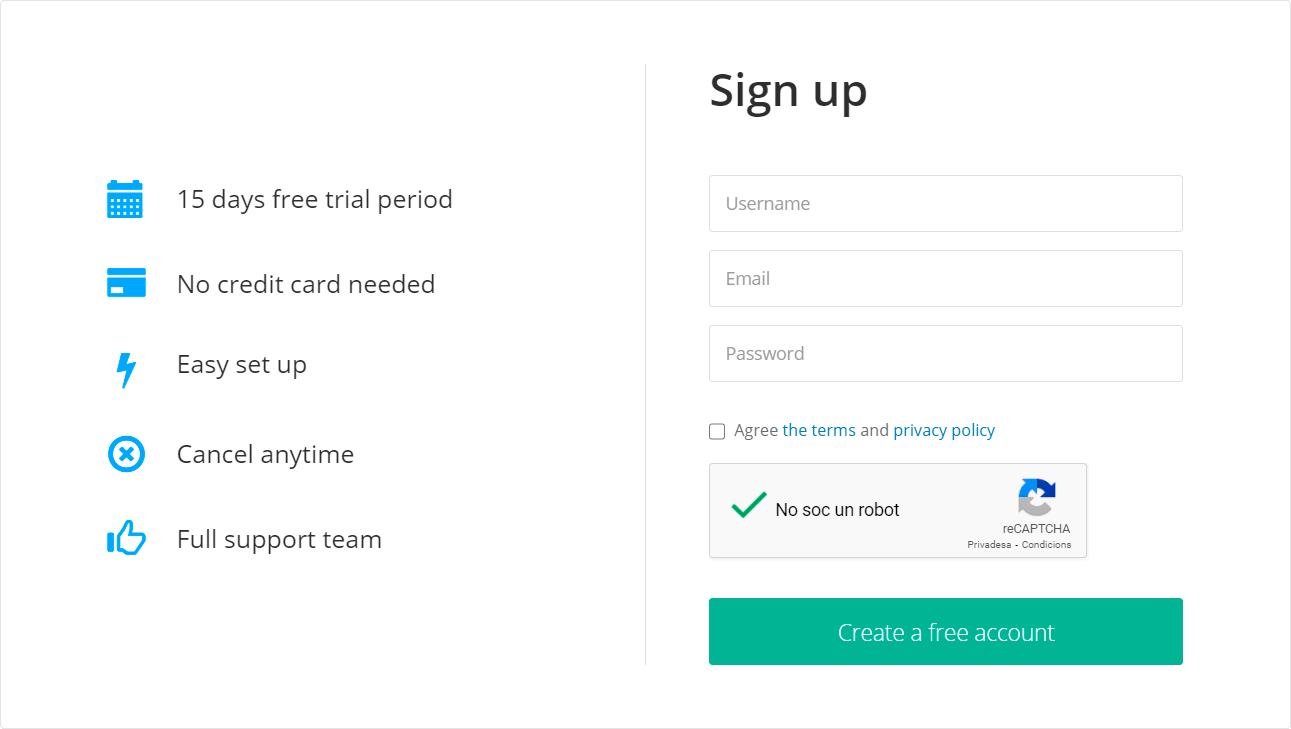
Step 0: Create an account
In case you have never signed up in thethings.iO you have to do it. You will see it is so easy and quick. If you have already an account, you just need to log in to the platform.
Step 1: What kind of experience are you waiting for?
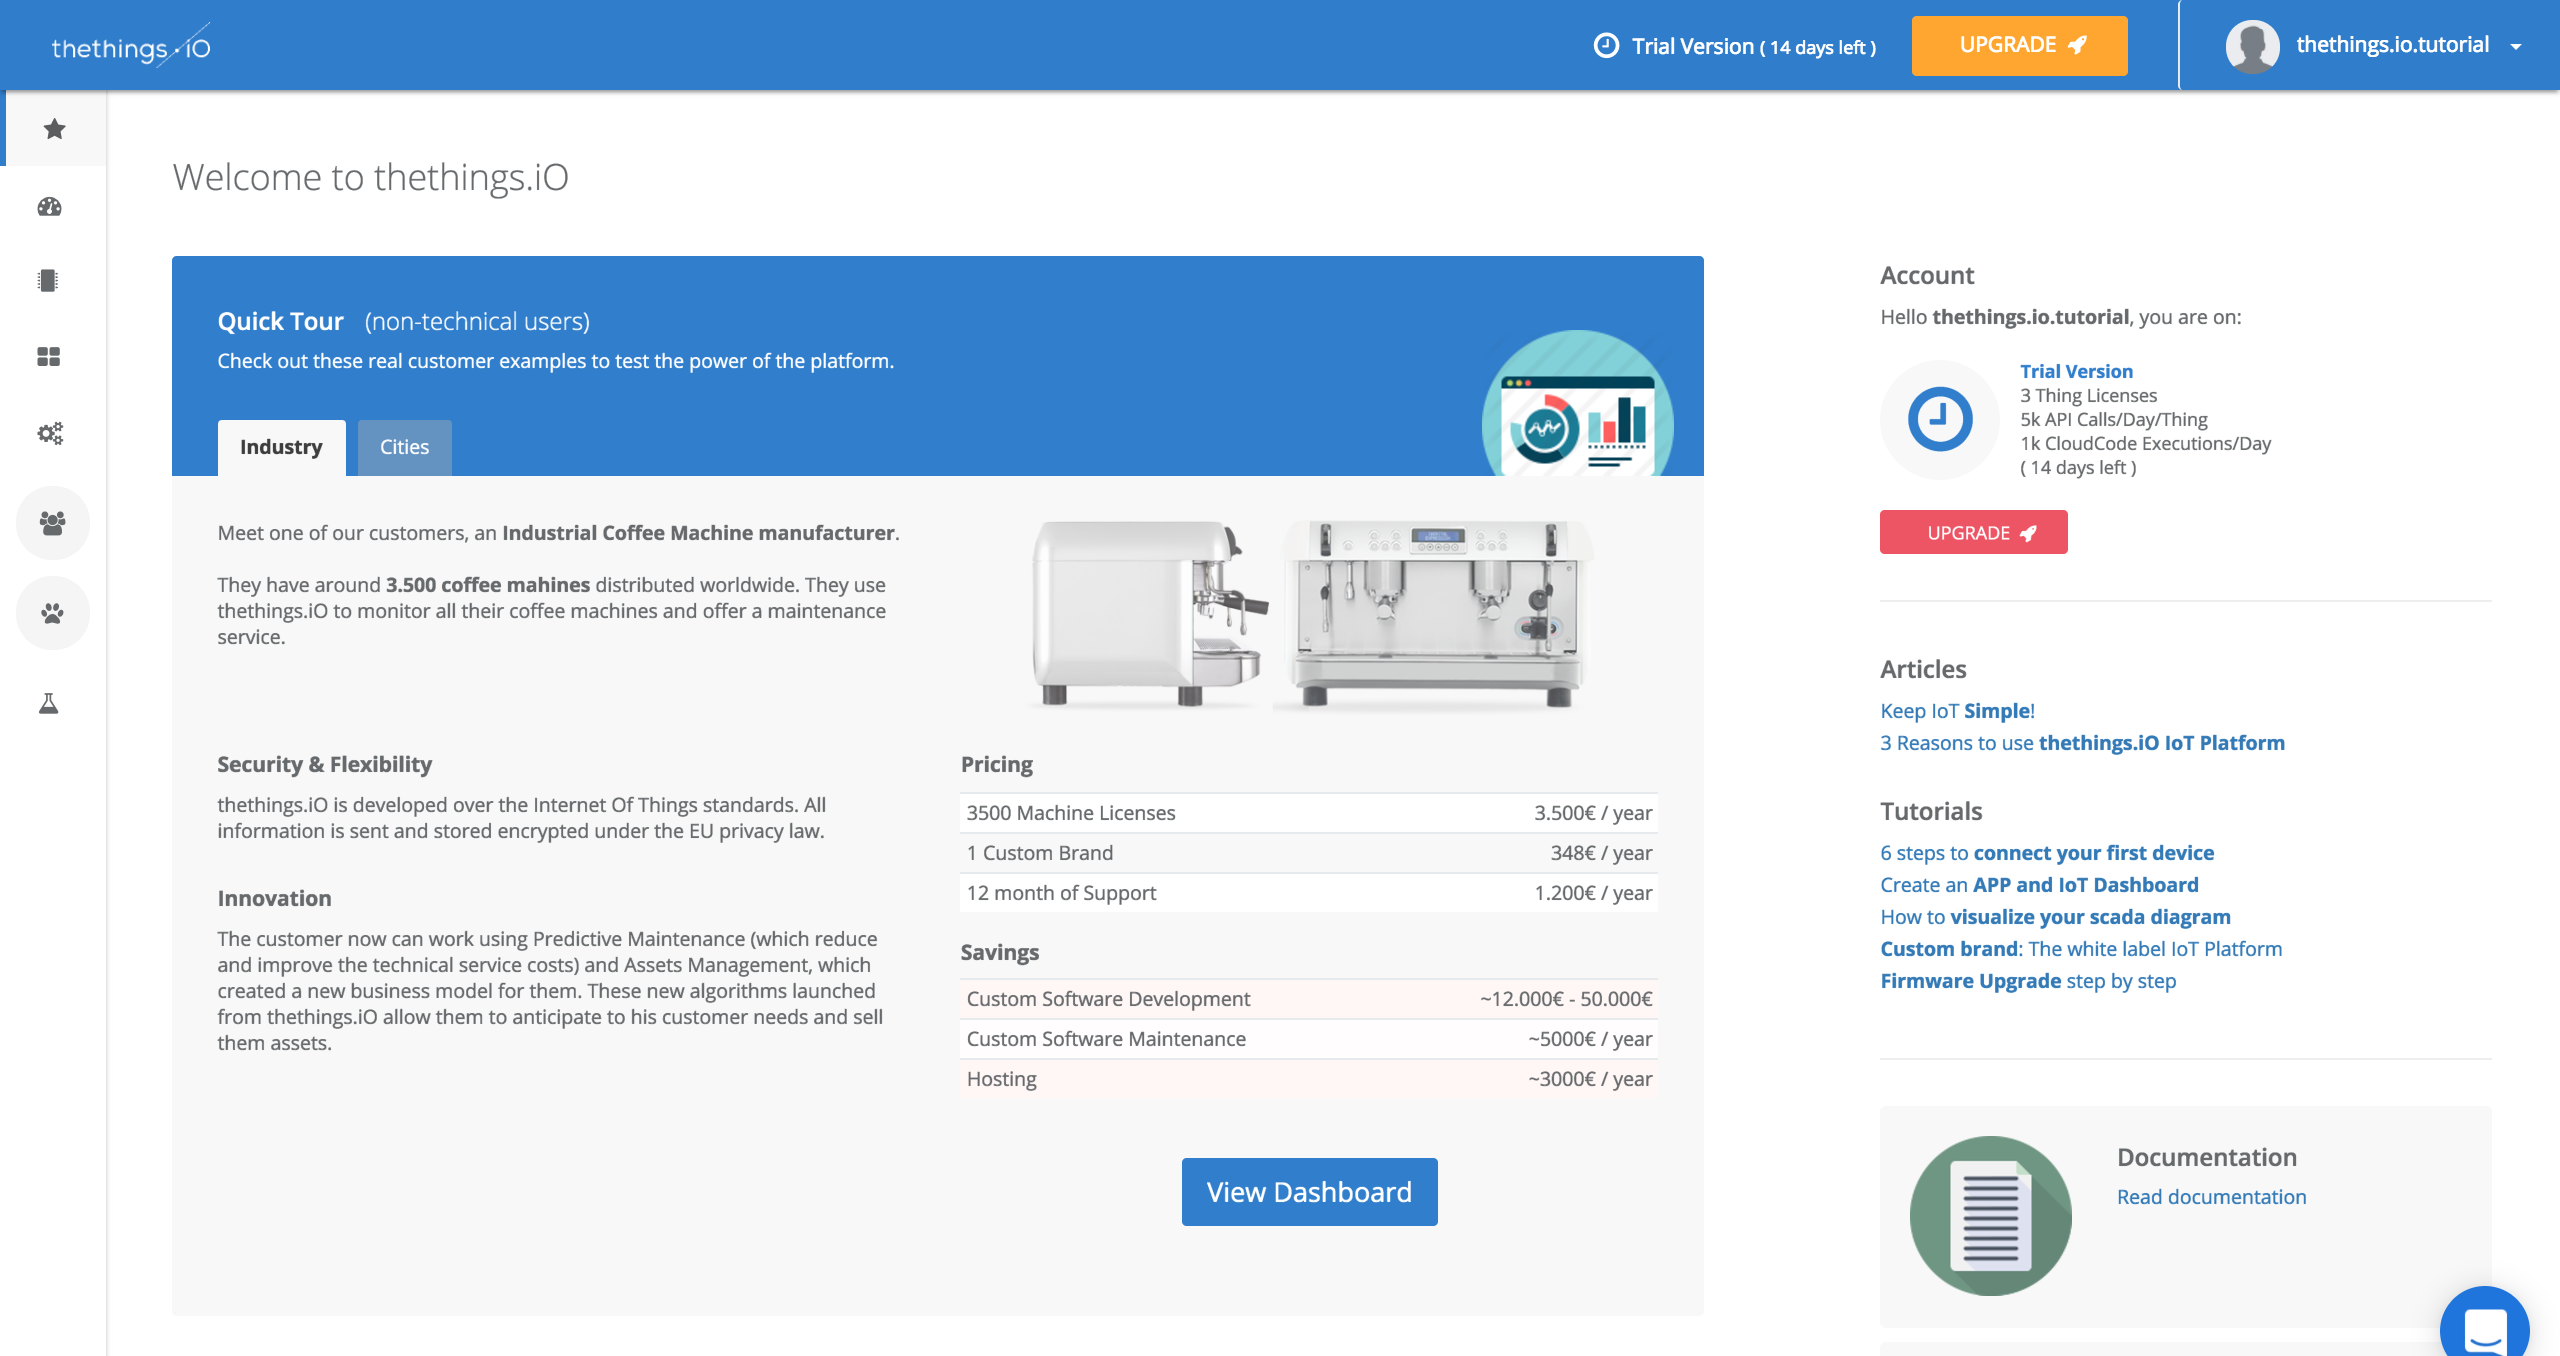
Once you have entered our platform for the first time, you will receive a welcoming message from our IoT expert.

After that, we want you to have the best experience using thethings.iO, so that’s why we ask you a few questions to understand a little bit more about your problem or what you are expecting to find here.

Step 2: Getting Started
This is a new step we are just introducing to make it easier to connect and activate your first thing with thethings.iO. For the non-technical users you are able to view a real customer’s dashboard to see what all the platform monitors.
And for the more technical users you are easily able to begin creating your product right away.

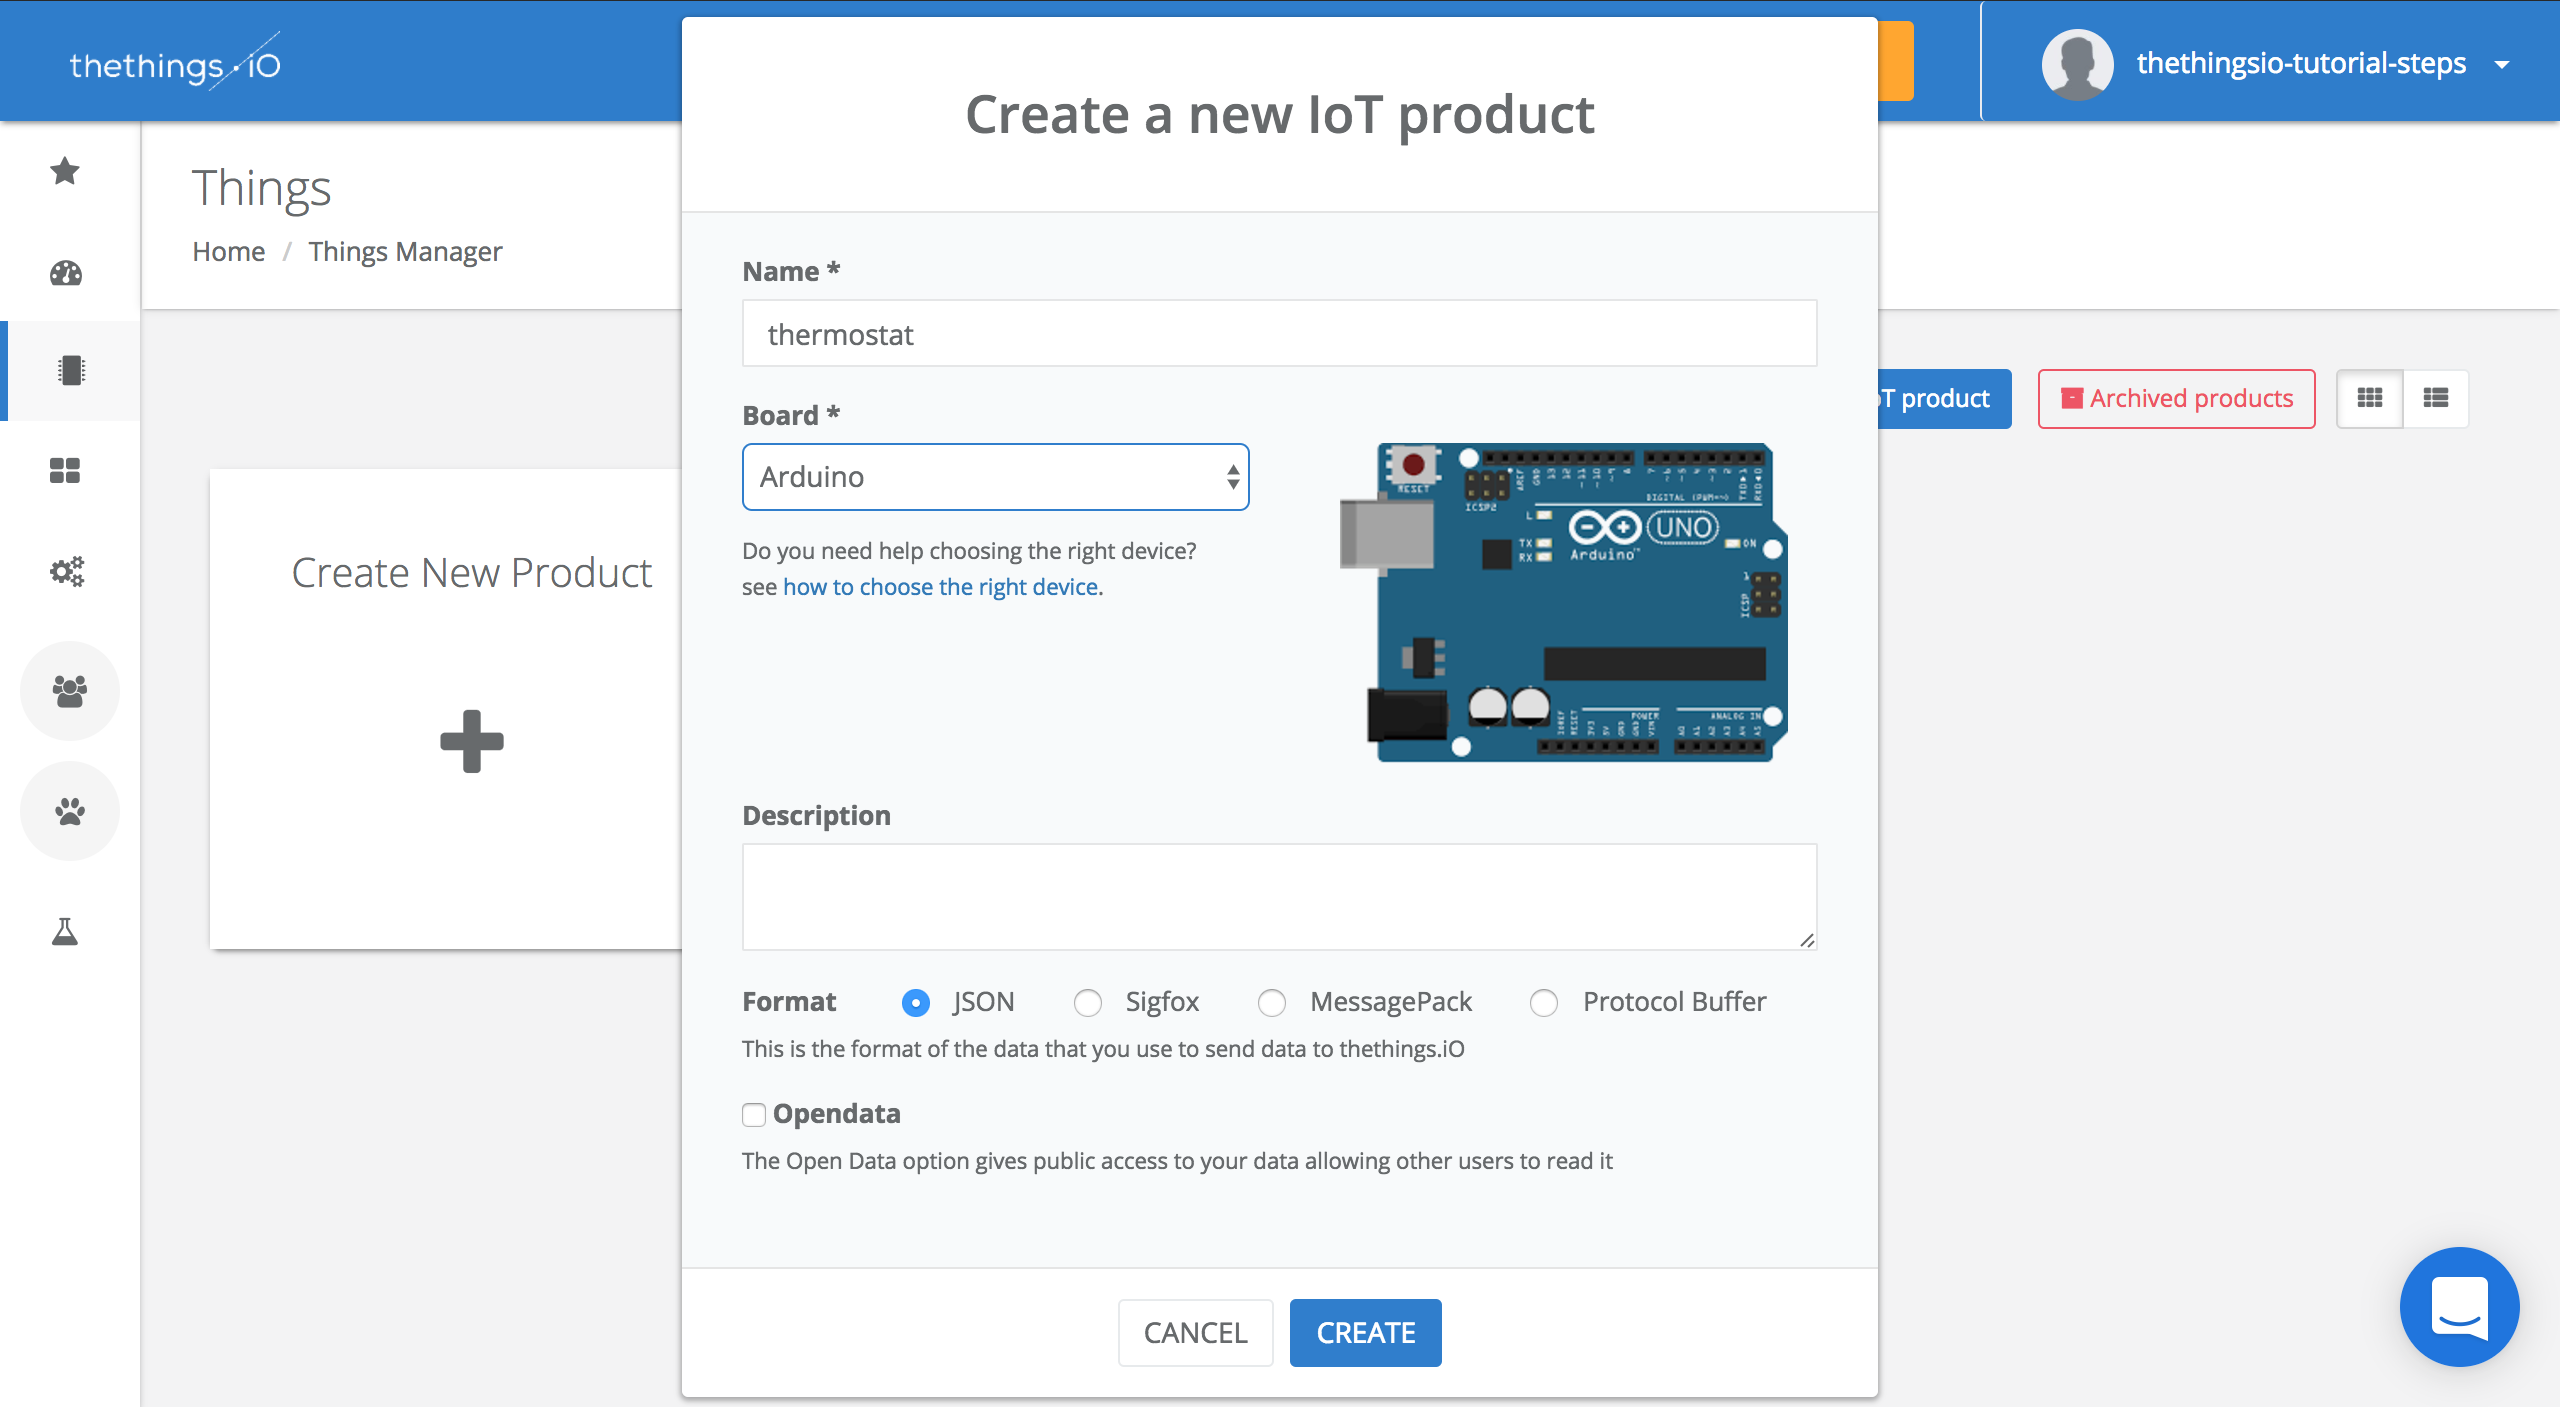
Step 3: Create a new IoT Product
In getting started, the first thing we help you do is to Create A New IoT Product.

In this field, you have to introduce which kind of product you want to connect and the hardware you are going to use to make it.

Once you have done all of this, you can accept and your product will automatically be created.
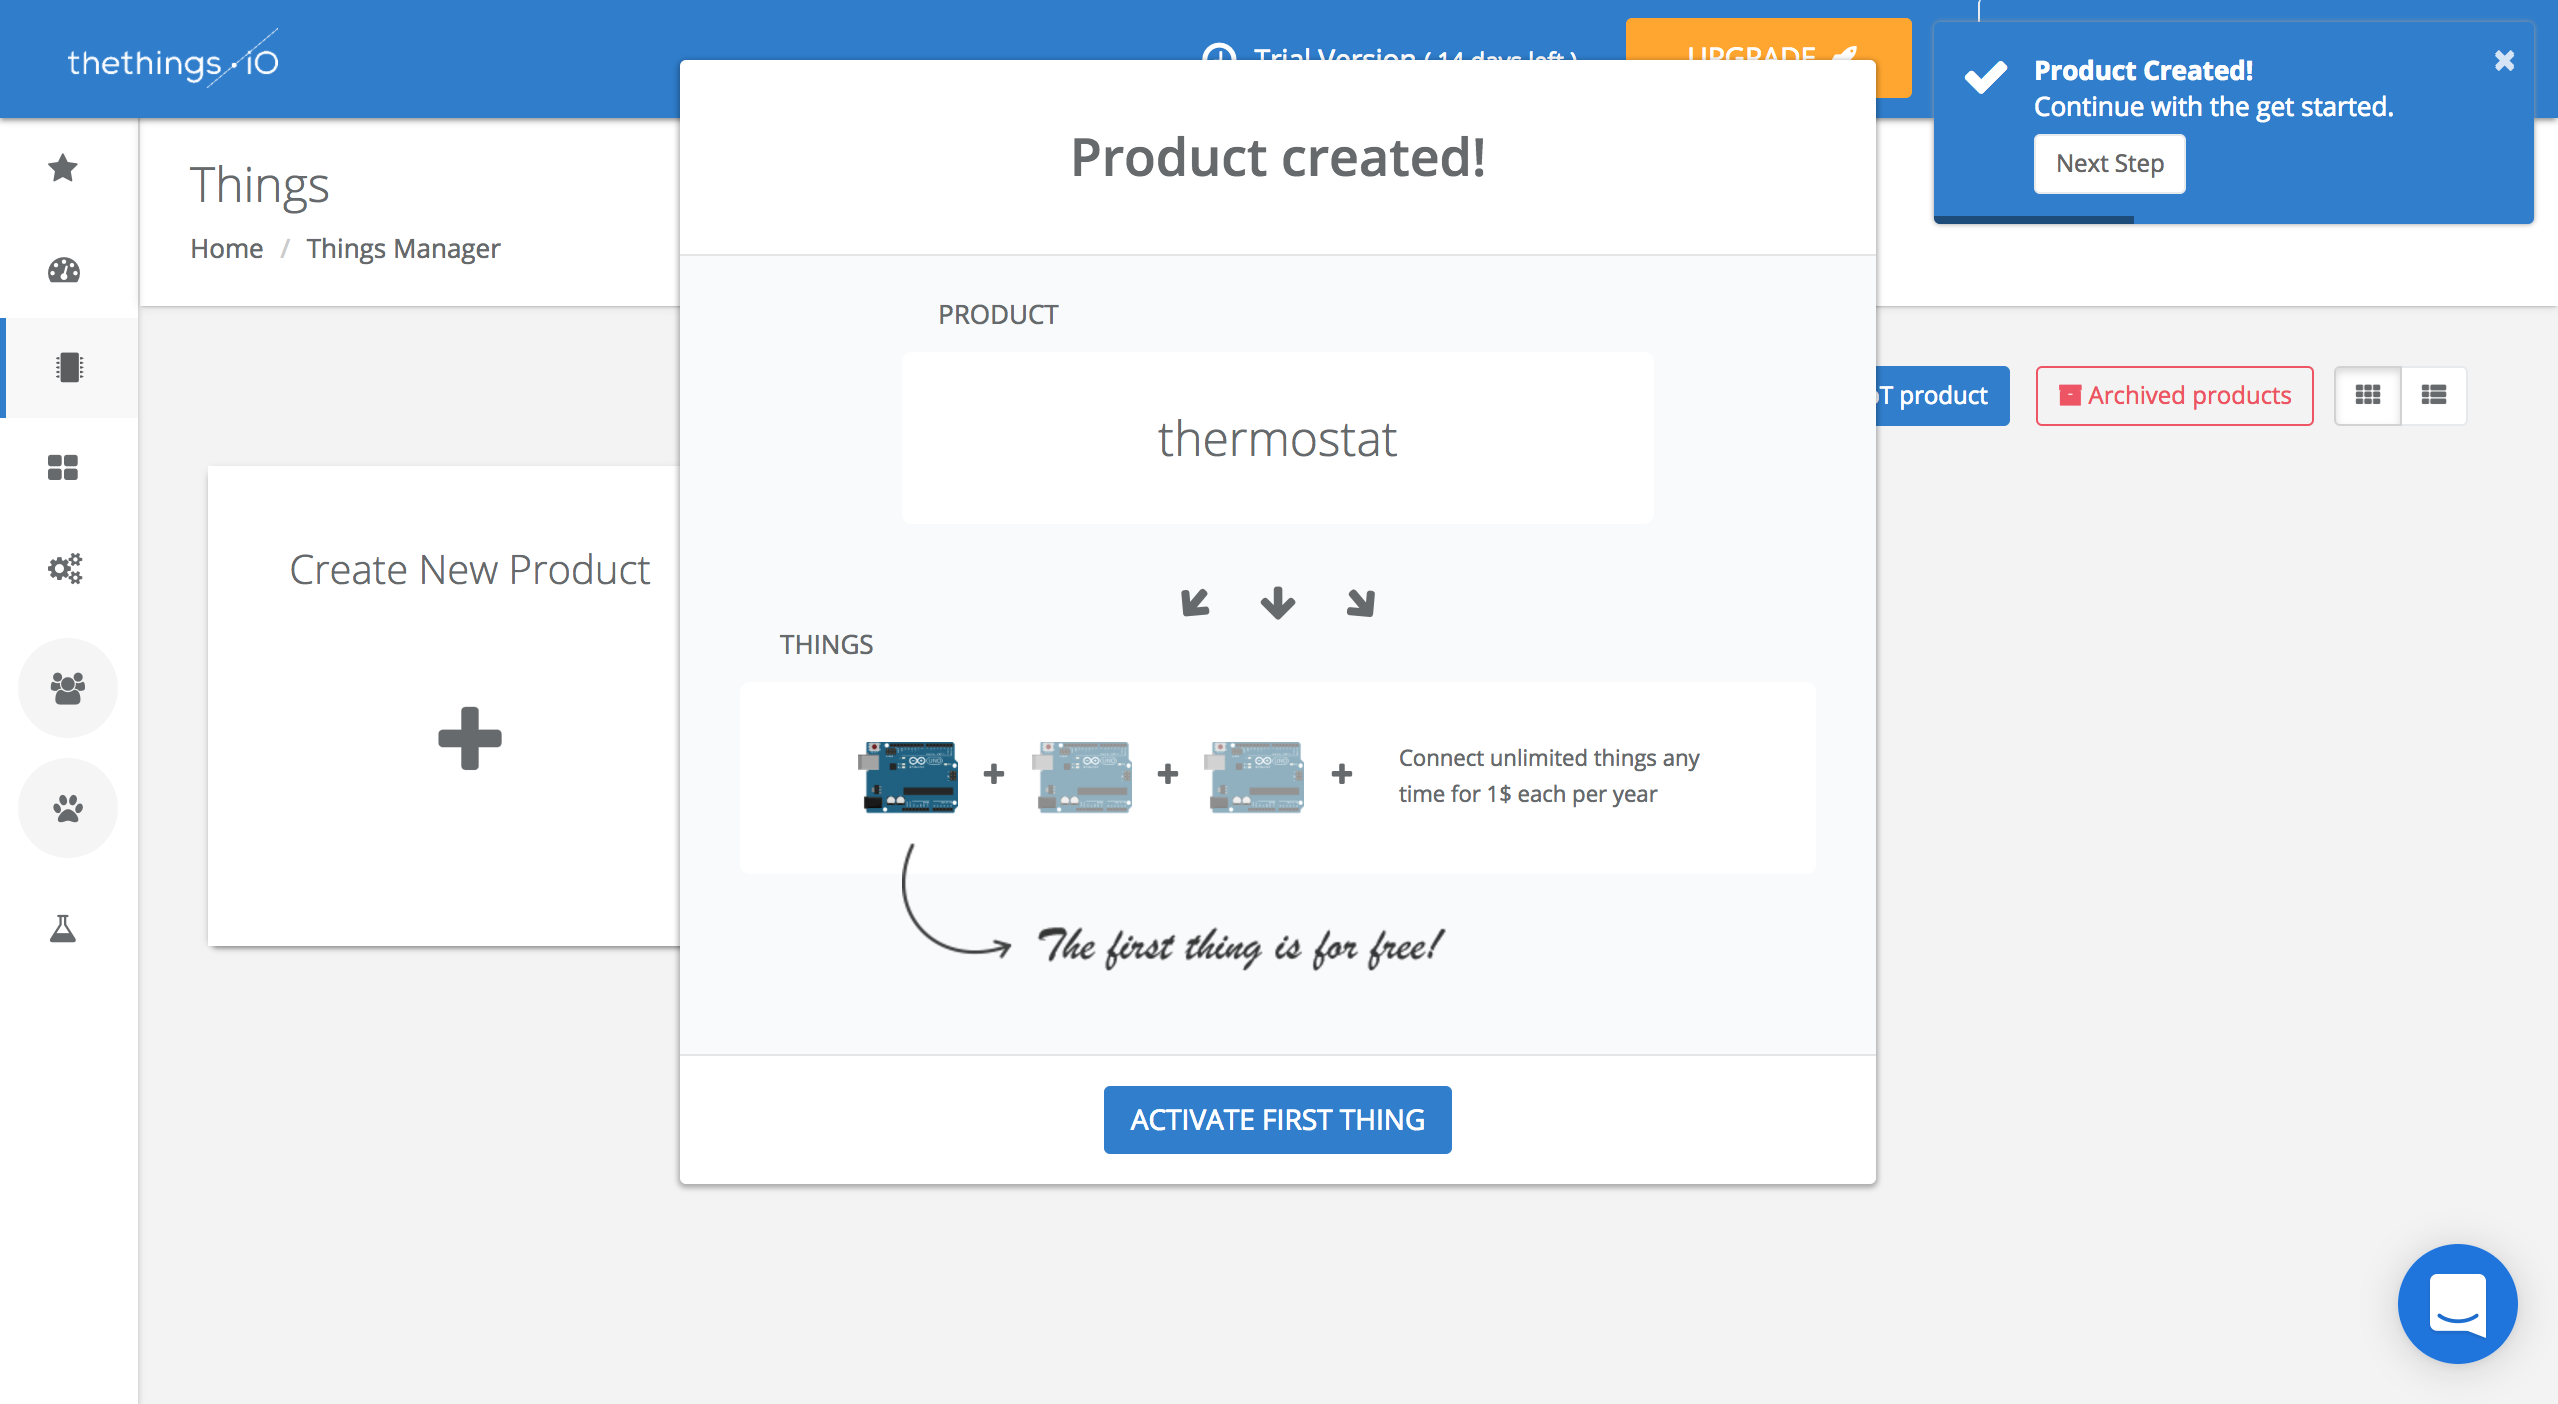
Step 4: Activate your first thing
As you will see, after creating your first product, a box asking you to activate your thing will appear in your window. You just have to click on the Activate First Thing button!
Step 5: Install thethings.iO in your device and send data
Right now you are in the middle of the whole process. Here we want to help you with some example code in order to facilitate the process to start sending us data. So at this point your screen will look like this:

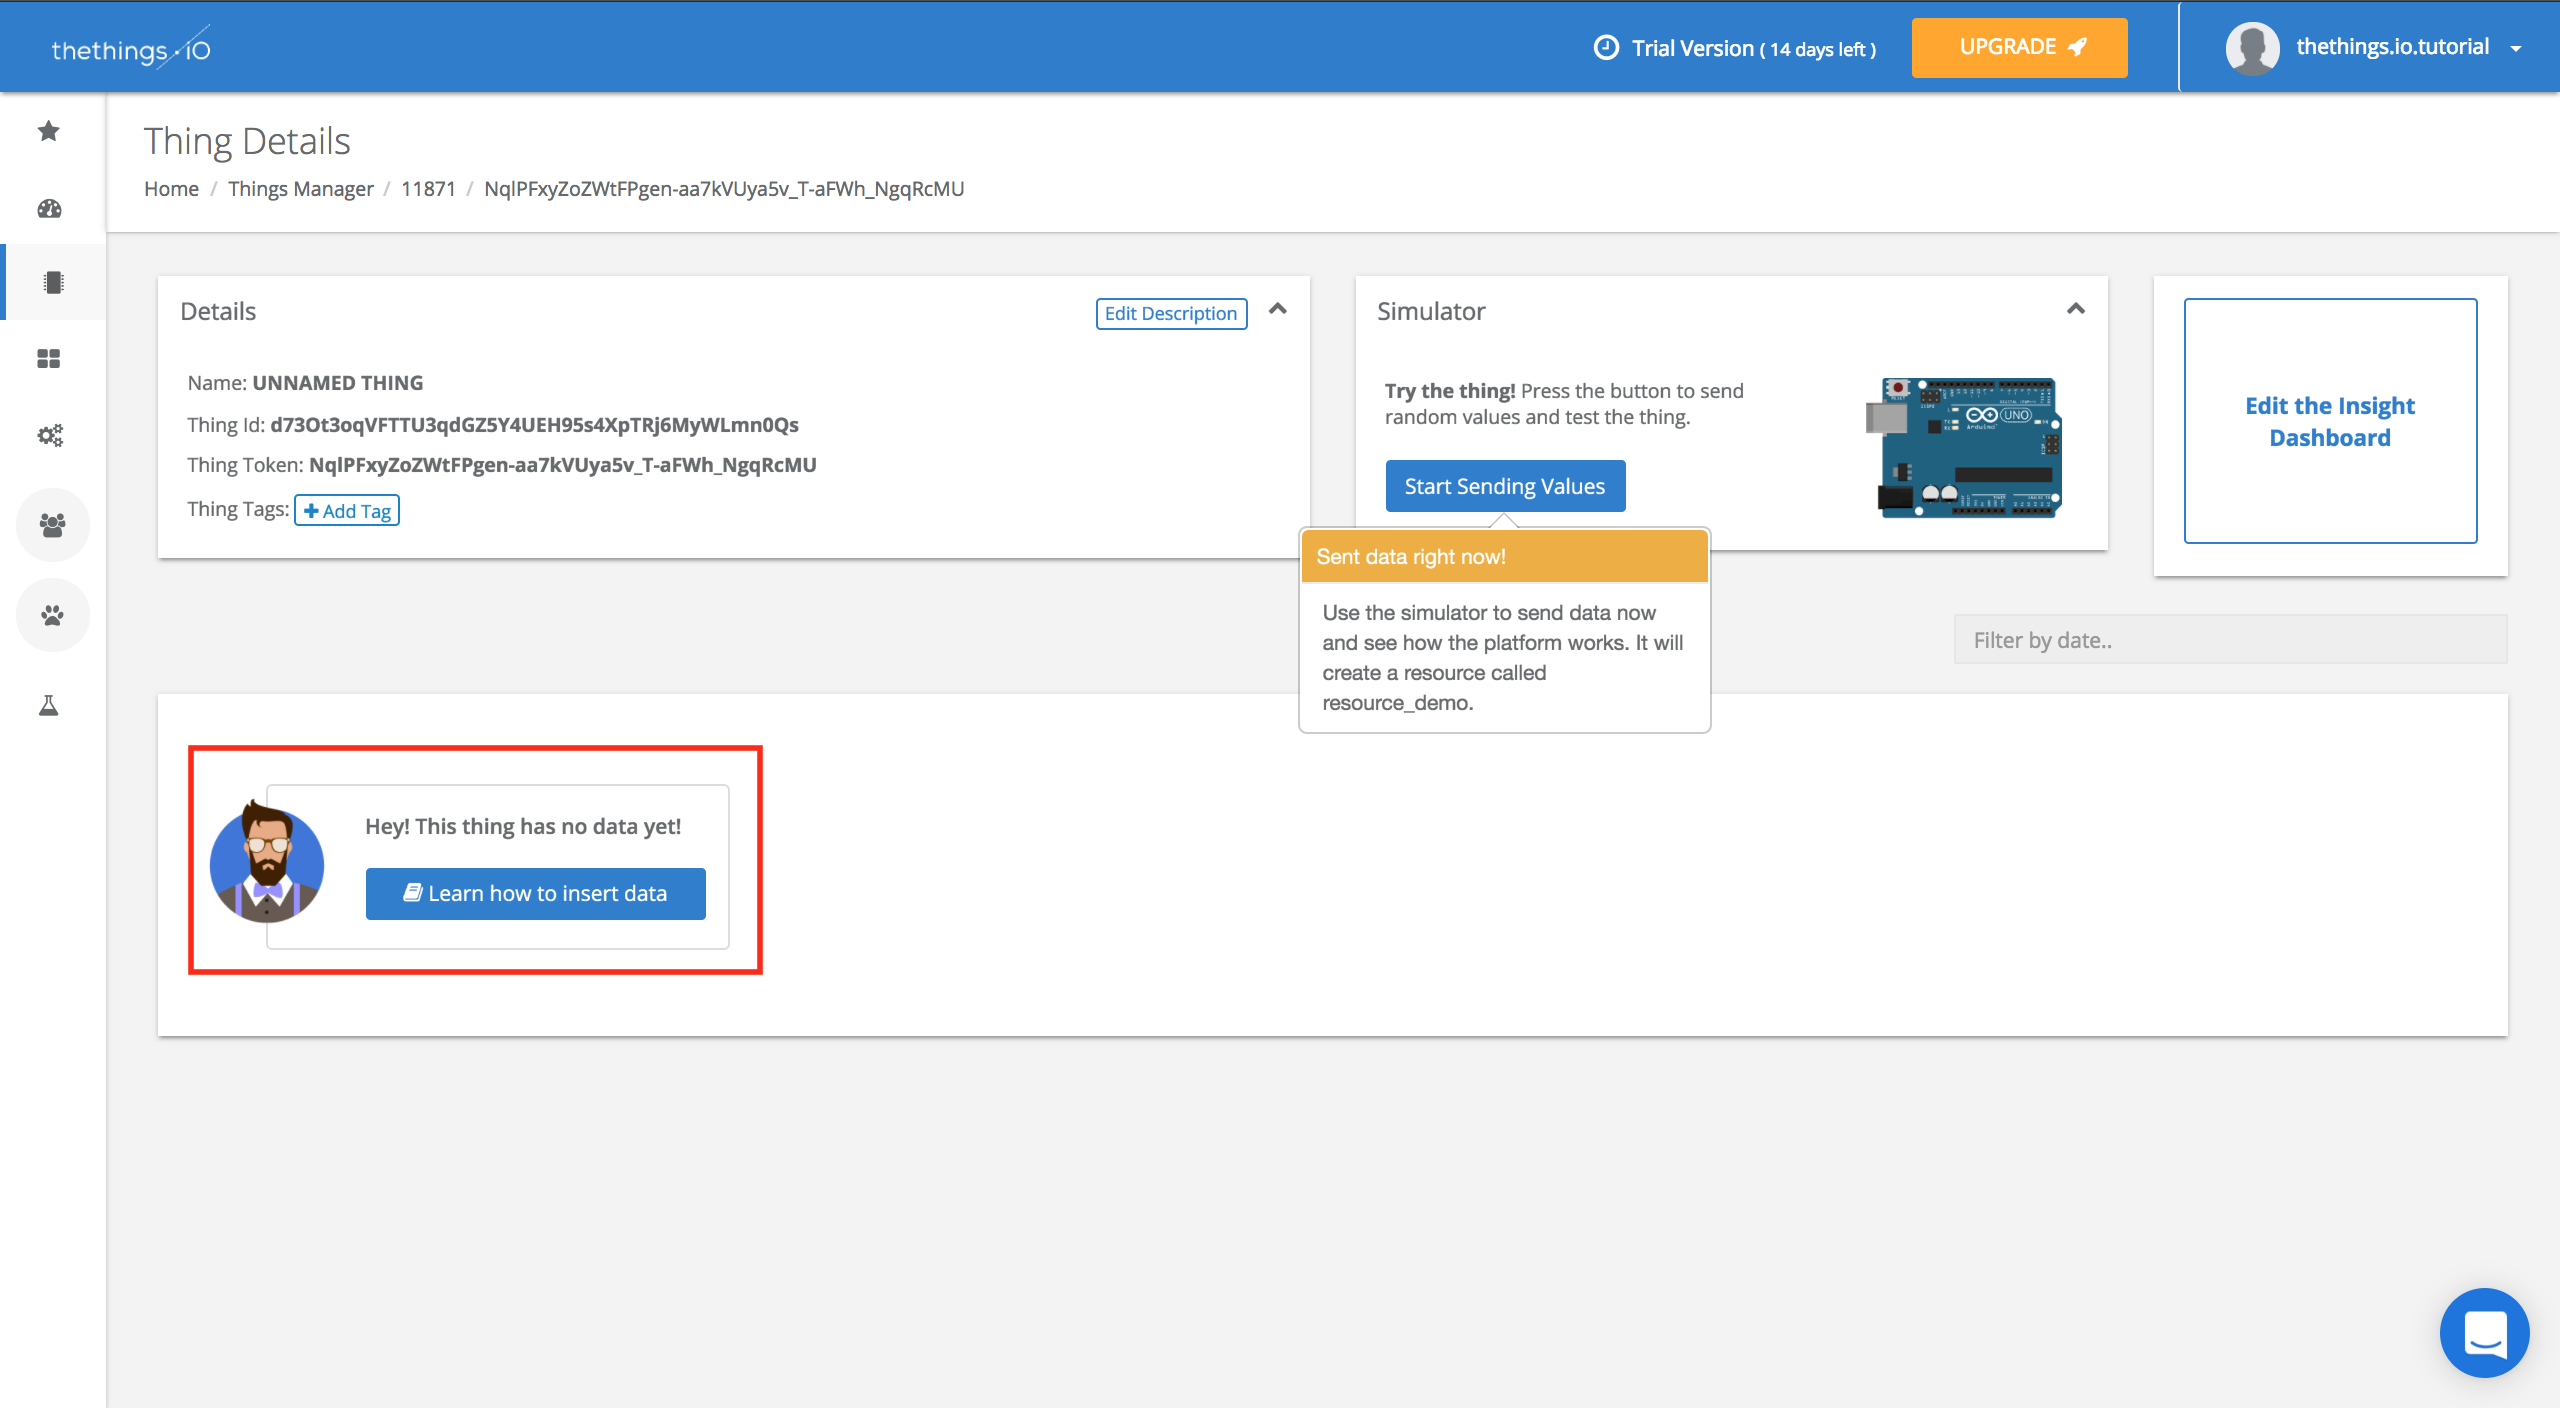
You will now click on your thing and your product details will show up. At this point you will want to Activate More Things.


The code you need to add to your thing will appear in the window, so the only thing you need to do is to copy and paste it (maybe re-code it a bit depending on your sensors, etc) in your thing’s code. In addition, if you cannot connect your device at that moment, you can also simulate and monitor it.

Step 6: Monitor your thing
If you go back to the Things Manager window you will be able to then access the Simulator which will send random values that will be useful to test your thing. You can do this by pressing details to whichever thing you are wanting to monitor.

Then you can Start Sending Values to get real time data. It will start automatically and stop when you press Stop Sending Values.


One of the latest things in the dashboard from now on is the capability to insert data. If you want to know how, you just have to click on the “Learn how to insert data” button that appears in the details window of a thing you have not yet sent values to.
You can also go to Developers > Libraries to find more libraries and examples about how to send data to thethings.iO.
And that’s it! You should have your thing connected, activated and sending data to your dashboard. Now you can customize your IoT dashboard to make it more personalized to you.
Step By Step Video Tutorial
You can also check out our video that will walk you through the 6 steps we just showed you to connect your first device to thethings.iO.
Do not forget to follow us on Twitter in order to keep you posted about the IoT World and the latest news of thethings.iO.