Connect industrial gateway Option CloudGate to thethings.iO
Some of our customers use industrial routers from 3rd party manufacturers for several reasons. Some of these reasons are important requirement because of the environment, certifications, connectivity or needs on the field. Industrial routers or gateways are getting important on use cases such as the industry. Option have created the CloudGate router which is a really interesting gateway to use if you need to have an IoT swiss army knife.

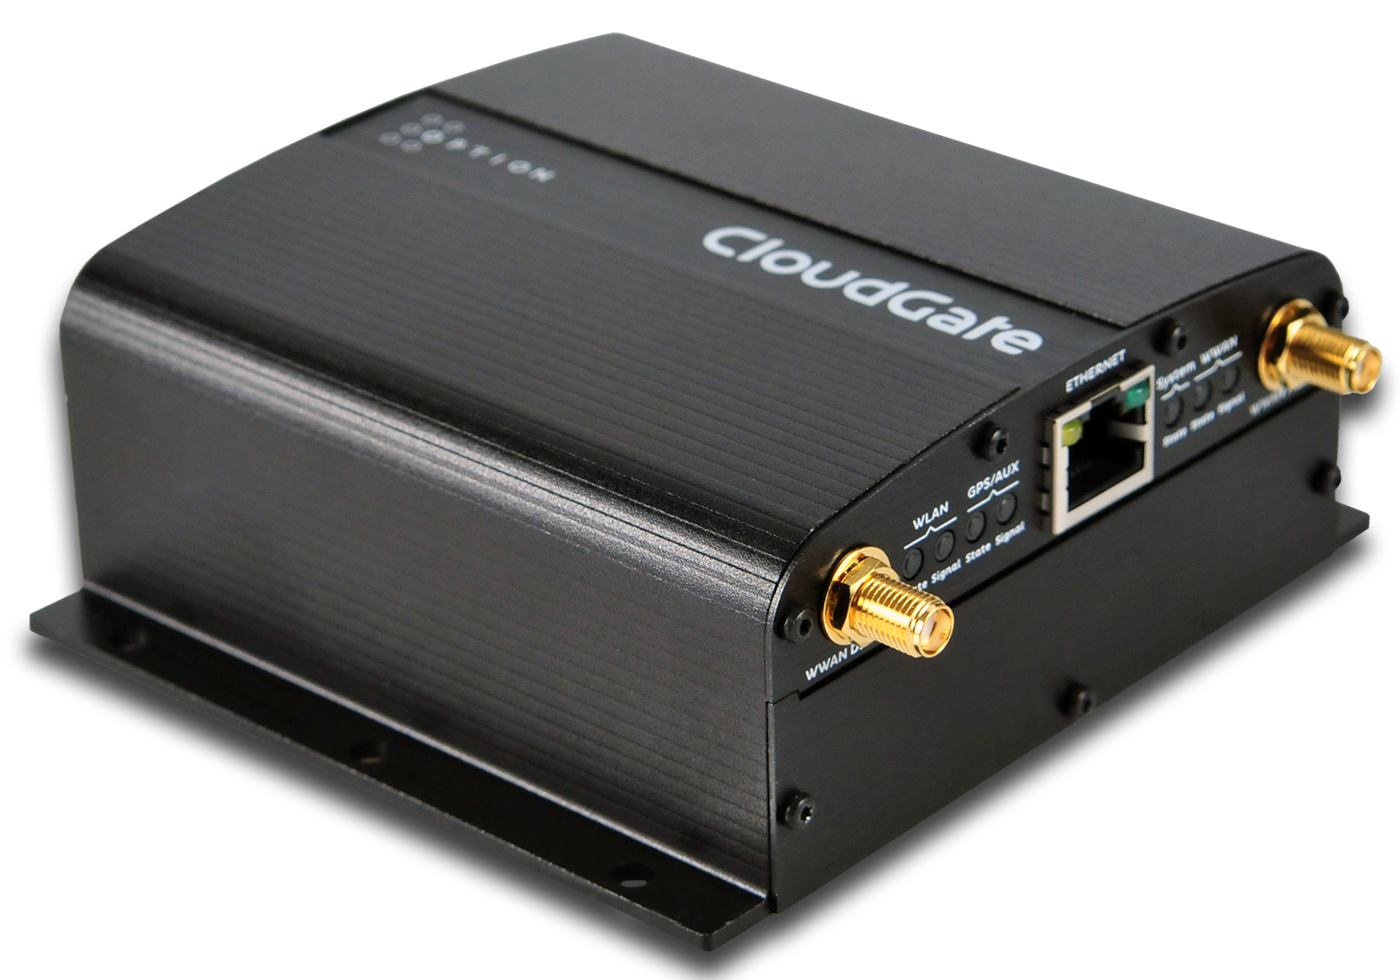
CloudGate & thethings.iO
Today we’re going toconnect the CloudGate router, from Option, to thethings.iO IoT platform in 3 simple steps. As an example we are going to connect the DL100-M485 temperature and humidity datalogger to a CloudGate that will send the data to thethings.iO. The DL100-M485 sensor uses the Modbus RTU protocol over the RS485 interface to transmit the temperature (both ºC and ºF) and the relative humidity (%).
The necessary components for this example are:
- A CloudGate
- Industrial serial expansion card (from Option)
- DL-100M485 sensor
- 12V DC power adapter (to provide power to the sensor)
- Cables (to connect the sensor to the CloudGate).
- A 120 Ohm resistor
- Internet through Ethernet port
Set up the CloudGate hardware for thethings.iO
Option CloudGate connected to thethings.iO
This is the step by step to connect the Option CloudGate to thethings.iO IoT platform:
- Install the industrial serial card on the CloudGate.
- Connect the green cable (D+) from the sensor to Tx+ pin on the industrial serial card.
- Connect the white cable (D-) from the sensor to Tx-pin on the industrial serial card.
- Connect the 120 Ohm resistor form D+ to D-.
- Connect the 12V+ with de red cable from the sensor.
- Connect the GND with the black cable from the sensor.
In order to connect the Option CloudGate to the IoT platform thethings.iO we will use Luvit-Red. Remember that the luvit-red package must be installed in our CloudGate. Luvit-red is available in the cloudgate universe. After registering and registering the Cloudgate, choose the latest Luvit-red version available to be installed on the CloudGate. Once the router restarts, the package will be installed. Luvit-Red is a visual tool to program workflows with the sensor data and other data from the CloudCode or from thethings.iO.
Set up a thethings.iO account and dashboard
If you still don’t have an account, please register at thethings.iO IoT platform.
In order to create a new thing:
- Enter to your account and click on Things.
- Press on Create new IoT product.
- Give a name and choose Other for the board.
- Finish the steps and remember the thing Token.
Program Luvit-red workflow to send data to thethings.iO
Luvit-red is a visual programming platform based on modules connections. In order to send the sensor values to thethings.iO, we are going to need the Modbus pull, Modbus extract, Function, JSON, and HTTP request modules.
- Modbus pull:
- Change the serial port to /dev/ttySP4 with 9800 and the parity of 8 bits and 1 stop bit.
- In this case we want to read 2 registers, located at the address 30001 and 30002. The operation Read Input Registers starts in the position 30001, so we only need to start at the same address (0 offset) and read 2 registers.

- Modbus extract:
- With this module we are going to format the values as 16 bit integers. We should read 2 values and divide them to 100 to have the exact value (with commas). The result will be an array of 2 elements called Industrial and addressable in the payload of the message.

- Function:
- Now we need to create the payload of the message: data and data1 will store the value of both humidity and temperature.

- JSON:
- This module will transform the previous message into a well-parsed JSON.
- HTTP request:
- All the messages will be sent using and HTTP POST. The URL should be https://api.thethings.io/v2/things/ followed by the thing token you created at thethings.iO

- Final connection:

- After connecting all the modules with its neighbours we should achieve the same flow as the next one:
Build thethings.iO Dashboard
Now it’s time to create a dashboard in your thethings.iO account to show all the values taken by the sensors. First we are going to create a Product table to show all the sensor values at the same time.
- Click on the Add Widget blue button.
- Give a name to the Widget.
- Select Product inside Data Source.
- Select the product you just created before.
- Select Table and check Realtime.
- Click on Costumize it and select the values you want to show (the name of the key in the function module).
- Accept and Save!
Now lets create some charts:
- Click on the Add Widget blue button.
- Give a name to the Widget.
- Select Thing Resource inside Data Source.
- Select thing you just created before.
- Select the name of the resource you want to display and the format (pie, chart, graph…).
- Click on Costumize it and select the number values you want to show.
- Accept and Save!
This is an approximate result of the dashboard that we have built in 2 minutes.

Create more widgets and make awesome Dashboards with thethings.iO and let us know why you use Option CloudGate with the IoT platform thethings.iO!
