How to connect Thingstream with thethings.iO
 In this tutorial, we will set up a Thingstream Button with thethings.iO IoT platform so that when we click the button, it’s GPS location will be sent to thethings.iO and can easily be seen on a map! This tutorial will walk you through setting up your button, creating a flow in Thingstream, sending data to thethings.iO, and then visualizing your data with your thethings.iO insight dashboard.
Find here the video tutorial or scroll down in order to read the step-by-step.
Let’s get started!
First steps
Go to Thingstream and activate your button. Make sure your button says active next to it.

If it doesn’t say “active”, you can follow the steps here in a video on activating your button.
Then, click on the button and look at the “IMSI” number and the “identity” number, these are what we will use in the future to send the button’s specific id with it to thethings.iO.
Creating a thing on thethings.iO IoT platform
First, we must create a “thing” so that we can have a way to listen to our button.
Go to “things” on the sidebar(1) and then click “Create new ioT product”(2). For this project, we will be using the JSON format.
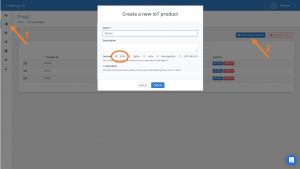 Once your thing is created, click details and let’s take note of some things. In the top left corner, we see “Product ID” and “Hash”.
These are what we will use in the http request to tell Thingstream to send the information to this “thing” on thethings.iO.
You can learn more about http/s and JSON here in a past blog post.
Creating a flow on Thingstream
For this project, it will be best to begin with a template so, within Thingstream’s site, click on flows > create flow > from flow library > Thingstream button > Email CSDK Tracker Lctn. This flow will give us a starting point. You can change the name if you want, and then click edit to personalizing it!
Make the flow look like the following by putting “http request” where “location mail” is and adding “msg.payload” to help you with troubleshooting later.

Understanding the flow
Now, let’s take a closer look at the flow. What kind of data the “GPS or GSM” node takes in, either GPS data or GSM cell data, will affect which path the flow takes. In each path, we are going to organize our data with a msg.payload that we can send with our http request to thethings.iO.
Organizing the data
Next, let’s change the “Prepare GPS…” node. We will add in “externalId”, “identity”, and “timePushed”. The first two will identify what button was pushed and the later will tell when it was pushed. You can also delete the addition of the url if you choose because thethings.iO will offer you with an even better, more functional map :).
Tip: If you are extra curious and want to see what values are available to you in “msg”, you can change your Id value(here “externalId”) to msg and see what it prints when it comes up in thethings.iO.
var gps = msg.payload['gps-location'];
var lon = gps.lon;
var lat = gps.lat;
var source = 'GPS';
msg.payload = {
 "externalId":msg.messageOrigin.externalId,
 "identity":msg.messageOrigin.entityId,
 "timePushed":msg.created,
 'long':lon,
 'lat':lat,
 'source':source
};
return msg;
We will make similar changes to the “prepare GSM…” node.
var lon = msg.payload.longitude;
var lat = msg.payload.latitude;
var source = 'GSM cell data';
msg.payload = {
 "externalId":msg.messageOrigin.externalId,
 "identity":msg.messageOrigin.entityId,
 "timePushed":msg.created,
 'long':lon,
 'lat':lat,
 'source':source
};
return msg;
Making the http request
Finally, that leaves the “http request” node. For this one, make sure the method is set to POST and the return is “a parsed JSON object”. For the url, we will follow this pattern:
https://subscription.thethings.io/http/{productId}/{hash}?idname={idname}&fname={fname}Remember your productId and hash will come from your thing on thethings.iO site. The “idname” we will set to “externalId” and the fname will be the name of our function (which we will write next); let’s call it “thingstream-parser”. Thus, your url should look something like this:
https://subscription.thethings.io/http/123456/hashhash?idname=externalId&fname=thingstream-parserYou can learn more about http/s and JSON here in a past blog post.
Creating a function for your “thing”
To create a function, go to thethings.iO site, and click “cloud code” in the sidebar. Then click “Add Function”.
Once here, give the function a name. It must be the same one as you used in your http request so in our case, that’s “thingstream-parser”. Then, assign your function to a “thing”, this should be whatever “thing” you have been using to represent your button on thethings.iO site.
Now, change the code to look like this:
function main(params, callback){

var result = [
 {
 "key": "geolocation",
 "value": params.payload.source,
 "geo":{
 "lat": params.payload.lat,
 "long": params.payload.long
 }
 },
 {
 "key": "$geo",
 "value" : {
 "type": "Point",
 "coordinates": [params.payload.long, params.payload.lat]
 }
 }
];
callback(null, result);

}
More on the $geo and geo keys can be found here in one of our previous blog posts about how to geolocalize things on a map.
You can also include a console.log of the payload which you will be able to see in the “developer’s console” (“developers” in thethings.iO sidebar > “developer’s console”) every time you click your button.
Testing your button
Deploying the flow for your button
We’re almost ready to click the button! Let’s deploy our flow. Make sure you are looking at your flow on the Thingstream site, then in the upper right corner find and click Deploy > Deploy Test > A Thing > then your button > Deploy.
Click the button!
We’re now ready to click the button! It may take some time for the button to send the http request after being clicked so be patient and let it do it’s thing :). Usually you will see the color green when it is first clicked, then yellow when it is trying to make a connecting, blue when it has made then connection and finally pink when it is talking to the server. If all goes well it will let out a cheerful “beep!” and flash green to tell you that it’s done. At this point, you should see the message
"{"status":"success"}"in the debug window of your flow.
Reading your data on the thethings.iO site
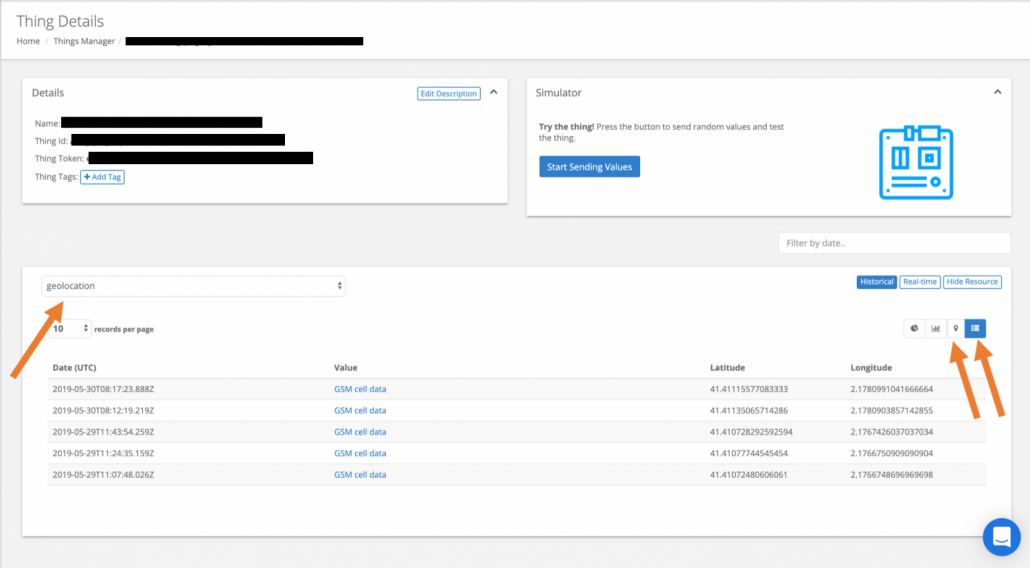
To get to your data, click on “things” in the sidebar, find your “thing” and then click “details”. Towards the bottom of the page, you should see your IMSI number from the button there under “Names”. Click “details”. Now you should see a screen like this.
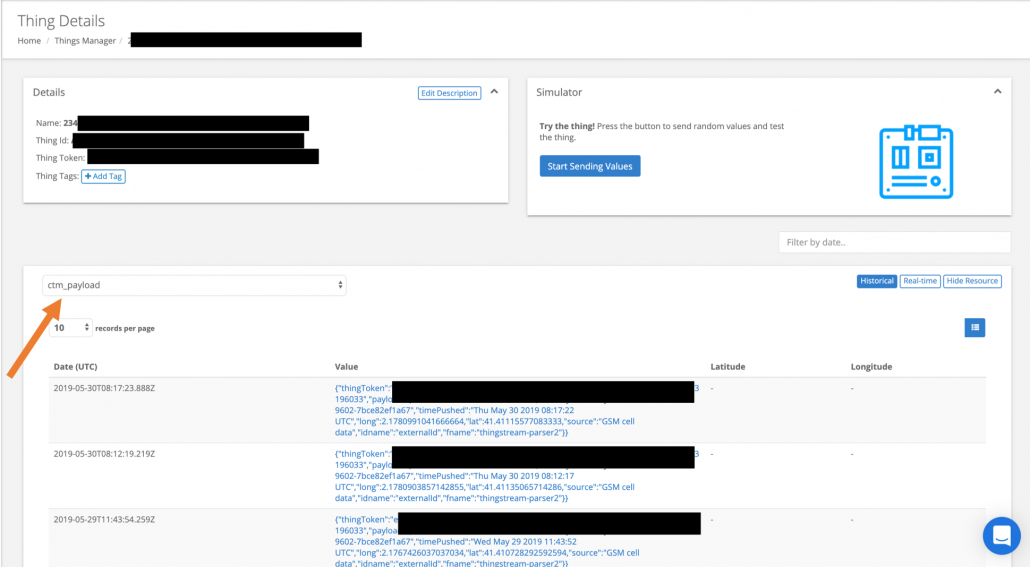 Under “ctm_payload”, you can see all the payload messages you sent with your button.
Under “geolocation”, you can view the map, or view the list view.
Personalizing your button data with thethings.iO dashboard
First, let’s create a map of all of our buttons under our Button “thing”.
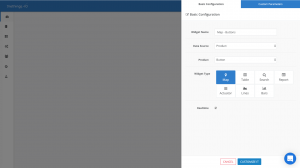 On “Customize It”, you may want to change map-type and enable polygons(this will make the map have arrows that show you in what direction the button has traveled).
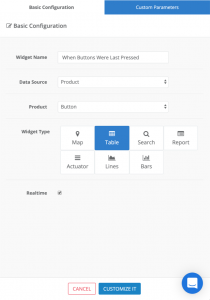
Now, let’s create a table that shows when each button was last pressed.
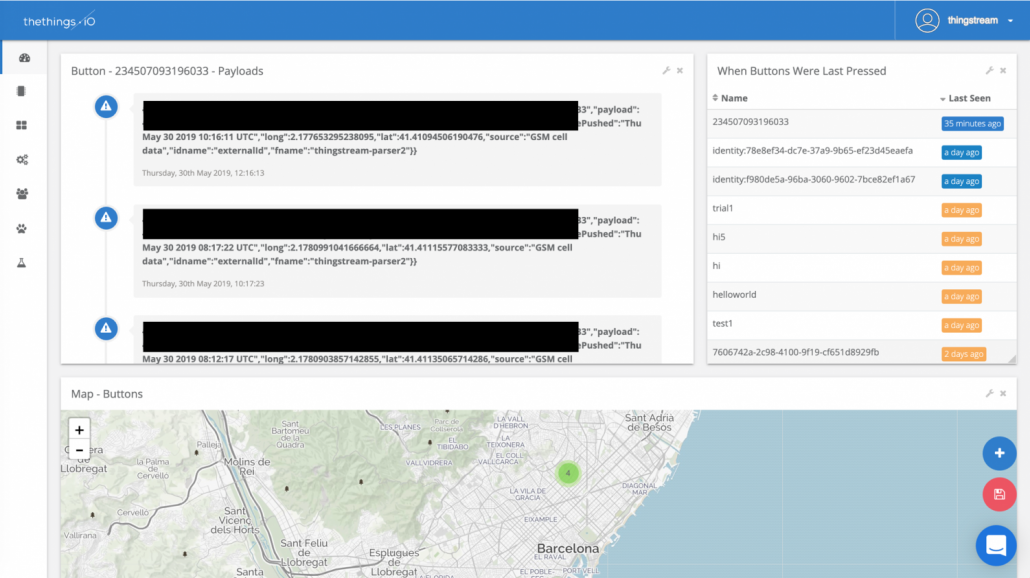
 Here’s what we have so far! These are just a few examples of all the cool things you can do with your insight dashboard. Feel free to explore some more!
Here are a couple link’s to some tutorials for customizing your dashboard even more:
I hope you enjoyed this tutorial! Feel free to contact us if you have any questions on thethings.iO IoT platform.


