thethings.iO IoT Blinders Retailer Manager
If you sell your digital product via distributors and retailers, thethings.iO’s Blinders are for you. The Blinders tool provides privacy and security to your retailers and suppliers and all their network of sub-retailers. Let’s learn more!

What is thethings.iO Blinders?
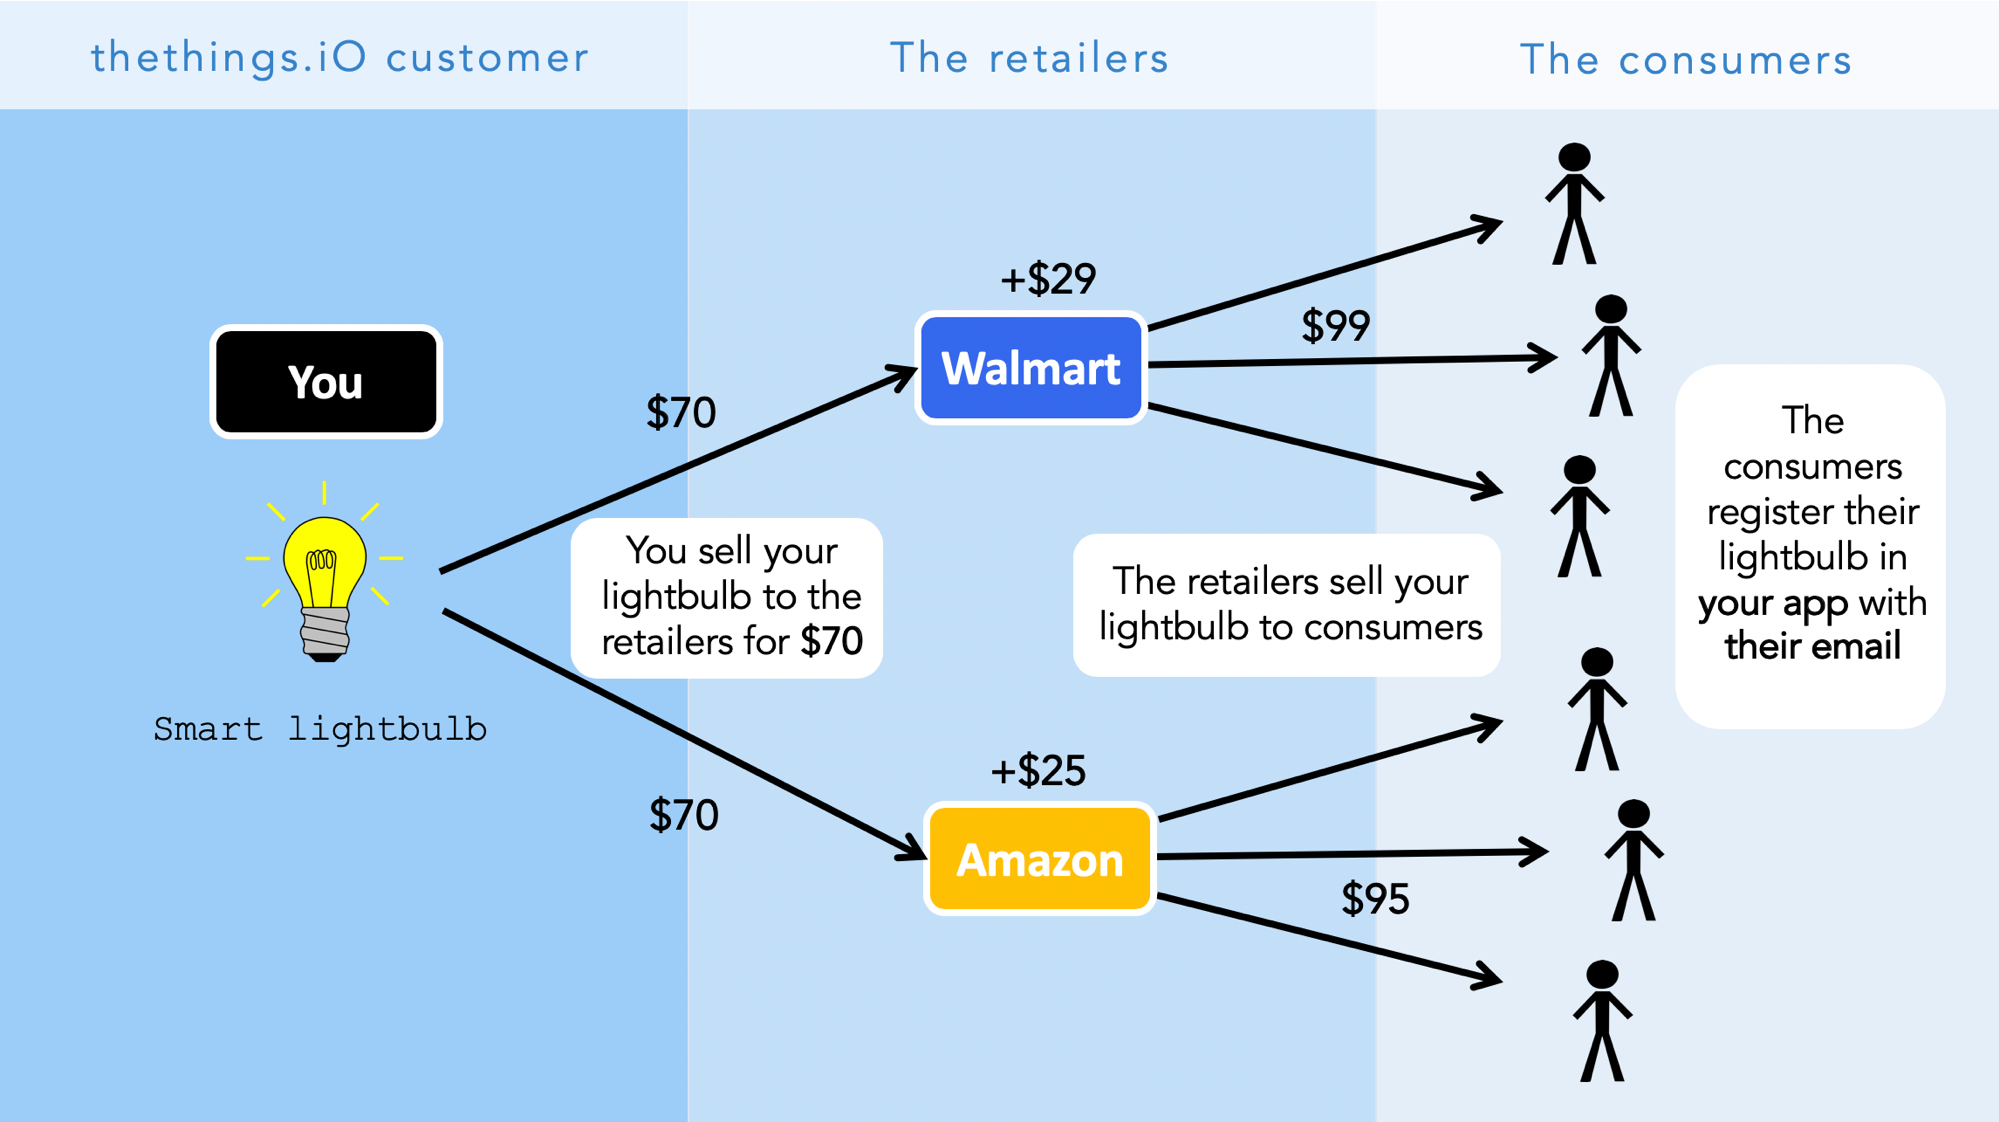
Imagine you are a thethings.iO customer with smart lightbulbs you wish to sell to retailers such as Walmart and Amazon. You sell 1 million lightbulbs to Walmart and Amazon. People then buy them and set them up with your app, giving you their email.
Now, when you will sell another product in the future, you will not need your retailers any more probably. You will sell directly to the customers through their emails and with marketing campaigns tailored to the clients of your current solutions.
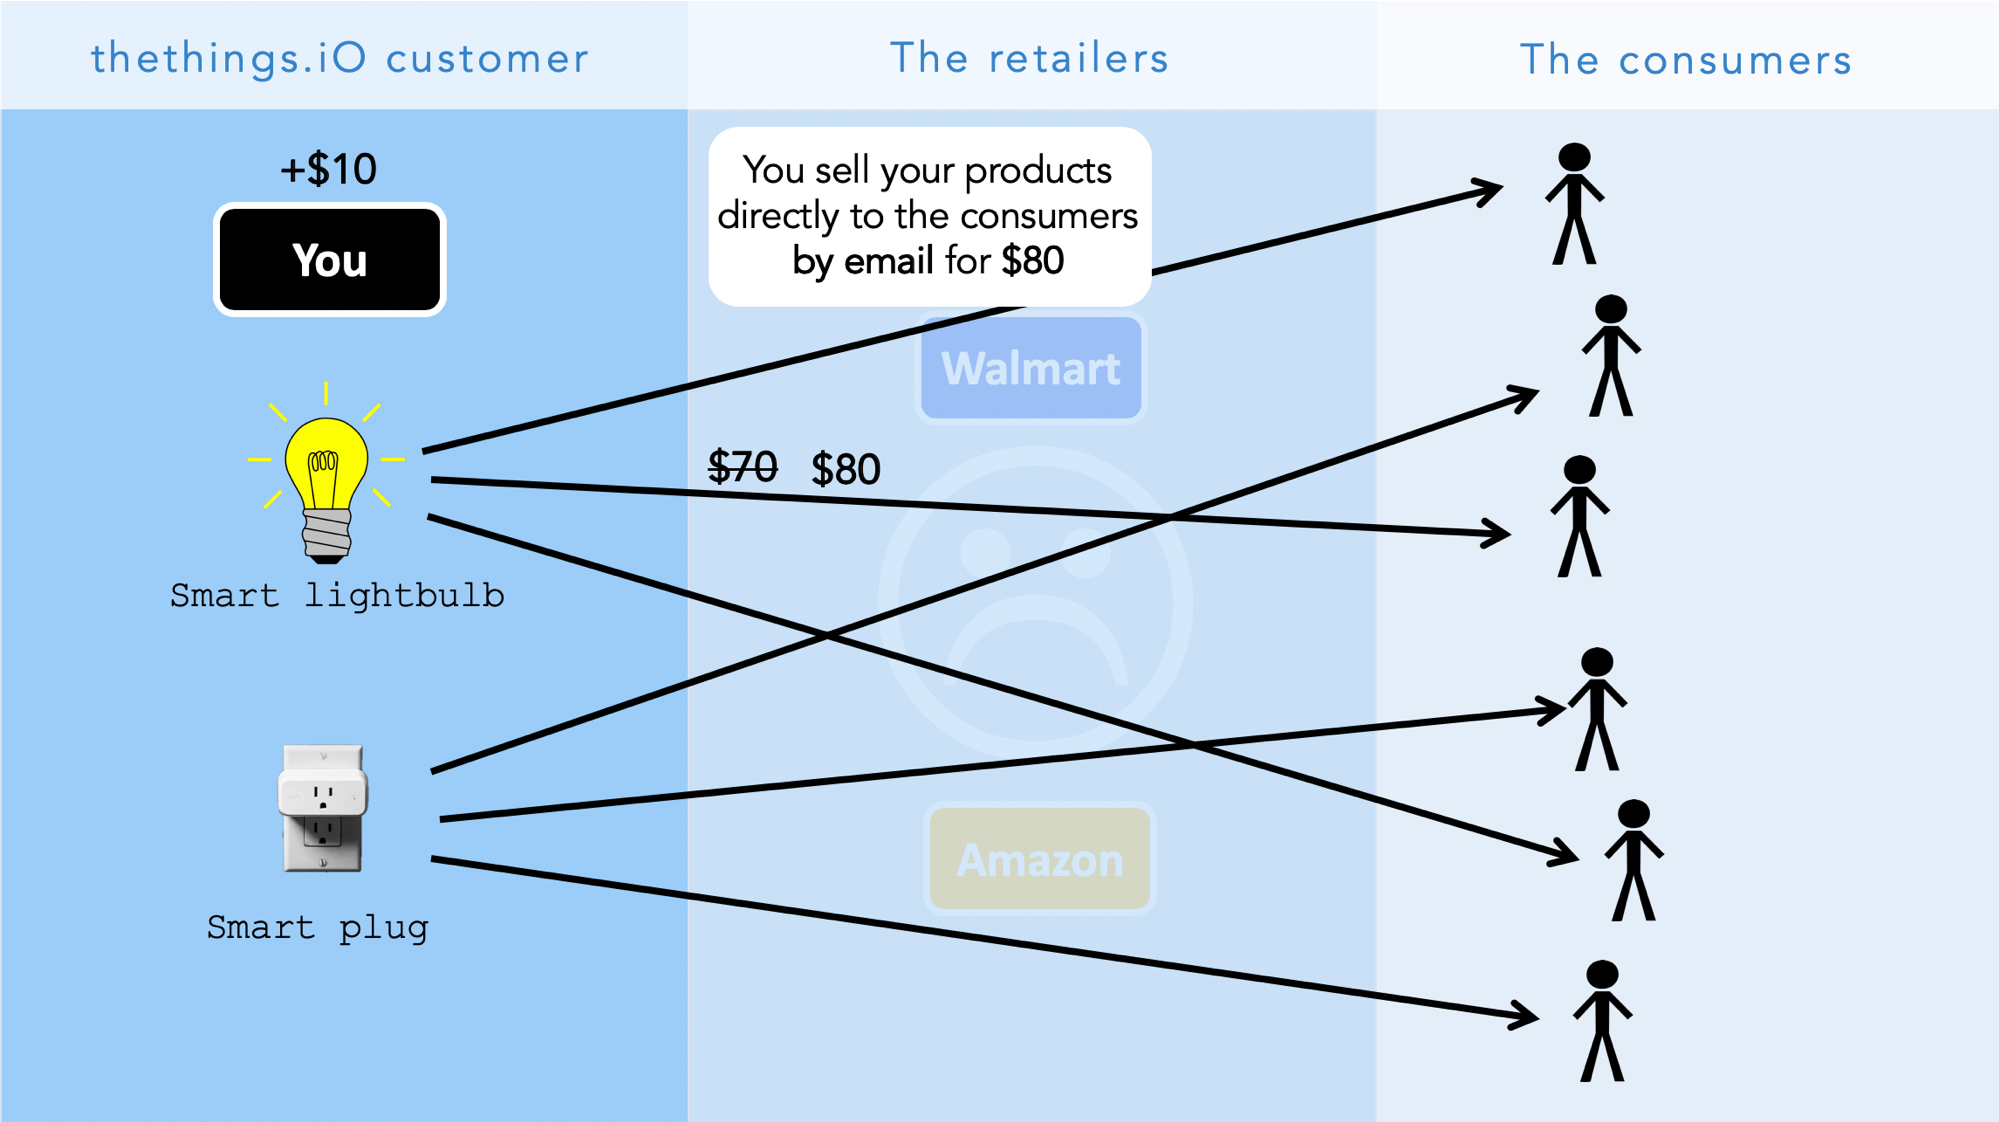
This is obviously a problem for your retailers, who just lost customers, a lot. Most likely, your retailers would have realized this could happen and never would have made a deal with you in the first place. That means you never would have had any business to begin with either. So now what? How can you ensure privacy and security for your retailers?
At thethings.iO, we have created a tool to solve this problem: the Blinders Retailer Manager. This tool “closes the blinds on you” to protect the retailer’s customers’ information and also lets you give the retailers a dashboard for them to manage your products. The Blinders tool also allows retailers to have a network of sub-retailers, each with their own dashboard.
For example:
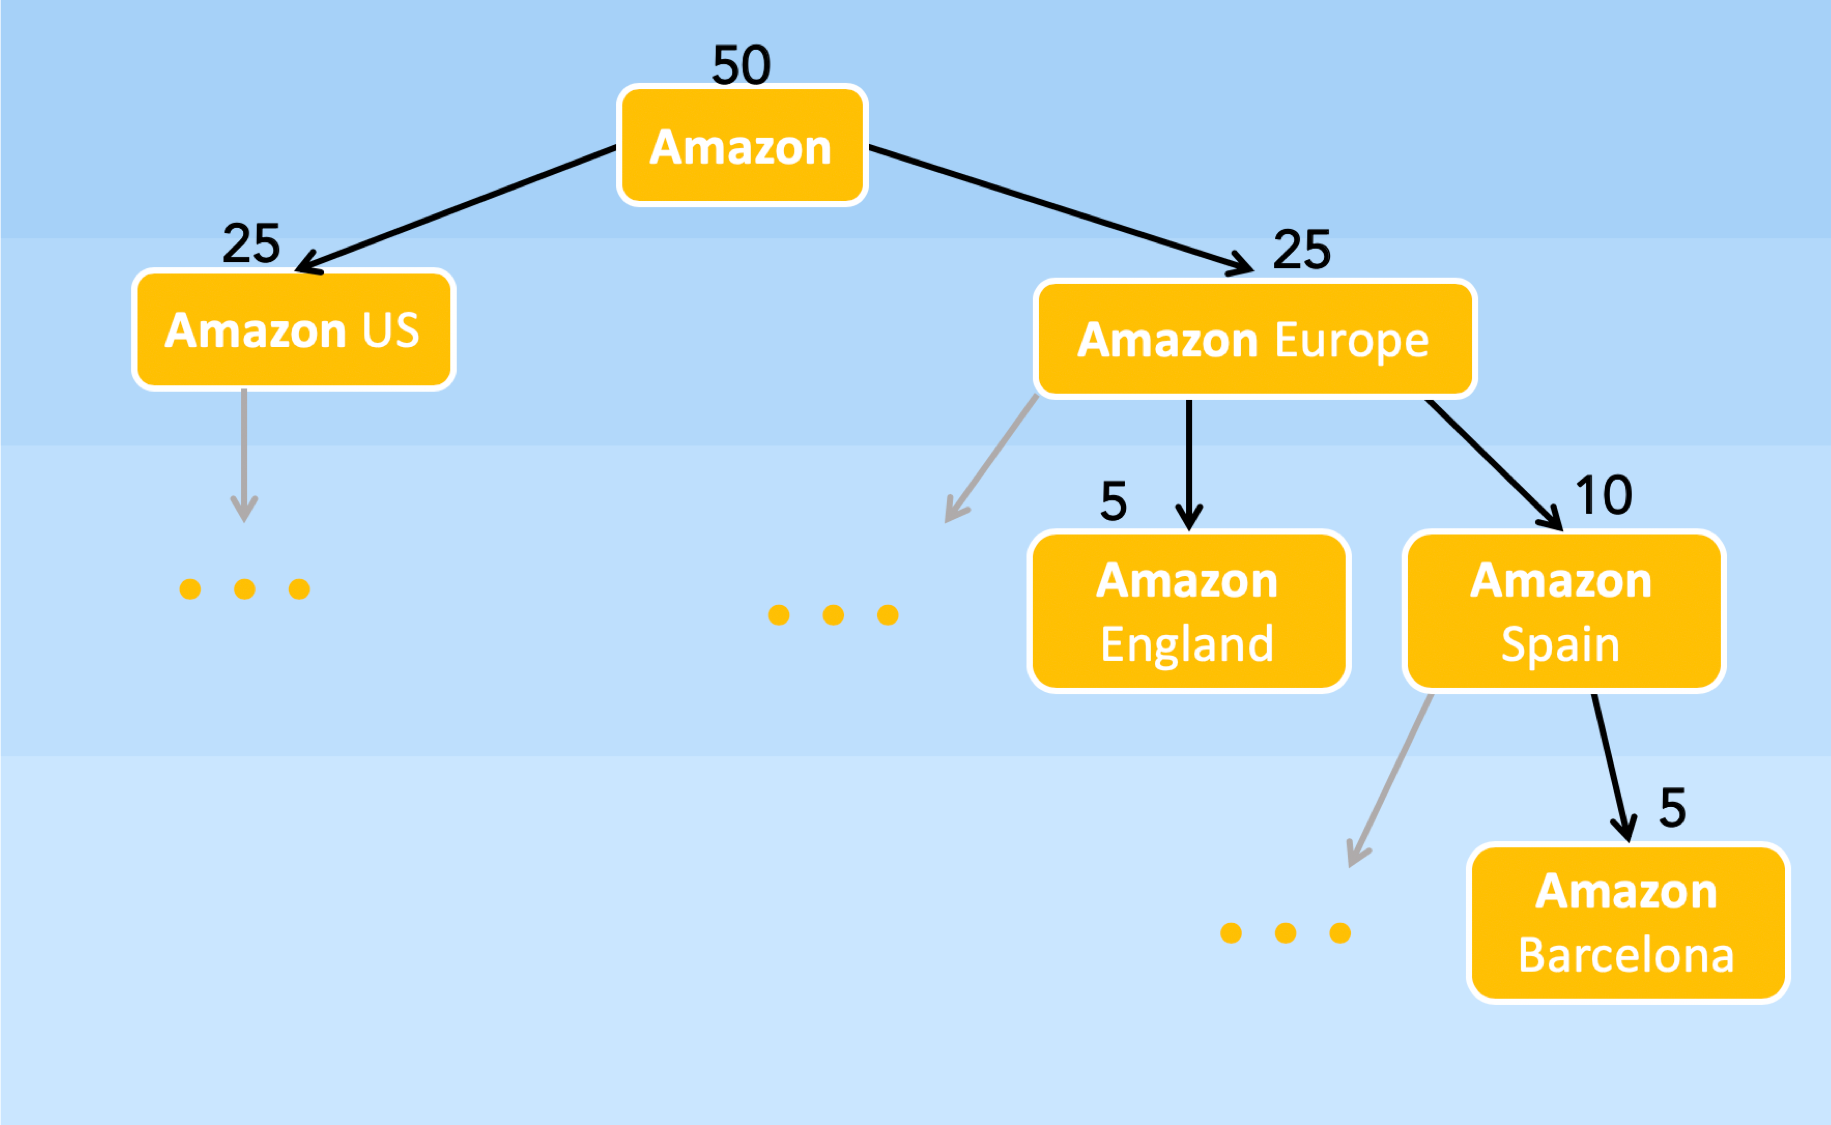
Now imagine you are Amazon. You have two branches, Amazon US and Amazon Europe. You have 50 products, 25 for each location, but you want Amazon US to see their only 25 and Amazon Europe to see their only 25. With thethings.iO’s
Blinders, you can make them each their own separate login where they can only see their products. Now, you are Amazon Europe and you want to give 10 products to Spain for only them to view. You can do the same thing, creating a tree like this one:
The thethings.iO Blinders solution for retailers is a very complete solution to empower your retailers and partners with a top-notch IoT solution.
Do you want to try it? Just contact us at hello at thethings.iO.
 When you log into your
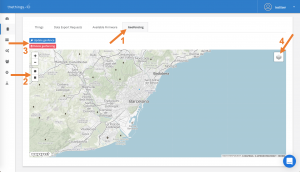
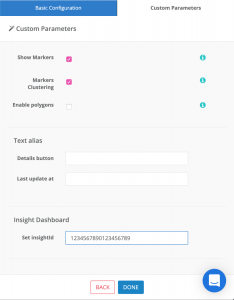
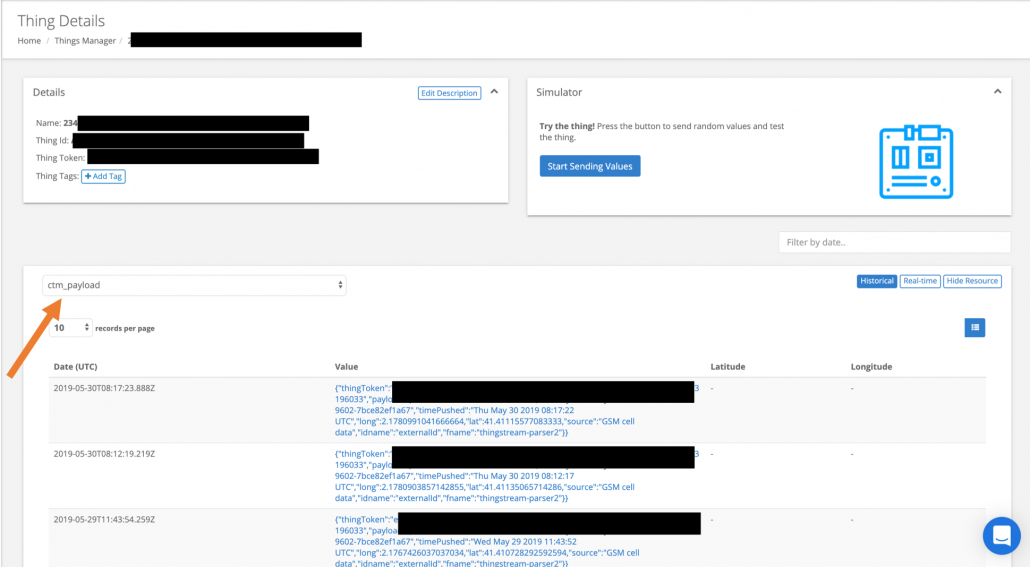
 Remember your “Resource” is what you see here under “things” in the side bar>details>a thing at the bottom of the page>details. For example, ctm_payload, geolocation, and msg are my options for resources for this “thing”:
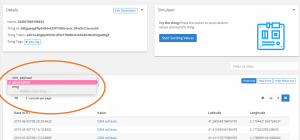 When you’re done editing your Insight Dashboard, don’t forget to save!
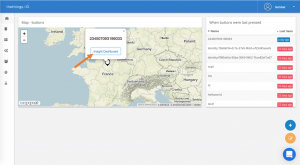
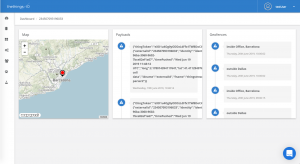
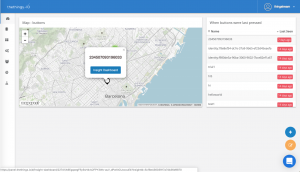 Now when you click on a thing in this widget, you will have the option to view more about this thing under the template of your Insight Dashboard. For example, I clicked on the white marker above, and now when I click on Insight Dashboard, it will take me to this following screen, which shows this “thing’s” data under the Insight Dashboard template we just created. Magic!
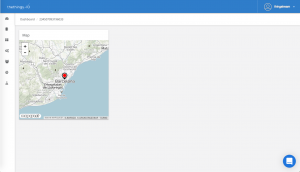 I hope you enjoyed this tutorial! Feel free to contact us if you have any questions on thethings.iO IoT platform.
 In this tutorial, we will set up a
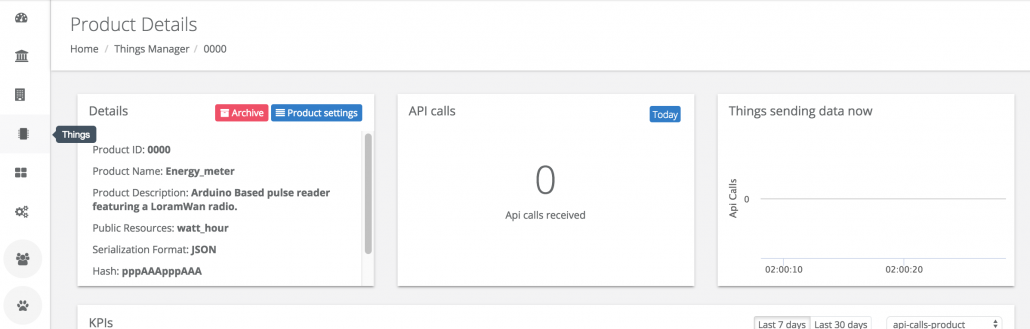
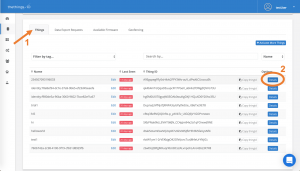
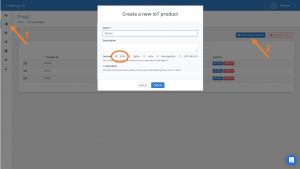 Once your thing is created, click details and let’s take note of some things. In the top left corner, we see “Product ID” and “Hash”.
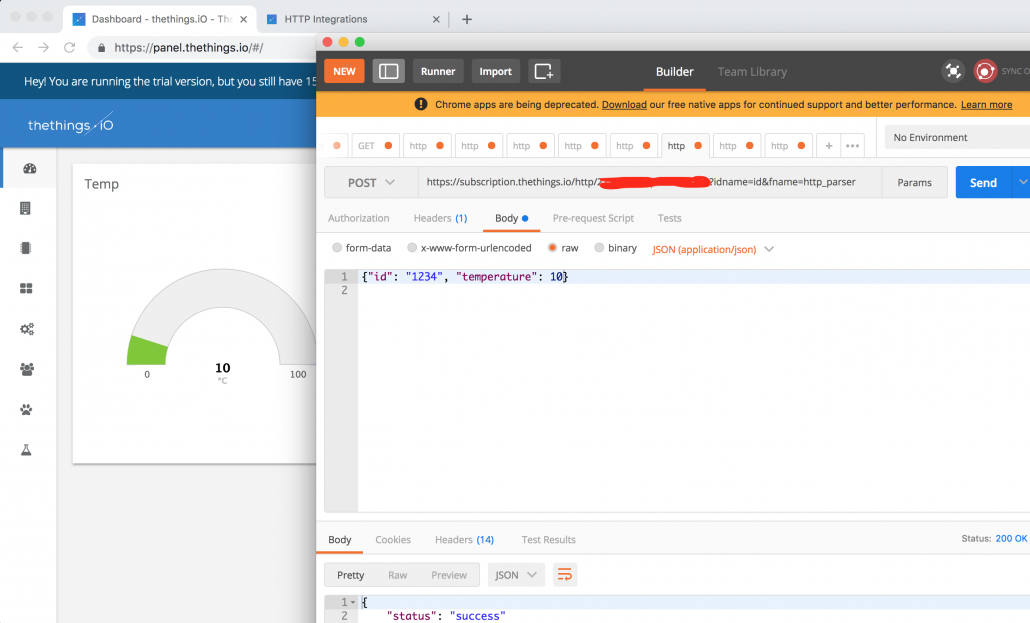
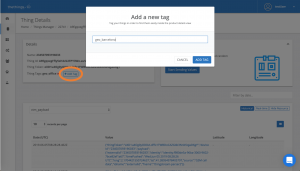
 Under “ctm_payload”
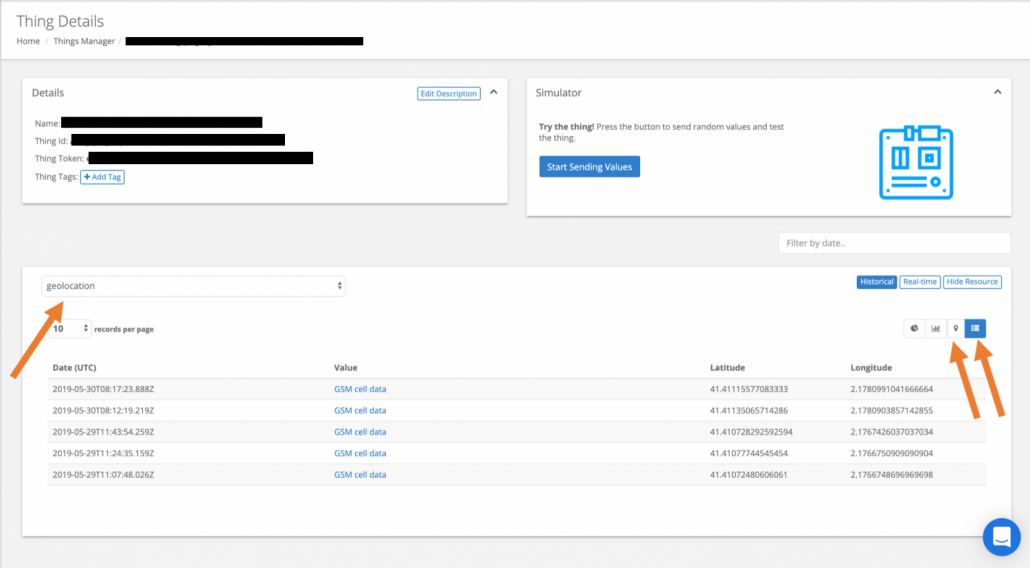
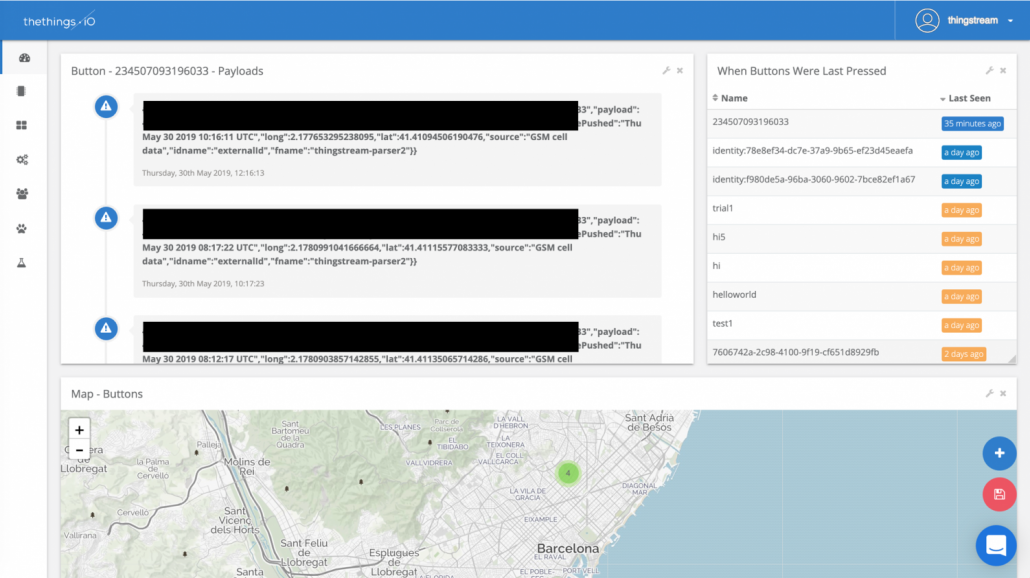
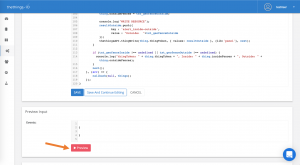
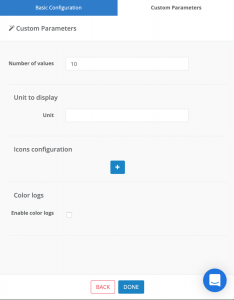
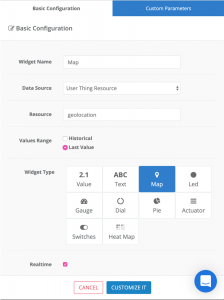
 On “Customize It”, you may want to change map-type and enable polygons(this will make the map have arrows that show you in what direction the button has traveled).
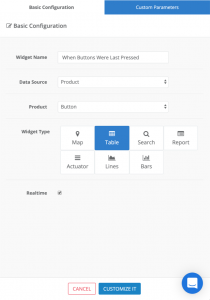 Here’s what we have so far! These are just a few examples of all the cool things you can do with your insight dashboard. Feel free to explore some more!