Nano SIM, eSIM, iSIM… how does it work, and what are the differences?
In everyday life we have been using telecommunication SIM cards for smartphones for years. For ten years, we have seen their format reduced to the mini-SIM, the micro-SIM and finally the nano SIM.
And since 2017, we have seen the emergence of eSIM solutions (for embedded SIM). The latter are virtual cards.
In terms of telephony, nothing very complicated… Clients have to choose the right format for their mobile, and use an adapter or configure their phone in the case of an eSIM.
But for IoT projects, it’s not just the size of the SIM that counts… SIM, eSIM and iSIM technologies are similar but different at the same time. Zoom in this article on these different products, and how to make a choice between them for different IoT projects.
Traditional SIM cards
As mentioned above, the SIM card has evolved over the years into new forms to fit smaller devices. It is simple and convenient for consumer applications and some IoT use cases, but can present reliability and security risks for most large-scale device deployments.
This is because when the SIM card is easy to access, it is also easy to steal.
IoT managers need to constantly track SIM cards in their devices to ensure that they are not removed and replaced in other devices.
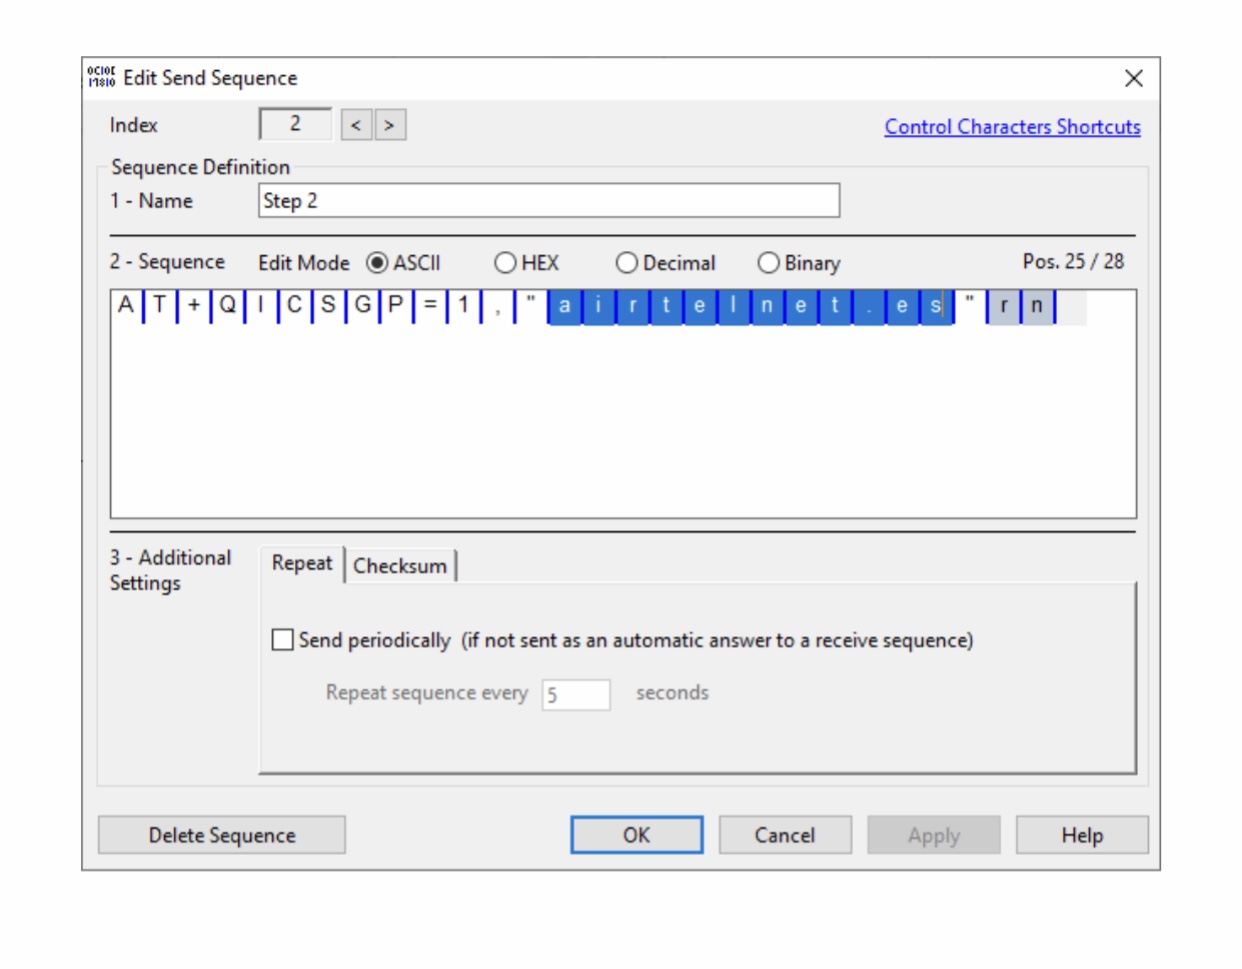
In order to meet the challenges of IoT solutions, we have seen the emergence of new technologies like eSIM or more recently iSIM. These technologies offer a more secure aspect because they are not physically accessible.
What is an eSIM?
eSIM cards were originally designed to difficult the non-authorized access to the physical SIM cards.
An eSIM (embedded SIM) is technically a small IC embedded into the device and has the same functionality of a traditional SIM card. The eSIM technology also allows users to store more than one profile in a single device, which then can be used to connect multiple carriers and network.
To use an eSIM, you need to purchase an eSIM-enabled device and use a carrier that offers eSIM compatibility.
What is an iSIM?
The iSIM is not just a physical variant of the eSIM but essentially a brand-new technology that goes one step further in terms of integration and cost while offering the same benefits as an eSIM solution . Here, the “i” stands for “integrated” so, as the name suggests, the iSIM is part of the device microcontroller (MCU) instead of being embedded on a dedicated IC.
The main and most obvious benefit of iSIM is that it takes up even less space than eSIM since it doesn’t require – even that tiny – space inside smartphones and other devices, as it’s integrated into the mobile chipset. And since it doesn’t require physical space for an eSIM chip or a removable SIM card, iSIM can further reduce a device’s space requirement. iSIM technology also reduces manufacturing costs and simplifies the assembly process.
What type of SIM choose for an IoT project?
There is no single answer to this question, as many factors come into play when choosing the right technology…
Here are the most important questions to ask yourself:
- Is the size important? If the connected object does not need an optimized space, then nano SIM or eSIM are good solutions! On the other hand, for small IoT devices such as clothing or shrunken medical equipment, then iSIM is an optimal solution.
- Is security a key criterion, and what about international use? These two aspects help to know if a classic SIM card is still a good option, or if it is necessary to switch to a virtual card that can be controlled and changed remotely!
An eSIM and an iSIM offers remote SIM provisioning (RSP) to add, manage and remove profiles remotely, simplifying the supply chain and the devices’ configuration. - What is the overall cost of the solution? In some large projects, it is better to invest in expensive SIM technologies. For some other cases, a price difference in the SIM card could significantly reduce your margin.
In conclusion, the size of the devices, their costs, their usage mode and the number of devices that make up an IoT project are the different subjects that need to be considered when choosing the SIM solution for your project.
Furthermore, the ecological aspect, now at the heart of many companies’ concerns, is also a criterion to be taken into account. As eSIMs and iSIMs considerably reduce plastic consumption, especially on large-scale projects or those where the cards sometimes must be changed and can duplicate the cost and the plastic needs.