Developing Android app with the thethings.iO
Last week we explained how to create Apps and IoT dashboards from thethings.iO, this week its time to build real mobile apps connected to an App Id. Because most of thethings.iO IoT platform customers do not only make a connected product, but also build mobile applications. Mobile apps are useful to let final customers access to the data generated by the connected products and even interact with them, all with a great UX. iOS and Android are the predominant operating systems at the moment, so we built some simple examples on Android and iOS in order to show to our customers what they need to connect their mobile app with thethings.iO.
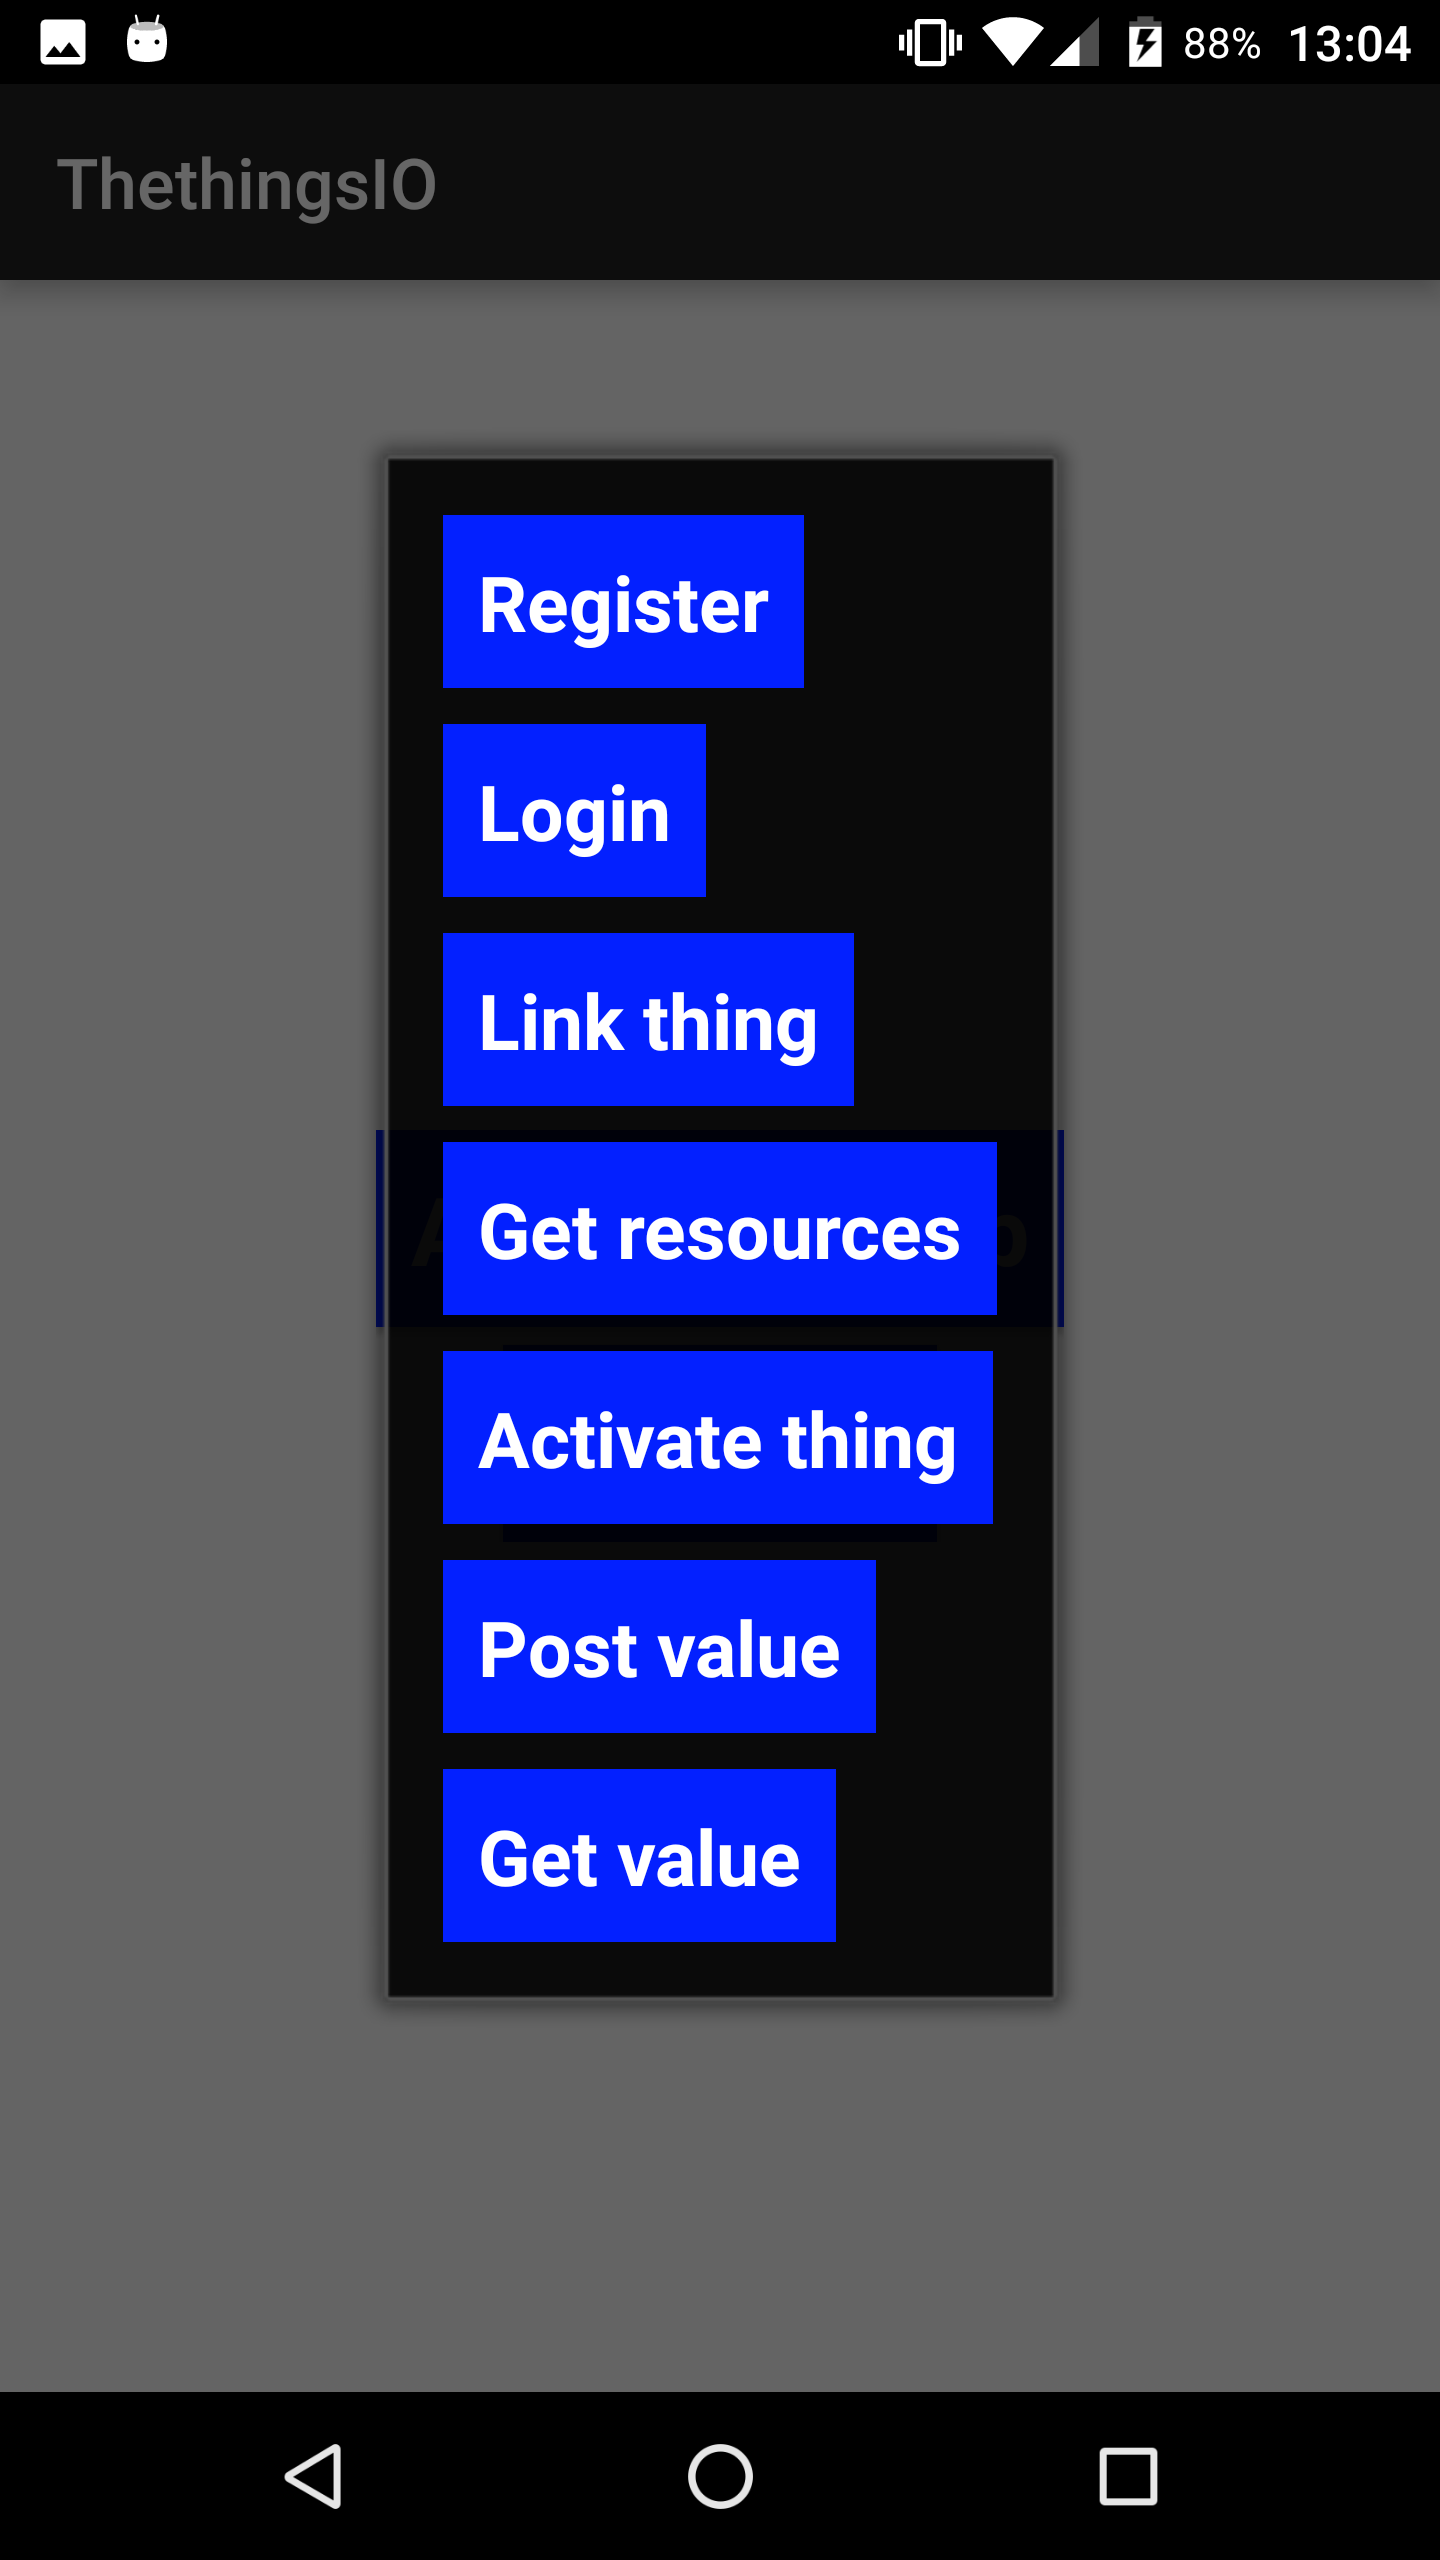
We designed an Android application in order to show you how all thethings.iO’s API calls work from Android SDK. From the user registration and login to the link thing or read and write. All the useful API calls that any Android developer need to connect a mobile app with the IoT platform thethings.iO in few minutes.
Find below a step by step guide about how to use the Android app available at our github repo thethings.iO-android-app . Having said that, remember to have Android Studio installed on your computer.
- Building the app:
- Creating an app from thethings.iO
- Login (or quickly register here) to your thethings.iO account.
- Navigate to Apps (fourth row of the menu) and click on “Create new IoT application”.

- Select the name and press “Create”. Remember to copy and paste your app-id. You’ll need it later.
- Choosing app permisions
- Clone thethings.iO Android app on your local repository and launch it
- The first display will request some of the basic credentials. Fill your login credentials (inside “Account setup”): Username, password, app-id and the thing-Id you want to interact with.

- Press “Api Calls”.
- If it’s the first time you use the app, click on “Register”. If it’s not, click on Login. The user will be logged in the app details (at thethings.iO).

- Press “Link thing” to start using the specified thing.
- Use the rest of the options at your will.
- The first display will request some of the basic credentials. Fill your login credentials (inside “Account setup”): Username, password, app-id and the thing-Id you want to interact with.
This Android app shows you all the API calls that you need to connect Android with thethings.iO. If you need more help, please post a message on thethings.iO developers forum and we will solve it ASAP.
thethings.iO API calls for mobile apps
There is a long documentation on thethings.iO developer portal to build mobile app for IoT with thethings.iO. Find here the most important API calls that you can call through HTTP, MQTT, CoAP or Websockets from iOS, Android or whatever mobile OS that you are using.
Register
The first call is to Register a user at thethings.iO IoT Platform. This endpoint also login the user (returns the session token and roles), so you don’t have to do another API call to login the user.
POST https://api.thethings.io/v2/register
 curl -i -H "Accept: application/json" \
 -H "Content-Type: application/json" \
 -d '{"email": "YOUR EMAIL HERE", "password": "a hard to guess password", "app": "The appID given in the panel"}' \
 -X POST "https://api.thethings.io/v2/register" -k
Login
Here you can Login a user on your app through thethings.iO IoT Platform. This API call returns the session token and roles. Roles identifies the resources and things that the user has authorized the App to access.
POST https://api.thethings.io/v2/login
 curl -i -H "Accept: application/json" \
 -H "Content-Type: application/json" \
 -d '{"email": "YOUR EMAIL HERE", "password": "a hard to guess password", "app": "The appID given in the panel"}' \
 -X POST "https://api.thethings.io/v2/login" -k
Link Thing
This is one of the most important API calls because it joins a user and a thing. That means that it’s a procedure that entitles the owner of a thing.
This procedure needs a thingToken (or the thingId) and a sessionToken of the user (after log in or register). And it requires some kind of direct communication between the mobile app and the thing.
For example, when setting up for first time a thing with WiFi, you usually have to configure the WiFi for the thing. That means that the thing generates a hotpsot, the app connects to that WiFi and the user (after login or registration through the app) introduces the WiFi’ SSID and WiFi’s password. The thing gets the information and get connected to the Internet. At this moment the thing call the API activate and receives the thingToken of the thing. With this thingToken, the App will be able to do the REST call to link the think to the user and store the relation at the platform. The other possibility is to send the sessionToken of the user (after log in or registration) during the WiFi configuration (sending the SSID + WiFi password and the sessionToken).
Note that in order to link the thing the user must be logged in and the thing must be activated (i.e. have a thingToken)
This operation can only be done for applications which have been authorized for the thing developer, this kind of apps are called official apps.
POST https://api.thethings.io/v2/me/things
 curl -i -H "Accept: application/json" \
 -H "Content-Type: application/json" \
 -H "Authorization: { {SESSION TOKEN} }" \
 -d '{"thingToken": "{ {thingToken} }"}' \
 -X POST "https://api.thethings.io/v2/me/things" -k
Find all the documentation about how to make a mobile app connected to the IoT platform thethings.iO at the developers site.
Today we explained a step by step to build an Android app connected with your things at thethings.iO. Feel free to use our Android app on thethings.iO’s github account. Don’t waste your time and create and account at the most simple IoT platform in the market.


