Using Sigfox Spot’it with thethings.iO to geolocate your Sigfox things
Geolocate a device is very powerful in some use cases. Understand where is an asset, my car or my dog is priceless in specific moments where there is money or life in risk. All of this depends on having GPS availability on the hardware, usually a GPS chip introduced on the shield with an antenna. With the GPRS and 3G, etc the antenna’s triangulation enabled IoT devices (and mobile handsets) to become geolocalized with some errors but without GPS chip. Now Sigfox is releasing a similar feature, Sigfox antennas triangulation enable geolocation with no GPS chip, that makes your hardware cheaper than expected.
Today we are going to connect a Sigfox device with the Spot’it service. Spot’it is the newest location manager of Sigfox. Now with thethings.iO and Sigfox Spot’it you can track all your Sigfox devices in a very simple way. thethings.iO is the most simple Sigfox IoT platform.

Make sure you already have:
- A Sigfox device sending data. If you need to activate your Sigfox device, navigate to http://backend.sigfox.com/activate.
- Access to the Sigfox backend of the previous device.
- A thethings.iO account. If you still don’t have an account, please register at thethings.iO IoT platform.
Let’s start!
thethings.iO IoT Platform
Once you have an account, if you don’t have a Sigfox product to use, follow this steps:
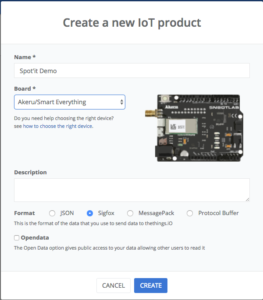
- Enter to your account and click on Things.
- Press on Create new IoT product.
- Select Sigfox as Serialisation format.
- Give a name and choose Akeru for the board.
- Click on the previously created product and copy the subscription URL.

Registering the Callback at the Sigfox backend
Once you have copied the previous url, navigate to the Sigfox backend.
- Click on your device.
- Navigate to callbacks.
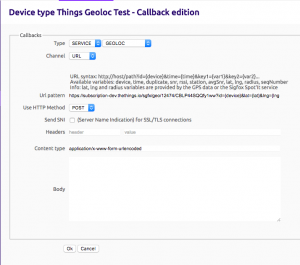
- Create a new callback. Make sure you choose Service as the type of callback and GEOLOC as the type of service.
- Beginning with the previous URL, make sure to erase the data={data} and include lat and lng to the previous url.
The url should look like this: https://subscription.thethings.io/sgfx/geo/1234/abcdefghijklmn?id={device}&lat={lat}&lng={lng}
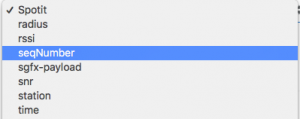
Also, if you want any other Sigfox variables, feel free to add: &radius={radius}&seqNumber={seqNumber}&snr={snr}&time={time}&station={station}&rssi={rssi}

All the Sigfox variables that you specify will be automatically parsed into resources in your thethings.iO thing.

Showing device location as a path at thethings.iO is simple
First of all go to create a thethings.iO dashboard.
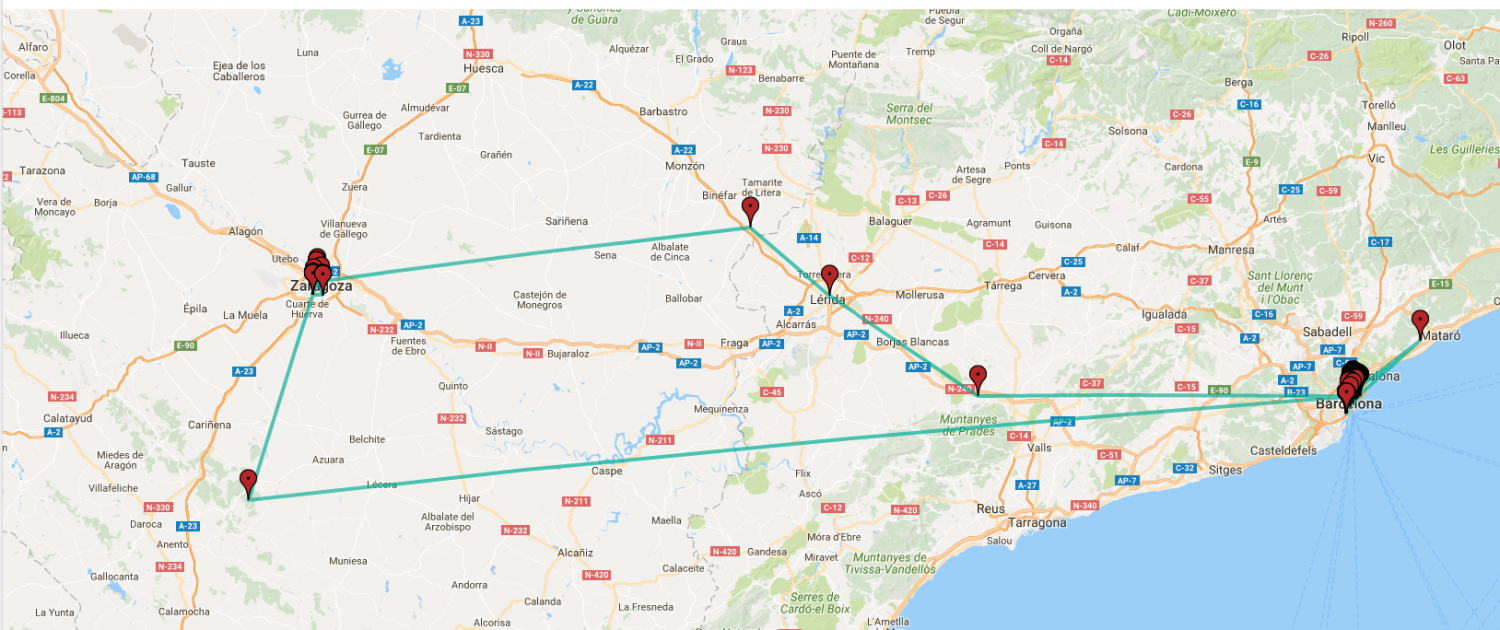
To create a dashboard in your thethings.iO account to show the device location in a map. The location should be presented as a path of different points in a map.
- Click on the Add Widget blue button.
- Give a name to the Widget.
- Select Thing Resource inside Data Source.
- Select thing you just created before.
- Select ‘Spotit’ as the name of the resource that contains the location.
- Check Historical and press the Routes box.
- Click on Costumize it and select the number values you want to show. Also select “Activate markers to show each point and Activate path”.
- Accept and Save!

Easy right? Now you can geolocate any Sigfox device and see the routes and more information at thethings.iO in just 5 minutes. Try it yourself!


