Uplink and downlink Sigfox communication with thethings.iO
Bidirectional communication sometimes it’s relevant on the Internet of Things field. In some LPWAN protocols it’s complex to have bidirectional communication. With Sigfox and thethings.iO it’s really easy to set up bidirectional communication, that is called downlink.
Sigfox downlink with thethings.iO
What is Sigfox uplink and downlink?
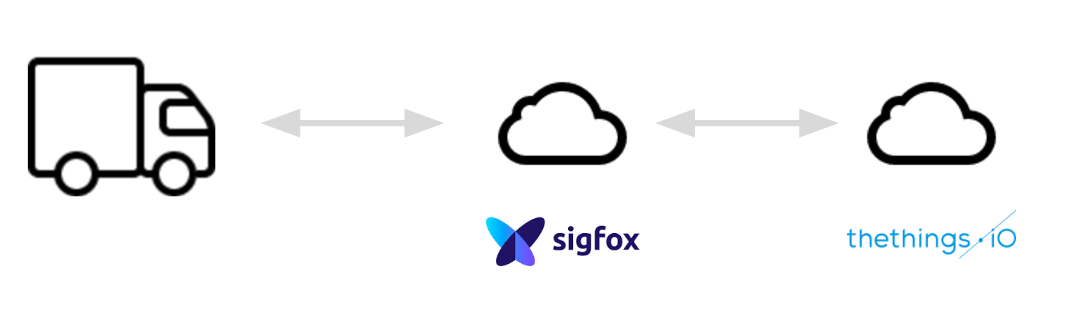
The uplink process is the usual way of data coming from the devices to the Sigfox backend, that can be redirected to thethings.iO with a callback. Find here how to connect Sigfox with thethings.iO.
The downlink process is the process that enables a device to get data coming from a cloud, a mobile application or another device.
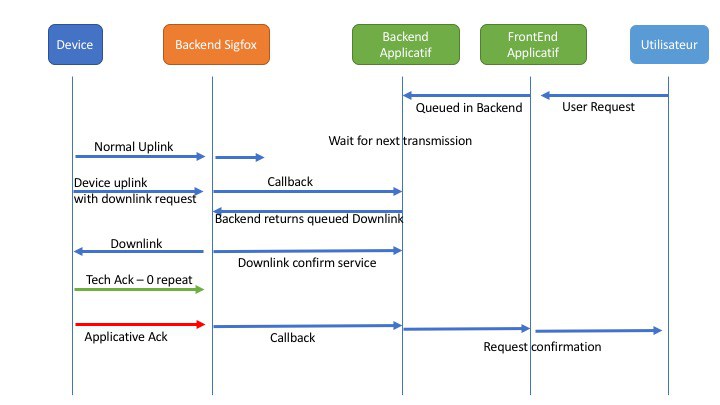
This downlink process is only available when the uplink process includes an ACK flag corresponding to a downlink request. At that point thethings.iO will be available to transfer the downlink message to the device through the Sigfox backend.
Find here a diagram by disk91 where you can understand better the downlink workflow interaction.
Let’s build the downlink
Make sure you already have:
- A Sigfox device sending data. If you need to activate your sigfox device, navigate to http://backend.sigfox.com/activate.
- Access to the Sigfox backend of the previous device.
- A thethings.iO account. If you still don’t have an account, please register at thethings.iO IoT platform.
Let’s start!
thethings.iO IoT Platform
Once you have an account, if you don’t have a Sigfox product to use, follow this steps:
- Enter to your account and click on Things.
- Press on Create new IoT product.
- Select Sigfox as Serialisation format.
- Give a name and choose Akeru/Smart Everything for the board.
 Click on the previously created product and copy the subscription URL.

Registering the Callback at the Sigfox backend
Once you have copied the previous url, navigate to the Sigfox backend.
- Click on your device.
- Navigate to callbacks.
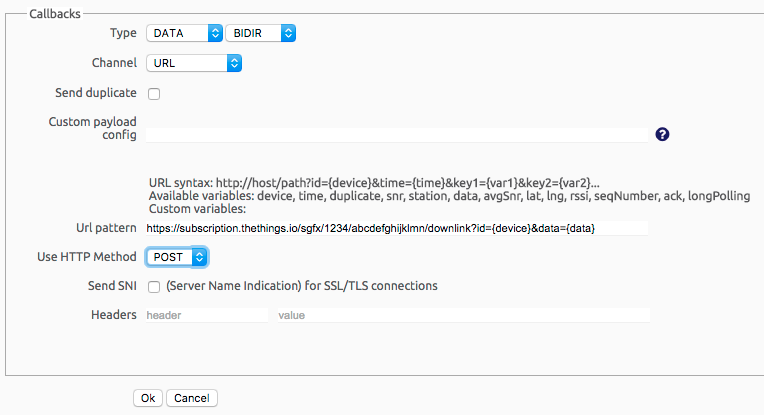
- Create a new Callback: Make sure you select DATA and BIDIR as the type and POST as the HTTP Method.
- Given the previous url, add /downlink at the end of the url. The url should look similar to: https://subscription.thethings.io/sgfx/1234/abcdefghijklmn/downlink?id={device}&data={data}Also, if you want any other Sigfox variables, feel free to add: &radius={radius}&seqNumber={seqNumber}&snr={snr}&time={time}&station={station}&rssi={rssi}&ack={ack}
The Sigfox downlink parser at thethings.iO
Following the registration of the callback at the sigfox backend, we should proceed to create and fill the sigfox_downlink_parser associated to your product:
- Navigate to Cloud Code
- Move to Functions and create a new function called sigfox_downlink_parser. Make sure to introduce the previous name correctly.
- Fill the sigfox_downlink_parser:
- In order to prepare the data to be returned to the device, follow the next structure:
- The result variable should be an object: With the device id as the key and with a new variable (limit size of 8 bytes) as the value:
var result = {“sigfoxDeviceId”: { “downlinkData”: “variable or message to send”}}
- The result variable should be an object: With the device id as the key and with a new variable (limit size of 8 bytes) as the value:
- In order to prepare the data to be returned to the device, follow the next structure:
- Following the previous requirement, a simple parser should look like this:
function main(params, callback) {
 var result = {};
var variable = "sigfoxDw";
 result[params.deviceId] = { downlinkData: variable };
 callback(null, result);
 }
Device downlink management
Each sigfox device library should provide the necessary function in order to extract the acknowledged data from thethings.iO.
Focusing on the Smart Everything, there’s an example on github showing the handling of the downlink data.
Feel free to create an account at thethings.iO and start connecting things to the Internet with the most simple enterprise IoT platform.

