Connect a Pycom SiPy with thethings.iO
On today’s post we’re going to show you how to connect a Pycom SiPy to thethings.iO. The newest Pycom SiPy supports multiple networks such as Sigfox, Wi-Fi and BLE. The SiPy it’s great for prototyping products for it’s small size, development tools and enormous possibilities. At thethings.iO we worked internally in several projects with the SiPy and we have the first customers prototyping with this board, using thethings.iO IoT platform to collect, visualize and analyze the data.
Configure the Pycom SiPy
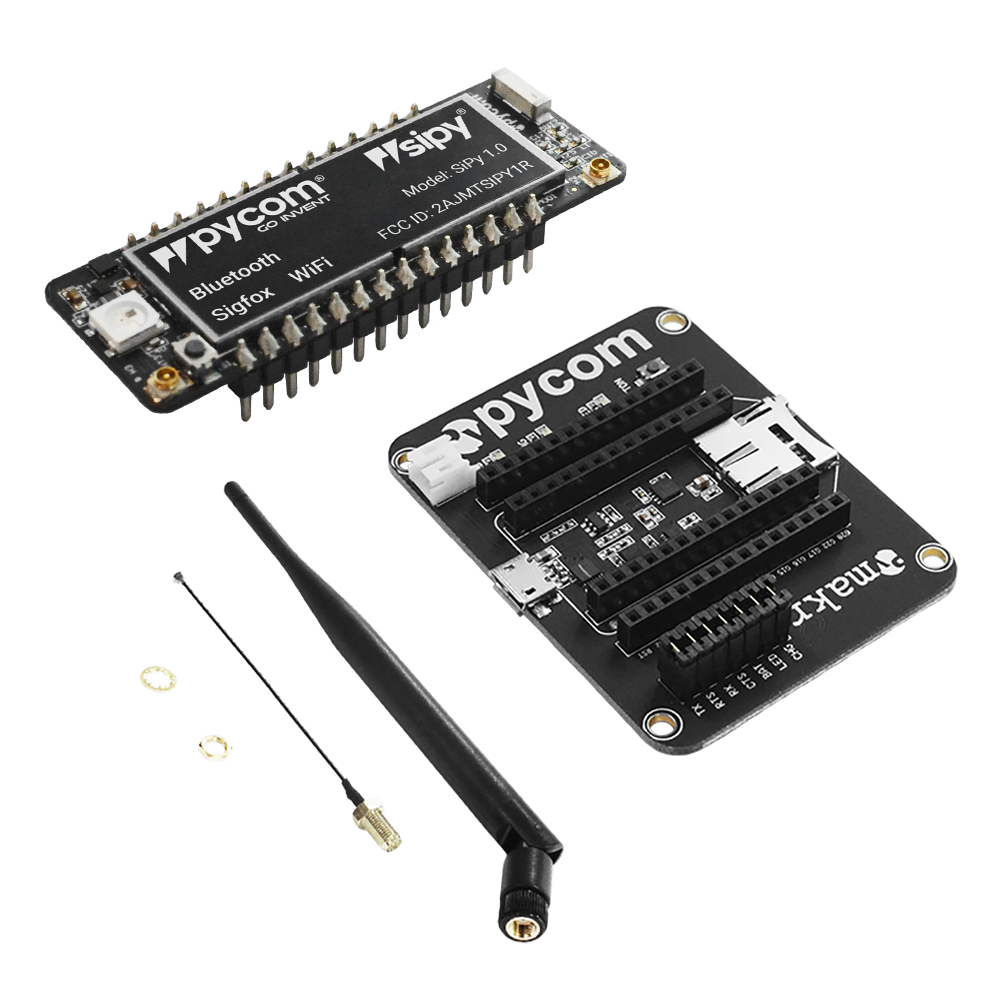
Before following the next steps, make sure that you have the required hardware:
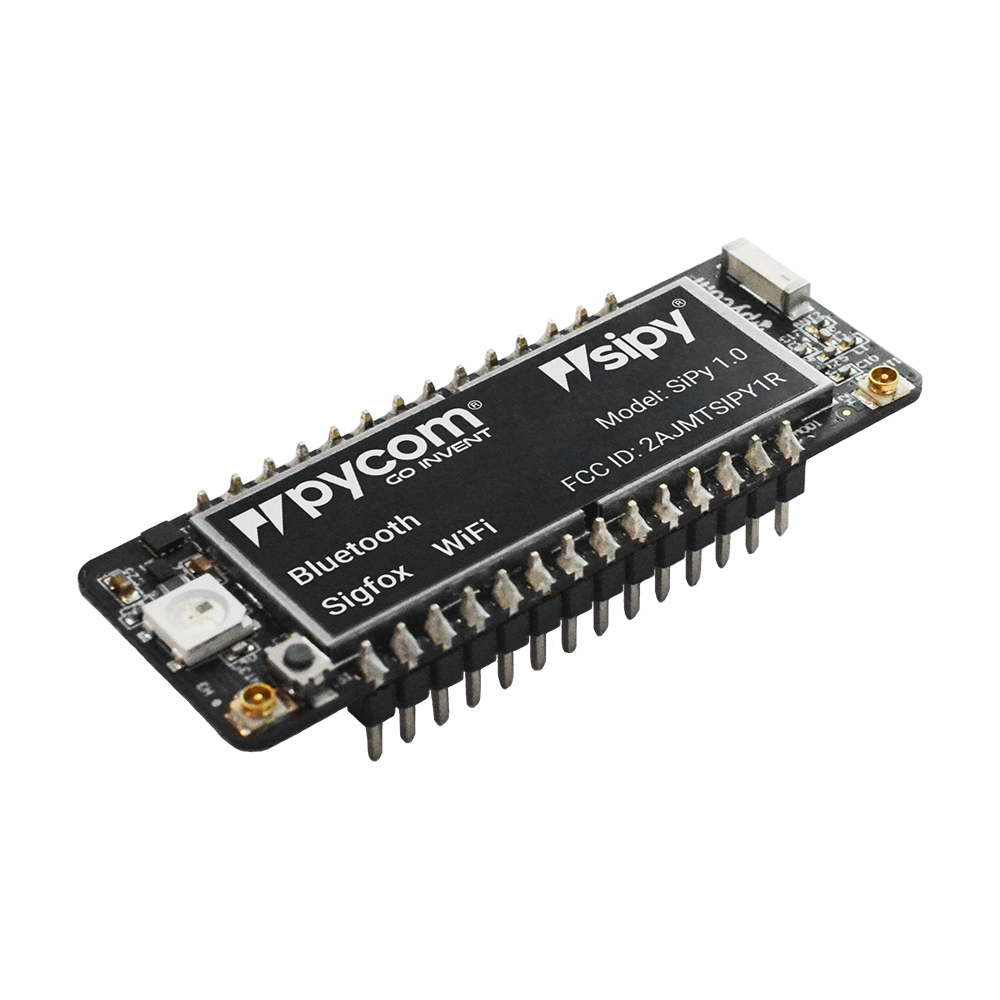
- A SiPy with the expansion board.
- A micro USB cable.
- An active internet connection.
- A thethings.iO account. If you still don’t have an account, please register at thethings.iO IoT platform.
Now it’s time to start configuring the device.
- Visit the Pycom Getting Started portal in order to download and configure all the necessary software for your SiPy.
Register the device with Sigfox network. If you need any help with the Sigfox account, feel free to contact us.
- In order to allow the device to send messages throw Sigfox, we need to activate it at the Sigfox backend.
- Please, follow the steps mentioned in the Pycom documentation about Registering a device.
It’s time for flashing the software of the Pycom SiPy.
- We already have a Github repository with the code that sends the 2 strongest Wi-Fi MAC addresses and the temperature, divided into 2 payloads.
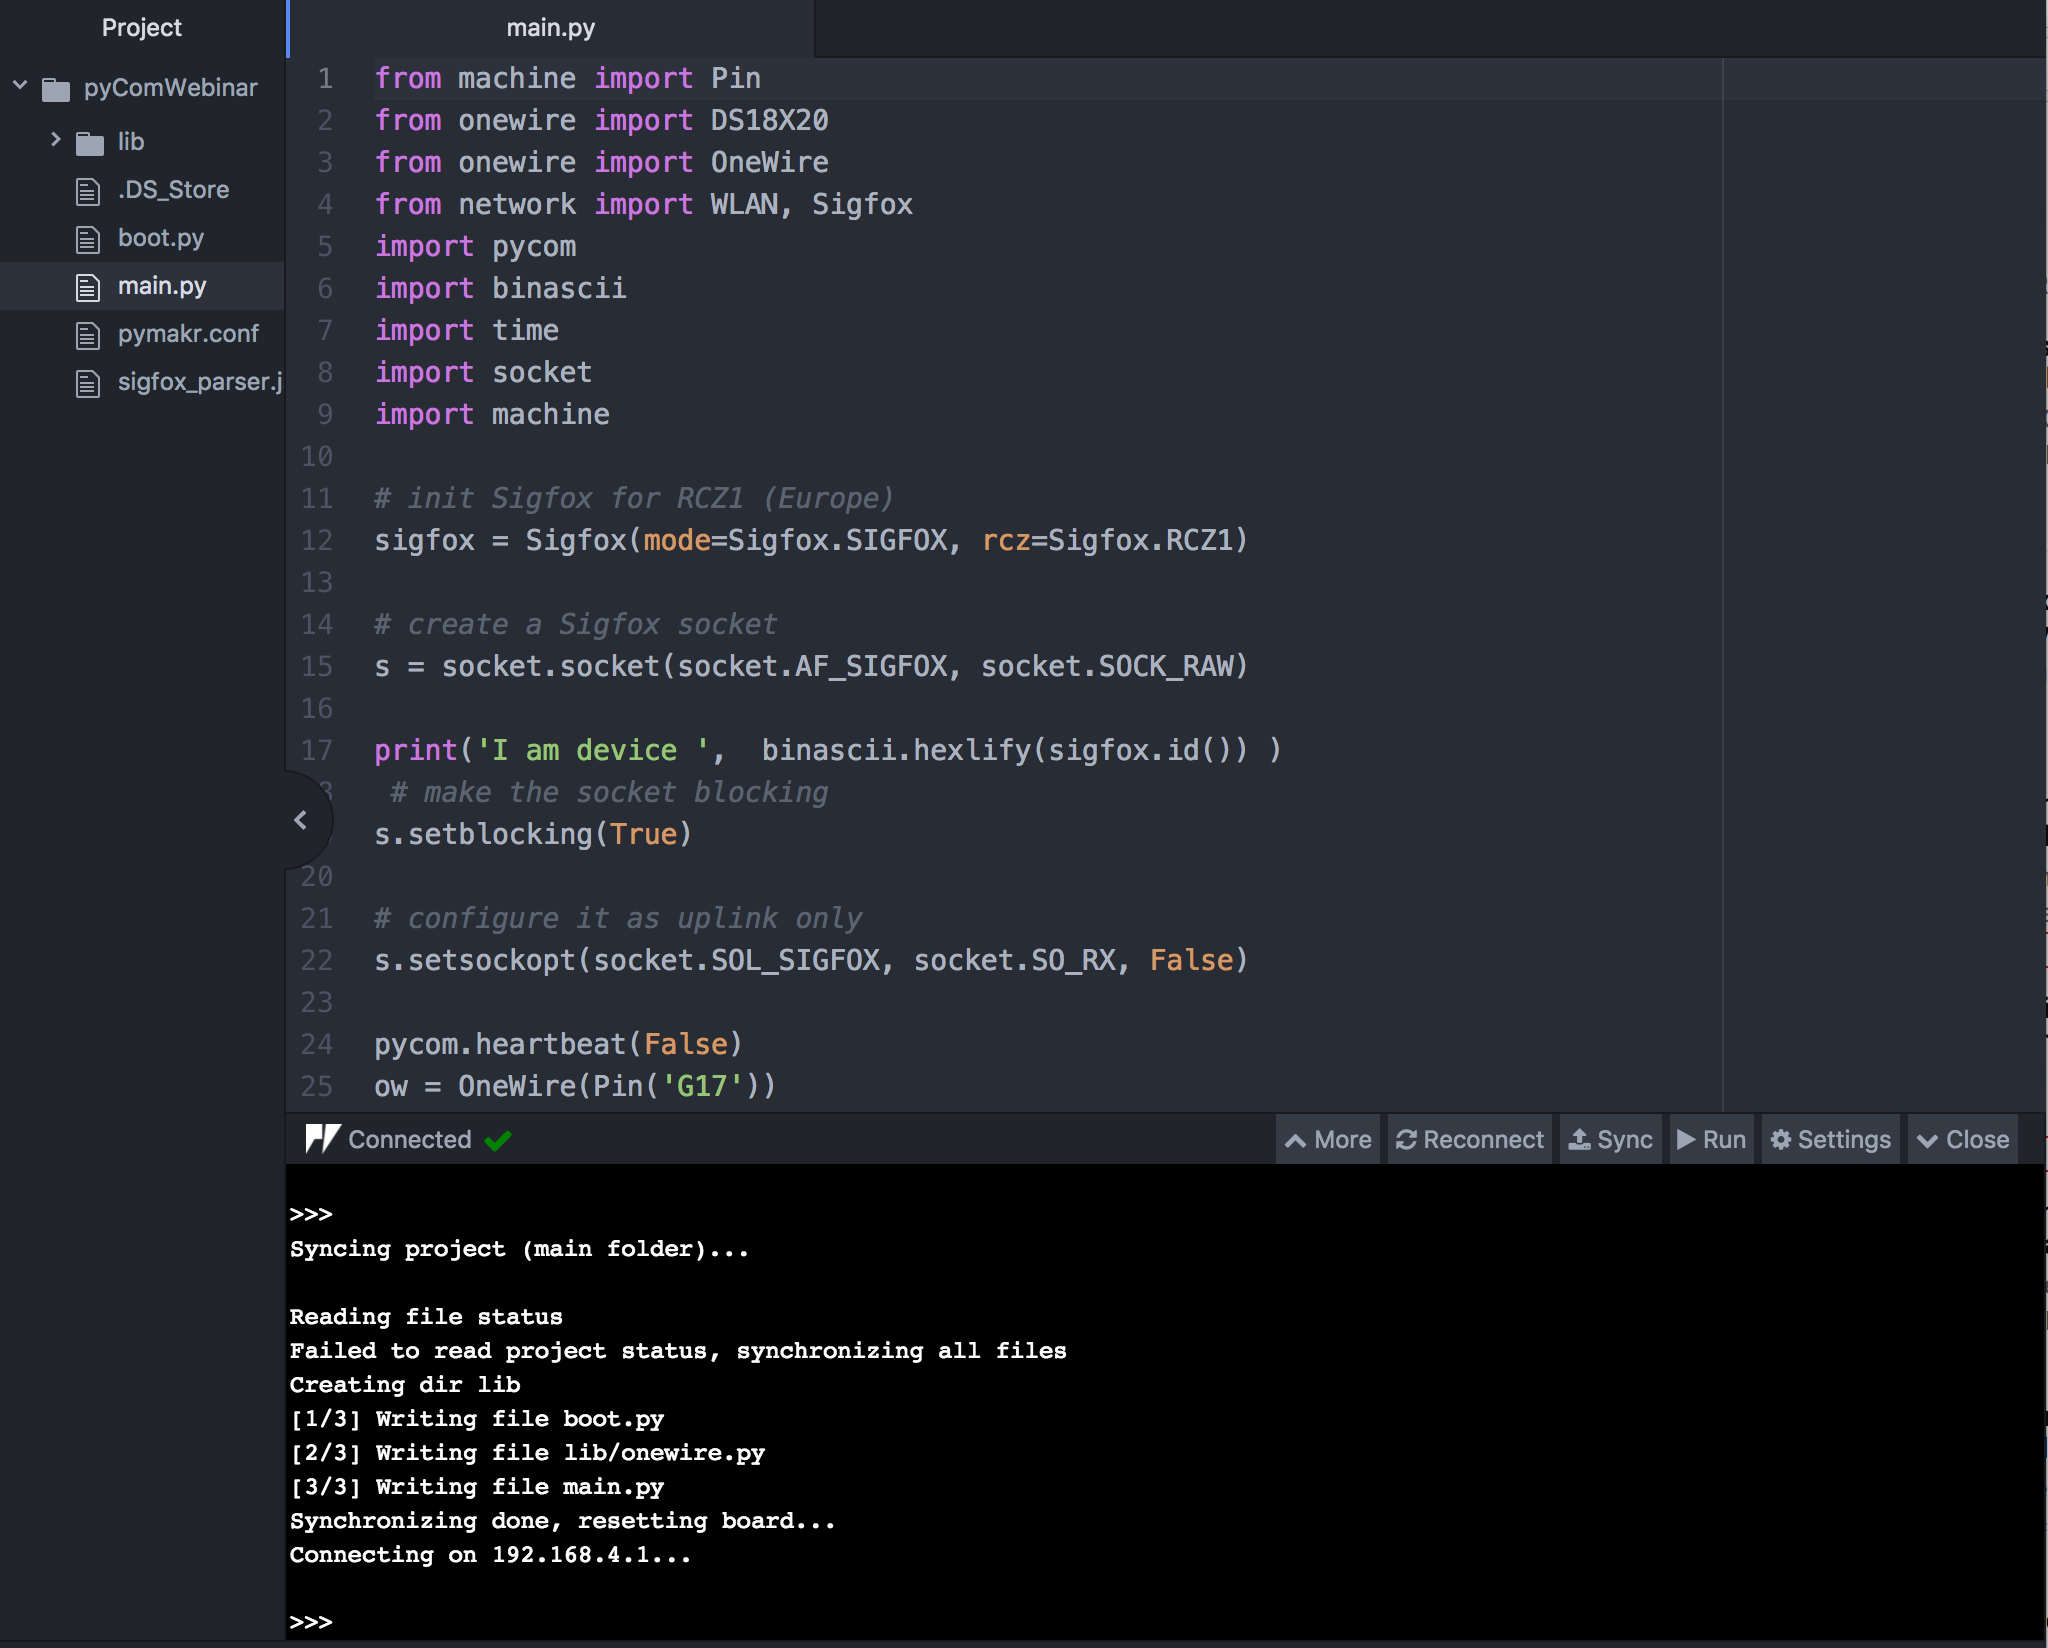
- Download the repository and open it with the Atom editor configured with the Pymakr plugin.
- Plug your Sipy with the computer using the USB port and connect to its wifi network.
- Having opened the code in the Atom IDE, click on Connect down in the Pymakr plugin.
- Once the connection is established, Sync the code with the device. Once its send the device will reboot and start running the flashed code.
Connect the Pycom SiPy with thethings.iO IoT platform
Once you have a thethings.iO account, if you don’t have a Sigfox product to use, follow this steps:
- Enter to your account and click on Things.
- Press on Create new IoT product.
- Select Sigfox as Serialisation format.
- Give a name and choose Akeru for the board.
- Click on the previously created product and copy the subscription URL.

Now it’s time to register thethings.iO Callback at the Sigfox backend. Once you have copied the previous URL, navigate to the Sigfox backend.
- Click on your device.
- Navigate to callbacks.
- Create a new callback. Make sure you choose DATA as the type of callback and UPLINK as the type of service.
- Copy the URL inside the URL pattern.
The url should look like this: https://subscription.thethings.io/sgfx/1234/abcdefghijklmn?id={device}&data={data}&radius={radius}&seqNumber={seqNumber}&snr={snr}&time={time}&station={station}&rssi={rssi}&lat={lat}&lng={lng}
Update the sigfox parser at thethings.iO
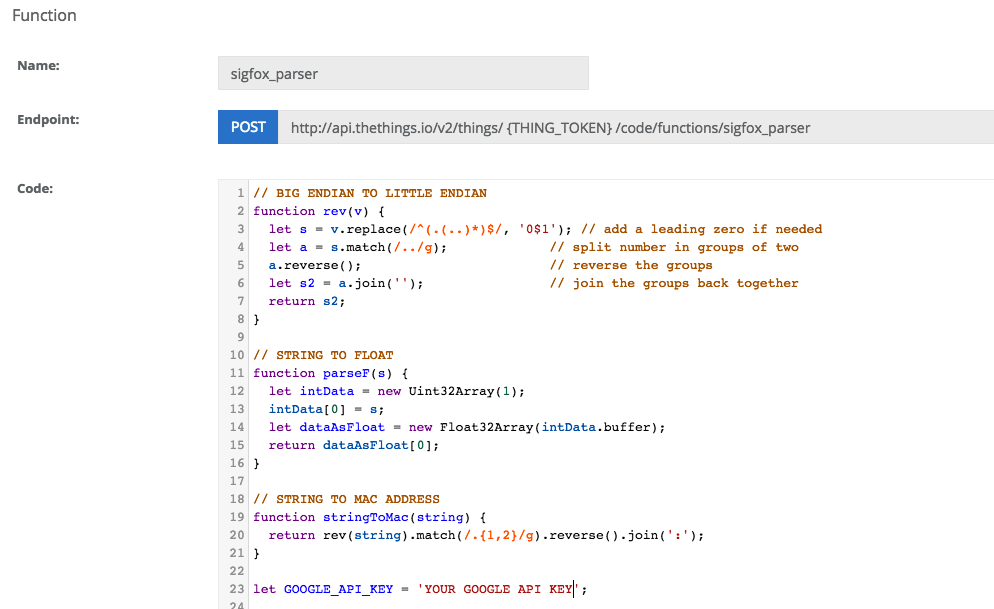
Back into thethings.iO, move to the cloud code area. You’ll see that a new function called sigfox_parser is created.
Copy the contents of the sigfox_parser of the previous Github repository and make sure you get your GOOGLE API KEY to change it on the code.
Available resources & Dashboard creation
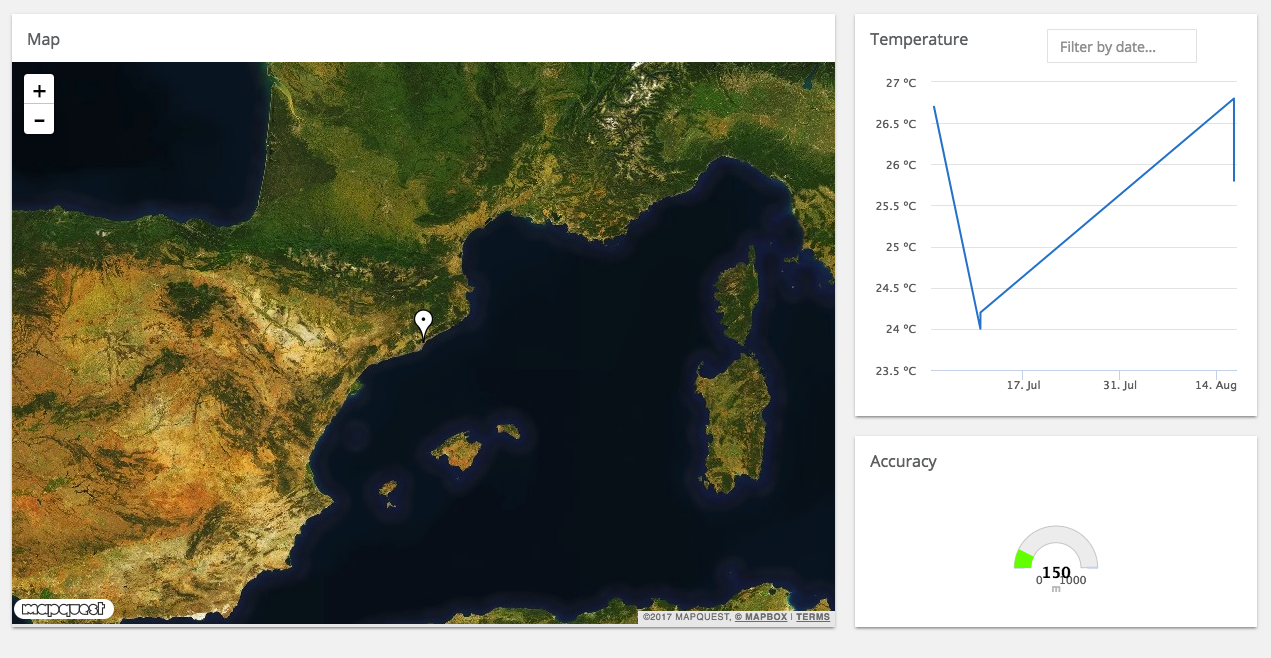
Once the device sends its first messages, the following resources will be shown:
- Geolocation: Google geolocation based on 2 strongest wifi’s.
- Google Accuracy: Accuracy of the previous geolocation.
- Temperature: Temperature taken by the device.
If you also want to add the Sigfox Geolocation service, make sure to read our last post about the Sigfox Geolocation!
Feel free to use thethings.iO widgets in order to create awesome IoT dashboards!

