Connect mcThings with thethings.iO IoT platform
Hardware is one of the most important part of the connected products actually. During the prototyping phase it’s important to have great hardware running your use case. We found that mcthings it’s a great hardware platform to build prototypes and real hardware on the top. If you are developing a project in United States, Latam or Oceania using Sigfox, you cannot miss mcThings hardware platform. Of course you also can use this hardware for WiFi and other protocols as we are going to show today with thethings.iO IoT platform.
Before following some steps, please make sure:
- You have downloaded and installed mcStudio.
- A micro usb cable to connect the mcGateway or the mcDongle (to OTA update the devices).
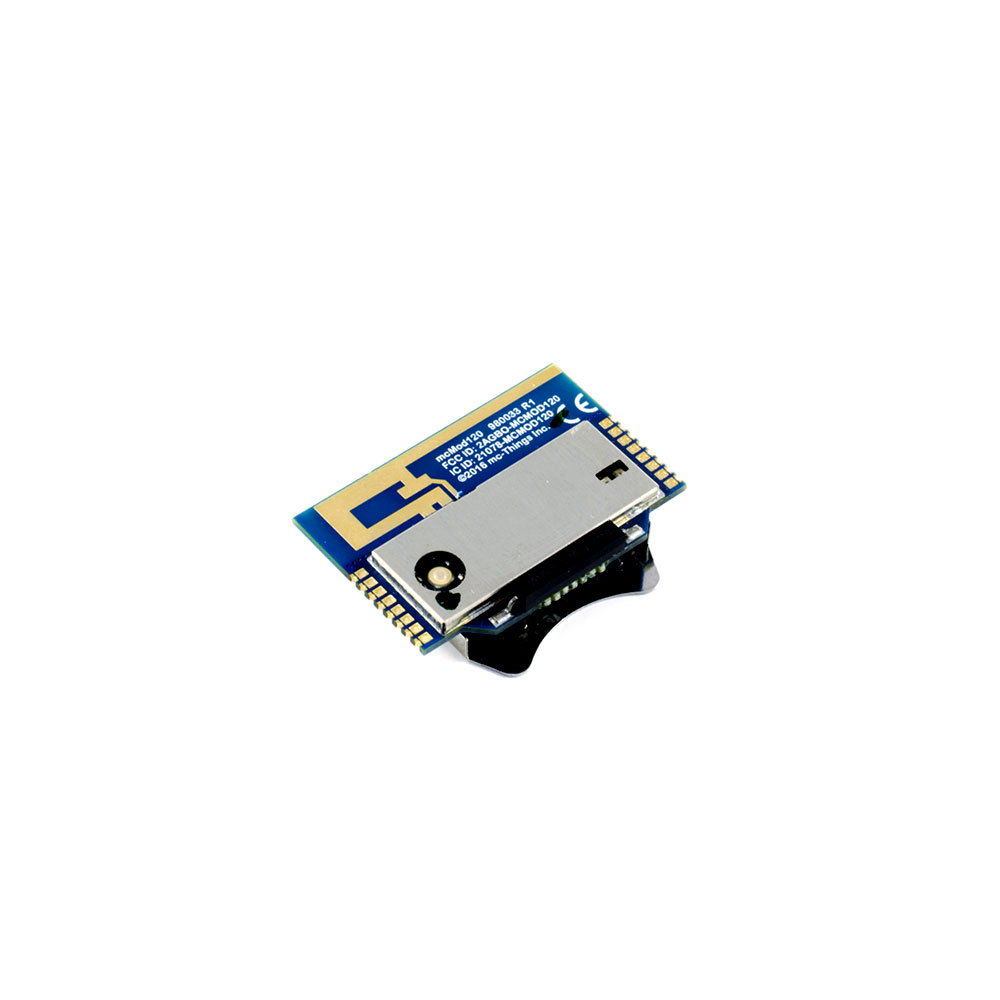
- A mcGateway, a mcDongle and a mcModule.
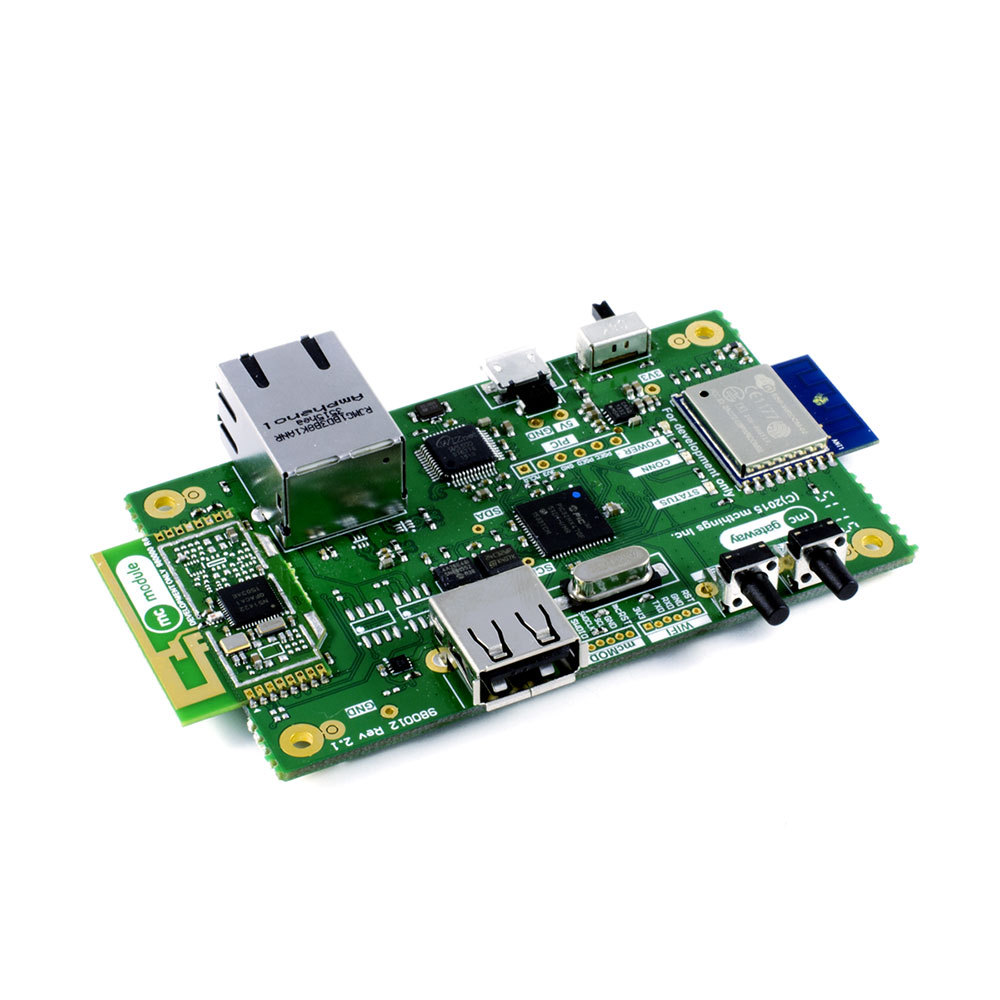
Lets start! Connecting the mcGateway to the Wi-Fi / Ethernet If you want to connect the mcGateway to the internet using Wi-Fi, as the Quick start guide specifies:
- Ensure the Network Mode toggle switch is in the Wi-Fi position. This is indicated by “WIFI” on the underside of your mc-Gateway.
- You can connect the gateway via WPS or directly to your WIFI network using the gateway config. For this project, we connect the gateway using WPS.
- Start the WPS mode on your Wi-Fi router.
- Hold down the push button labeled USER SW for 1 second and release to start the WPS process.
- The amber LED labelled CONN will flash while attempting to connect to Wi-Fi
- When a network connection is established, the amber LED labeled CONN will turn on.
Otherwise connect the Ethernet cable to the mcGateway.
thethings.iO IoT platform
Create a thethings.iO account:
If you still don’t have an account, please register at thethings.iO IoT platform. In order to create a new thing:
- Enter to your account and click on Things.
- Press on Create new IoT product.
- Give a name and choose Other for the board.
- Finish the steps and remember the thing Token.
Programming the mcThings mcModules
- Download or clone thethings.iO mcthings repository. Place the contents in your mcthings project and libraries (by default in “My Documents”).
- Open the mcStudio application. Change the thing token with an actual token provided to you in the previous step.

- Connect to the gateway and to the module. Navigate to “Tools” and click on “Devices”. Select the connected mcGateway.


- Configure the mcGateway with the correct thethings.iO MQTT broker:


- Build and deploy the code to the modules.
Create a dashboard with thethings.iO IoT platform

- Create a thethings.iO dashboard: Now it’s time to create a dashboard in your thethings.iO account to show all the values sent by the mcModules. Lets create some charts:
- Click on the Add Widget blue button.
- Give a name to the Widget.
- Select Thing Resource inside Data Source.
- Select thing you just created before.
- Select the name of the resource you want to display and the format (pie, chart, graph…).
- Click on Customize it and select the number values you want to show.
- Accept and Save!
Repeat this last step to build awesome dashboards with thethings.iO!

