Connect Twitter to IoT with thethings.iO
As you probably know, it is possible to combine social media tools, such as Twitter, Facebook or Instagram, with the Internet of Things. In this post we are going to make a quick view of how to use our IoT platform, thethings.iO, in order to allow your things tweet what they are doing or experiencing.

Twitter thethings.iO
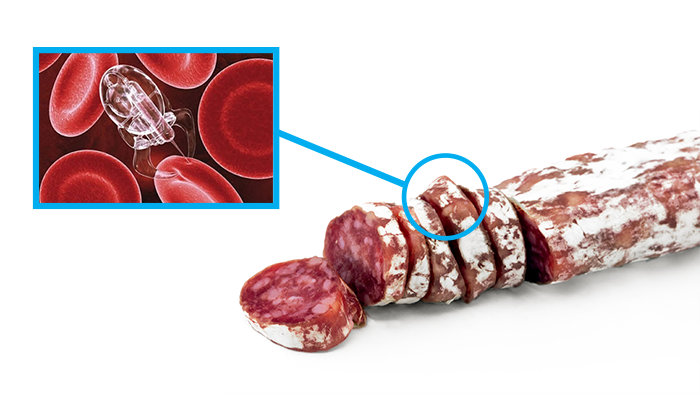
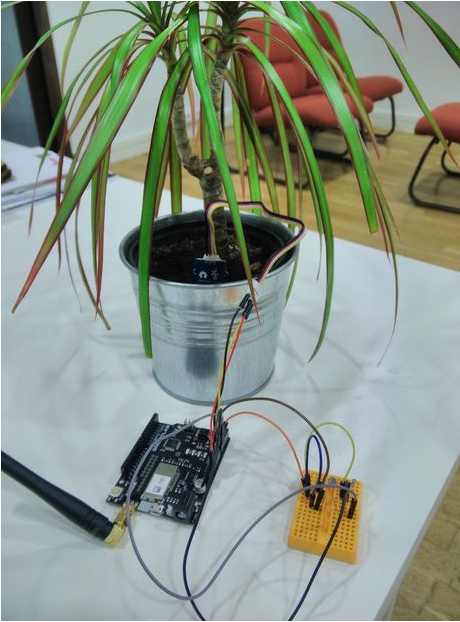
Just like all persons, your things live experiences. Imagine a plant. It needs to be watered, sun-exposed certain time, among other. What happens when you forget to do it? In a past, your plant may die in few days. Nowadays, the plant can talk to you if it’s connected. It can have a Twitter account and, in case it needs to be watered, it can post a tweet saying, for example, “Hey dear, my boss just forgot to water me!”. Other examples can be: “S.O.S. I need more sun!” or “I’m thirsty, please water me!”.
At thethings.iO your things can send tweets in 10 minutes and 20 lines of code. The only thing you need is: connect a plant, introduce your Twitter credentials! and make an easy trigger on thethings.iO cloud code. It is easy, right?
Step by step: How to make my thing that send tweets
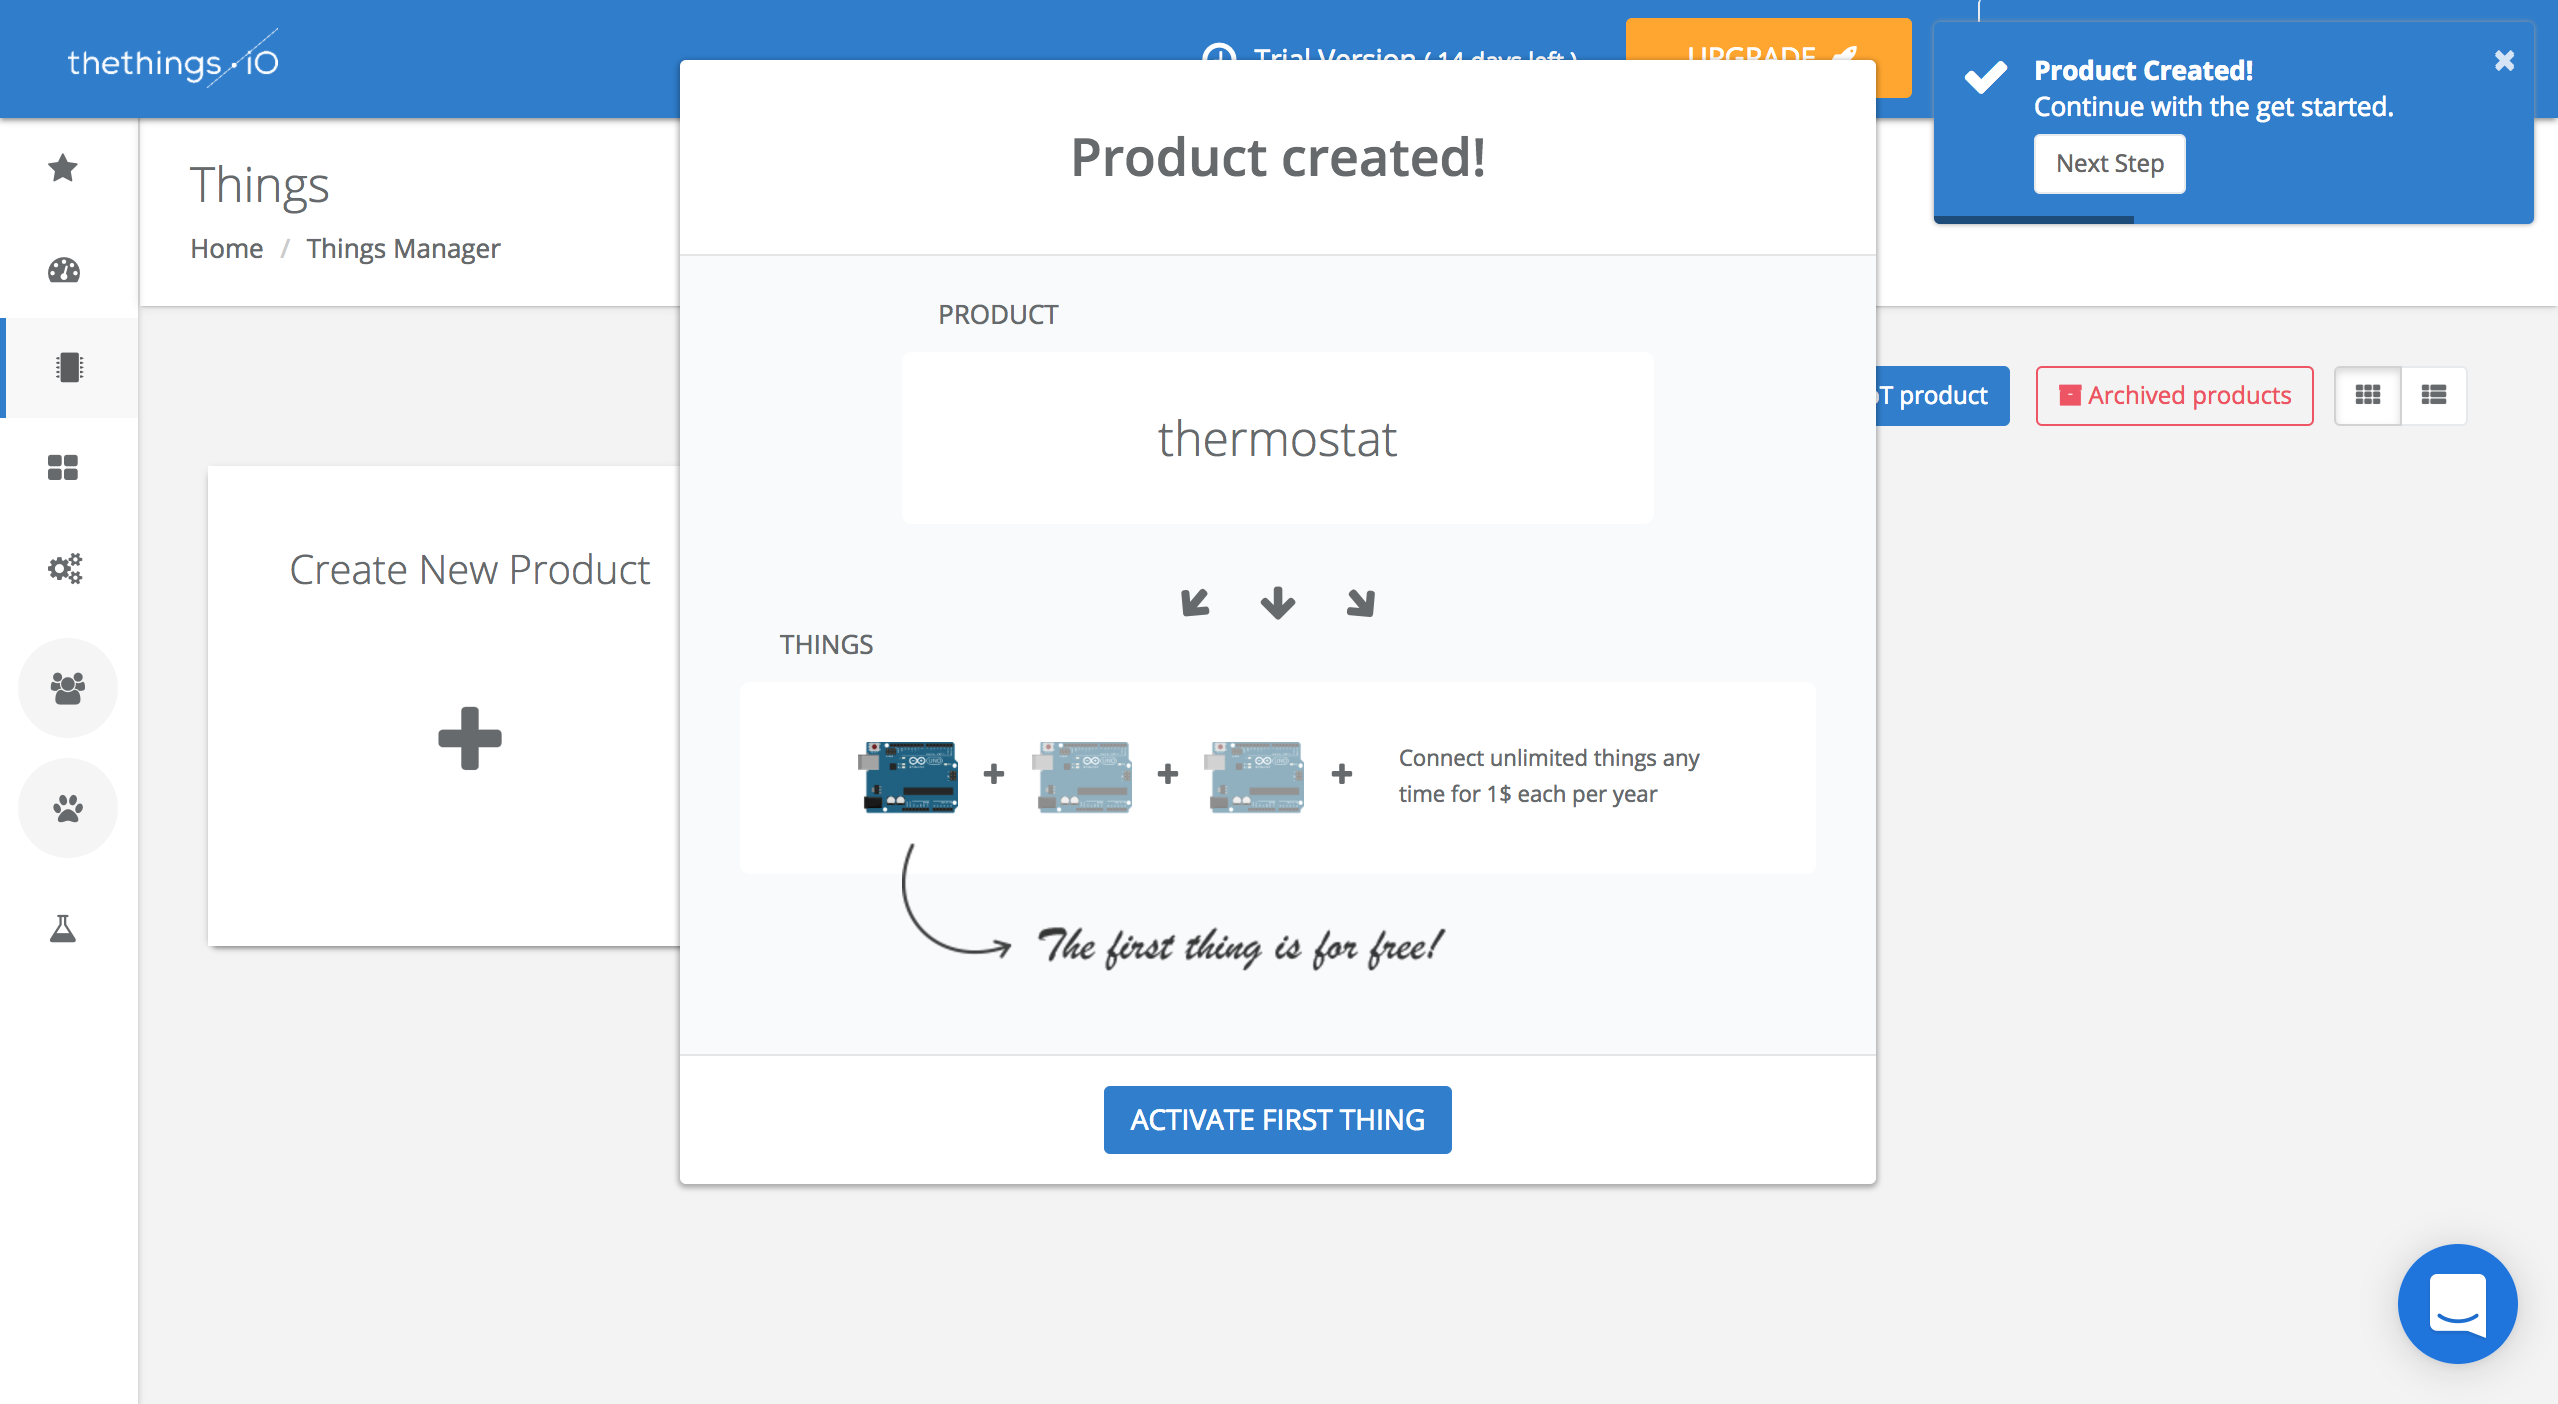
Step 0: Create an account
In case you don’t have an account in our platform, register by clicking here. It will take you less than a minute! And if you already have one, just log in to thethings.iO.

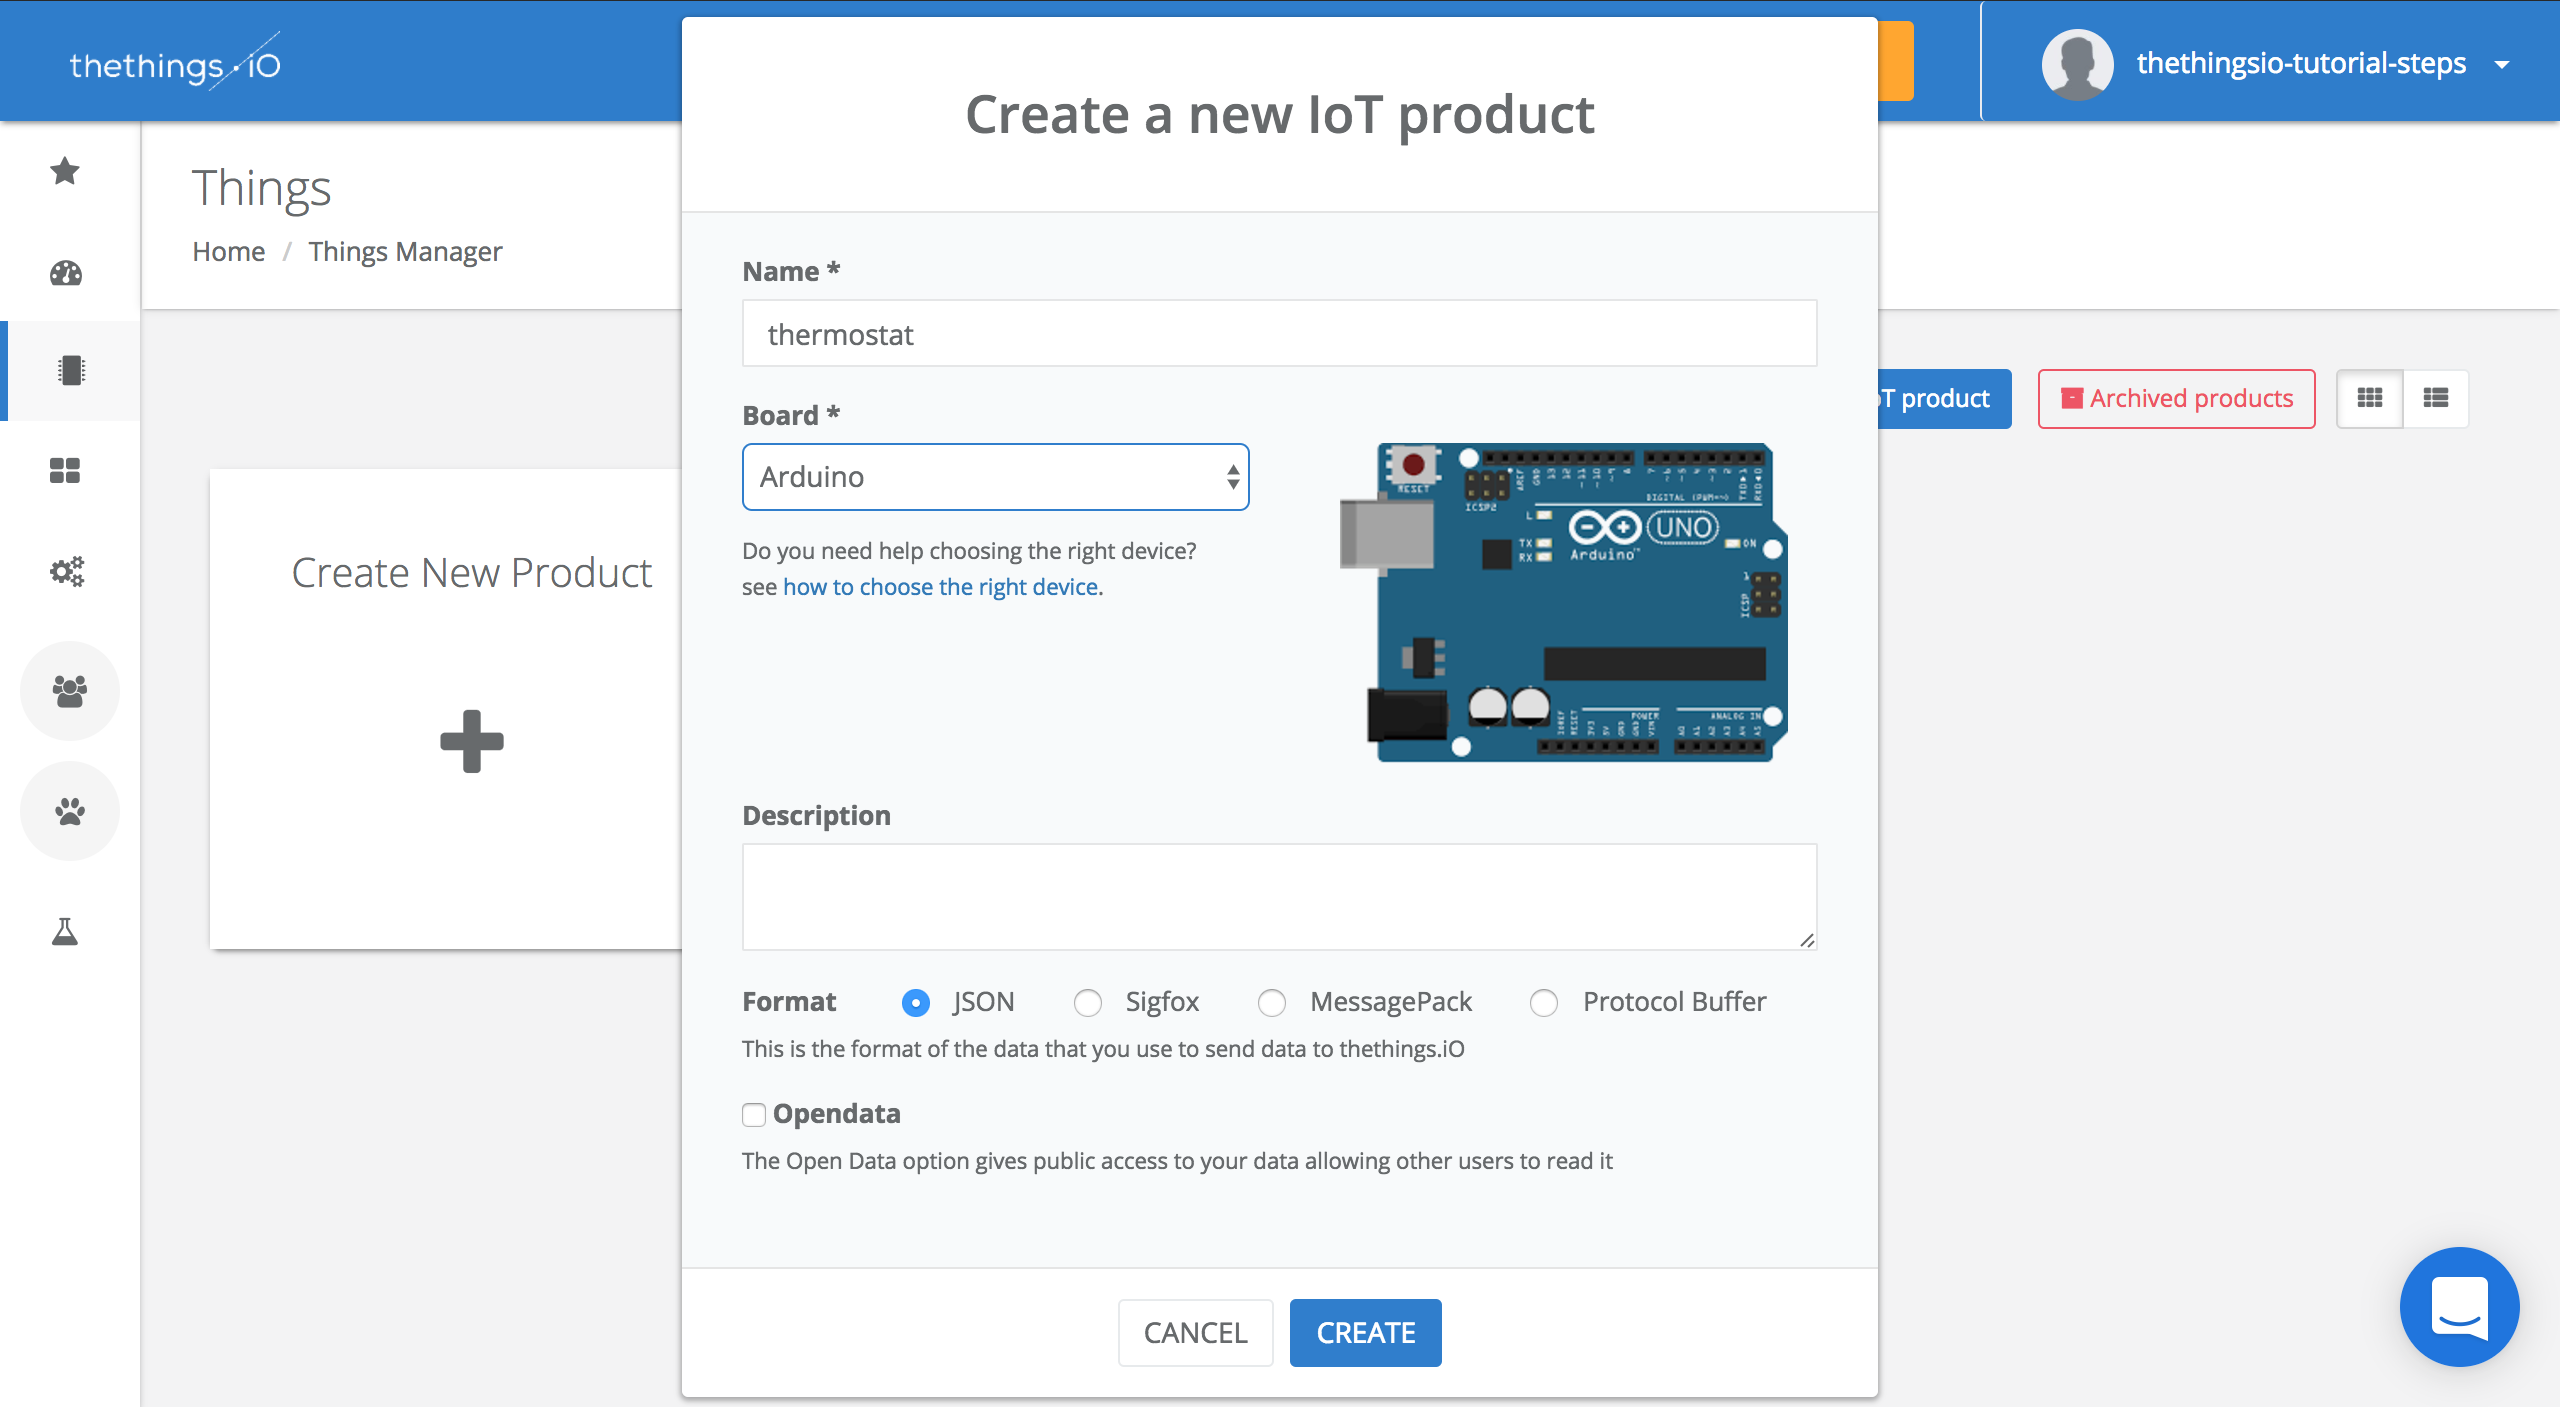
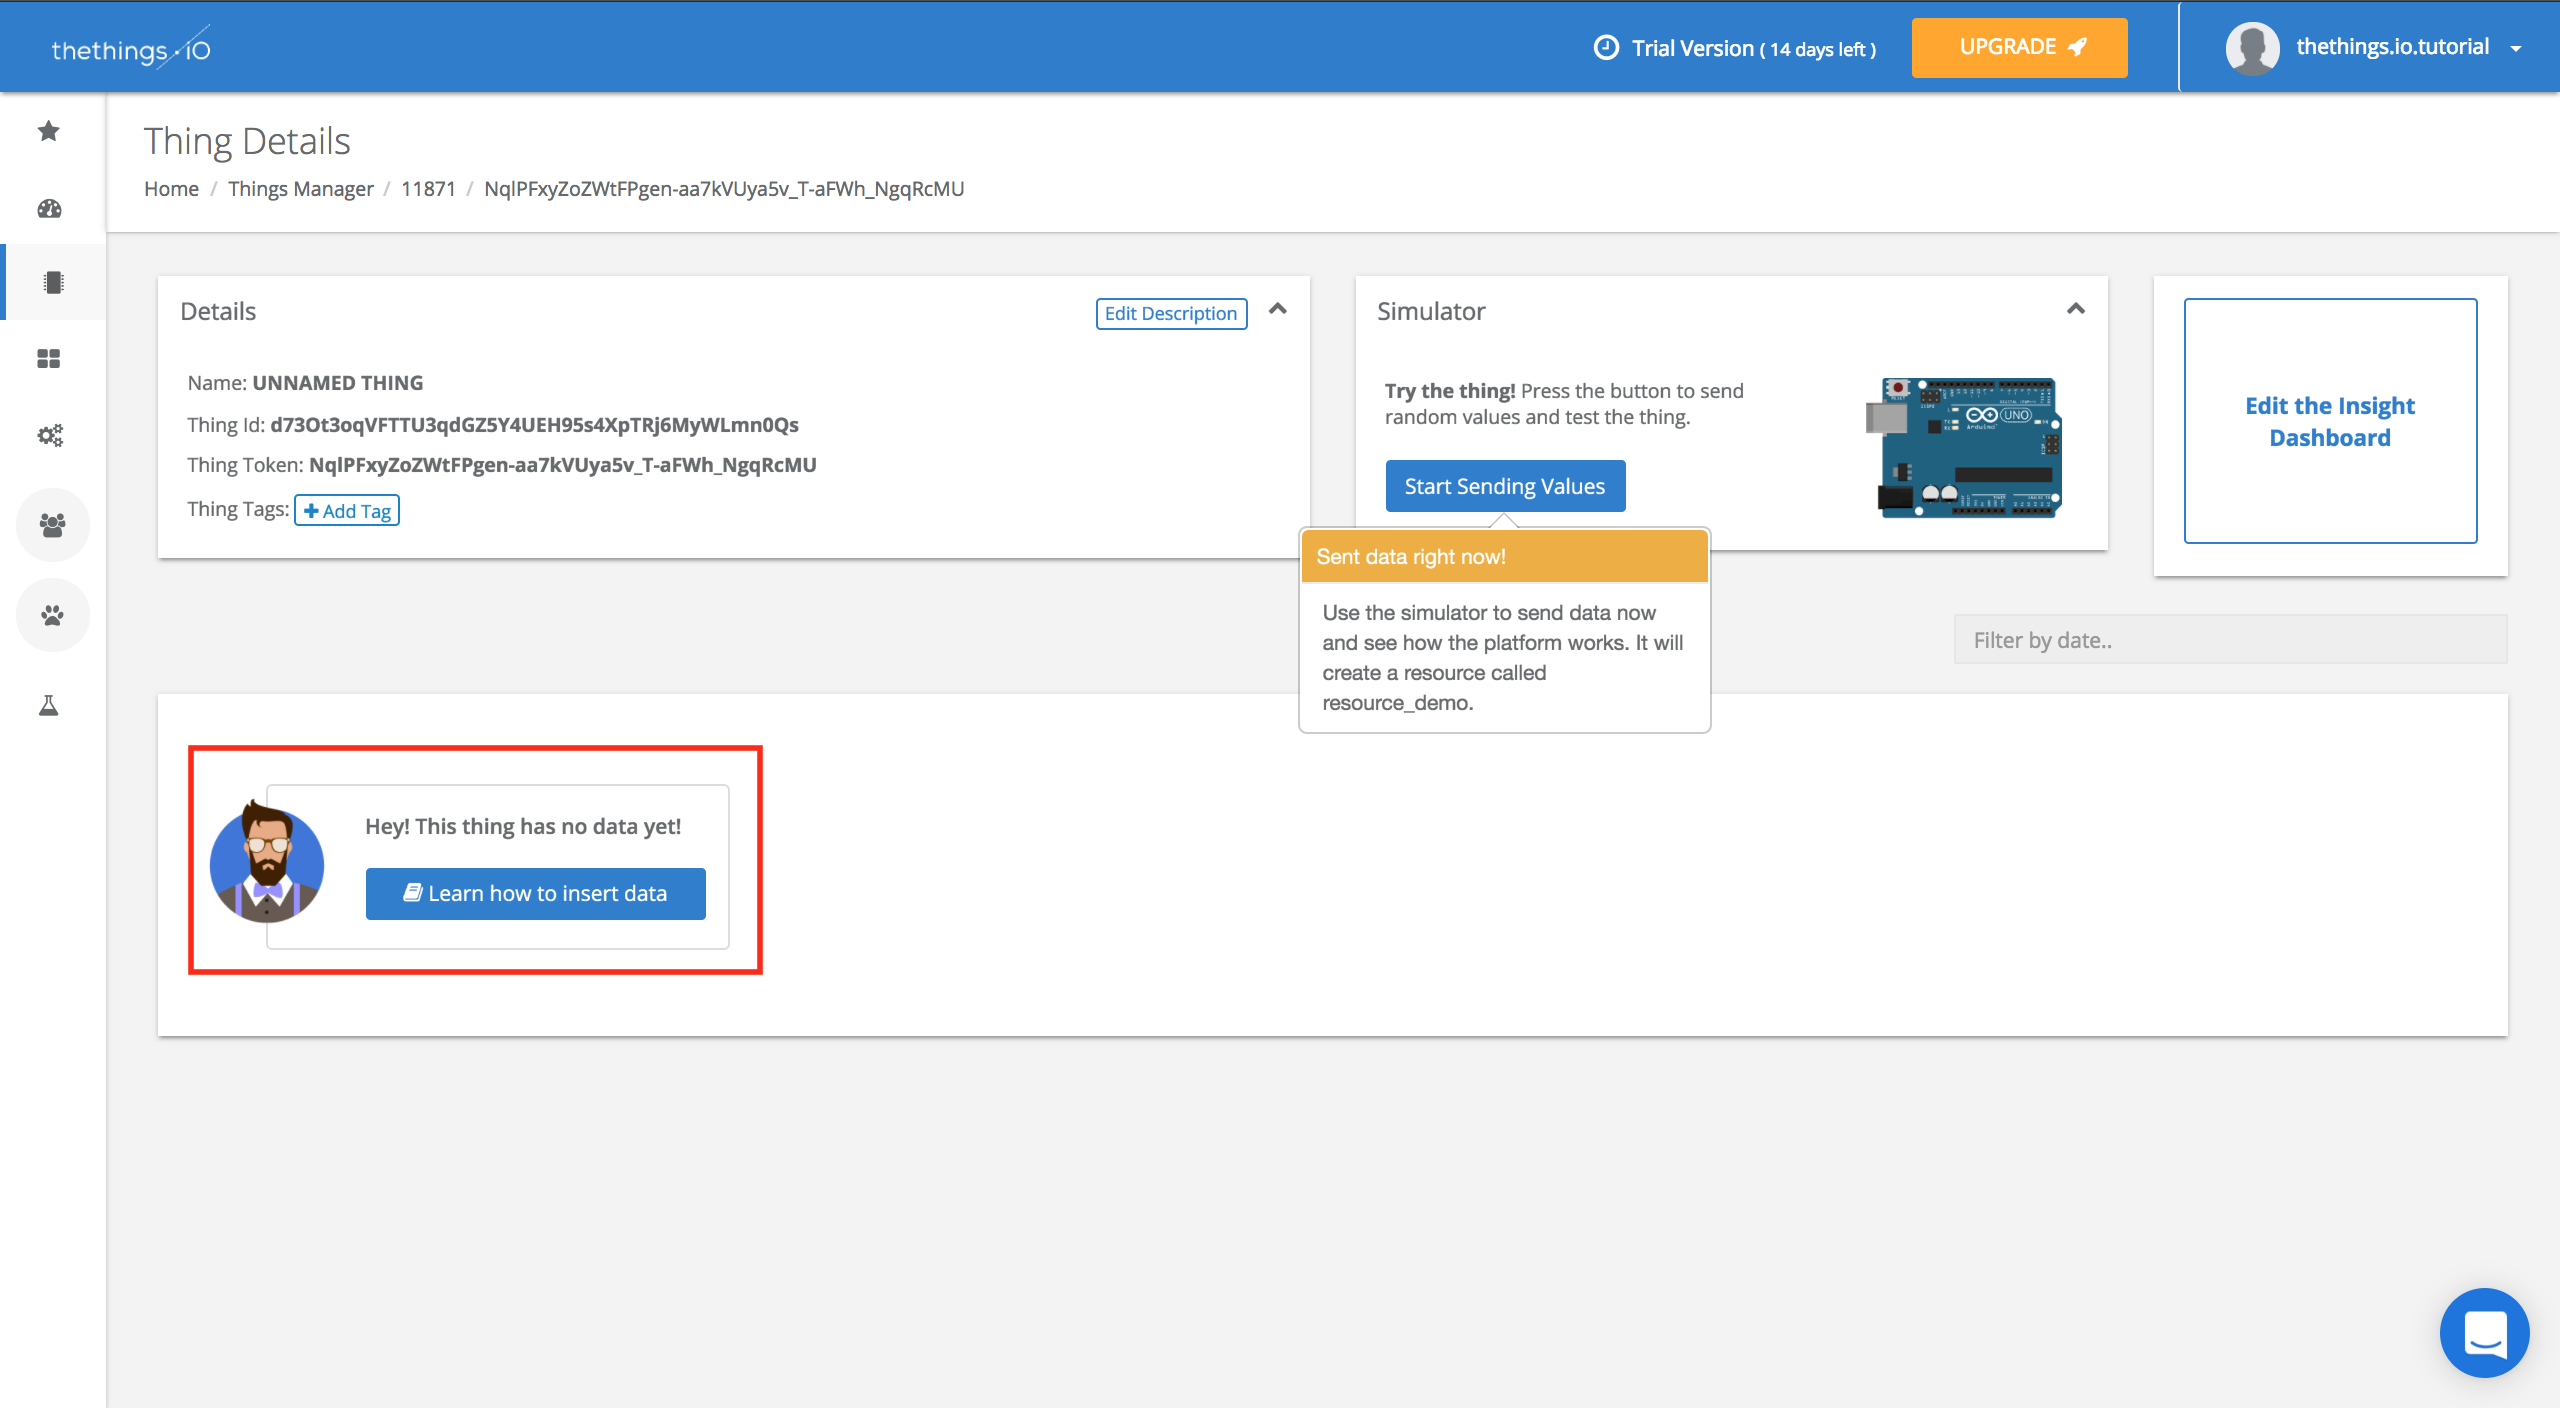
Step 1: Connect your plant
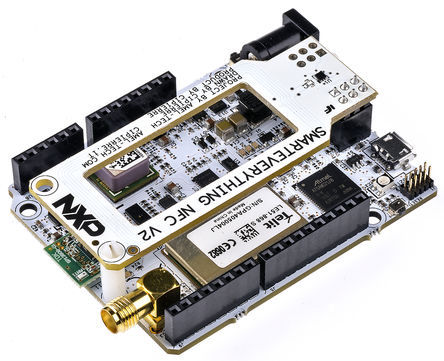
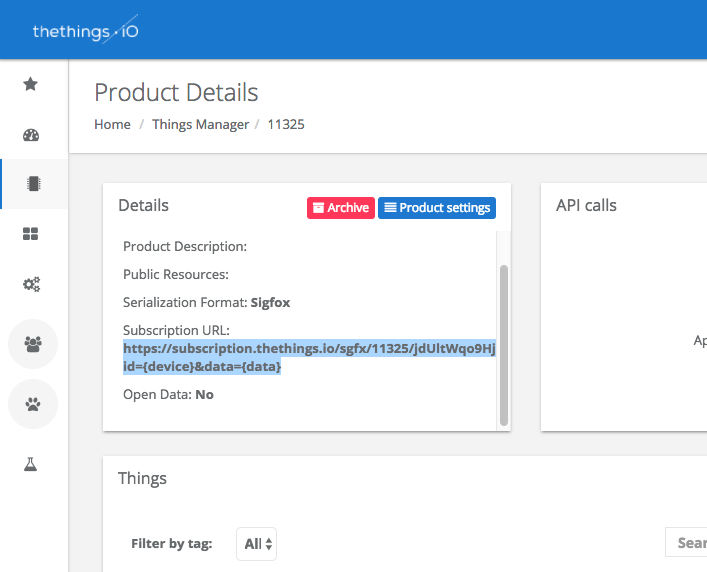
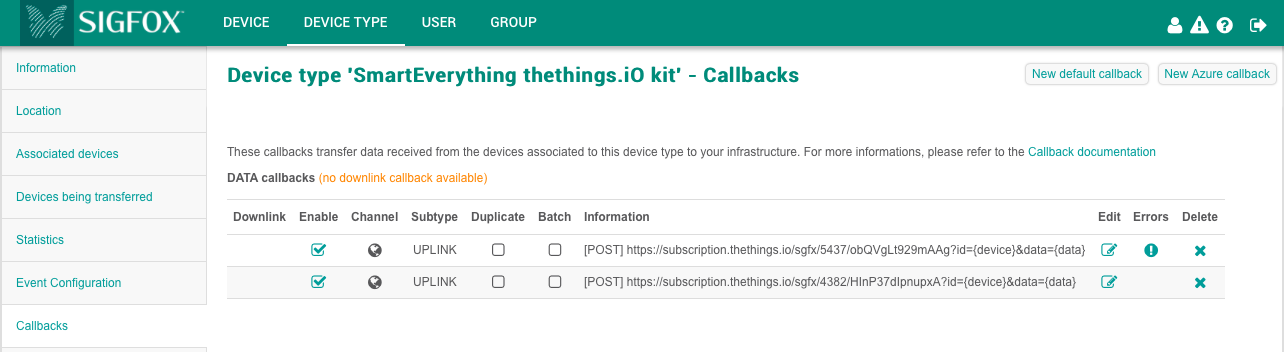
It does not matter what thing you want to receive tweets from. But you need to have your thing created and connected using our platform. Learn how to do it in less than a minute here.
We connected a plant to the Internet through Sigfox some weeks ago, so just copy and paste our example from thethings.iO Instructables.
Step 2: Code the Trigger
Once the plant is connected and sending data to thethings.iO IoT platform, let’s start coding the trigger on cloud code.
You need to introduce this piece of code and build some logics on your thing in order to allow it to send you tweets. In here, you will also need to introduce your Twitter credentials.
function trigger(params, callback){
if (params.action !== 'write') return callback(); // If the plant is writing something to thethings.iO, else don't send to twitter.
// Message to post
var inputTwitter = {
'status': 'A 140 character message :P'
}
// Your twitter API credentials
var twitter = new Twitter({
accessToken: '',
accessTokenSecret: '',
consumerKey: '',
consumerSecret: ''
});
// if something happens with your plant then
twitter.postTweet(inputTwitter, callback)
var values = {
values: params.values;
};
values.values[0].key = 'tweet';
values.values[0].value = inputTwitter.status;
// Each time a twitter is sent,the status is wrote to a resource called 'tweet'
thethingsAPI.thingWrite('your Thing token', values, function() { callback(null, 'ok'); } );
}
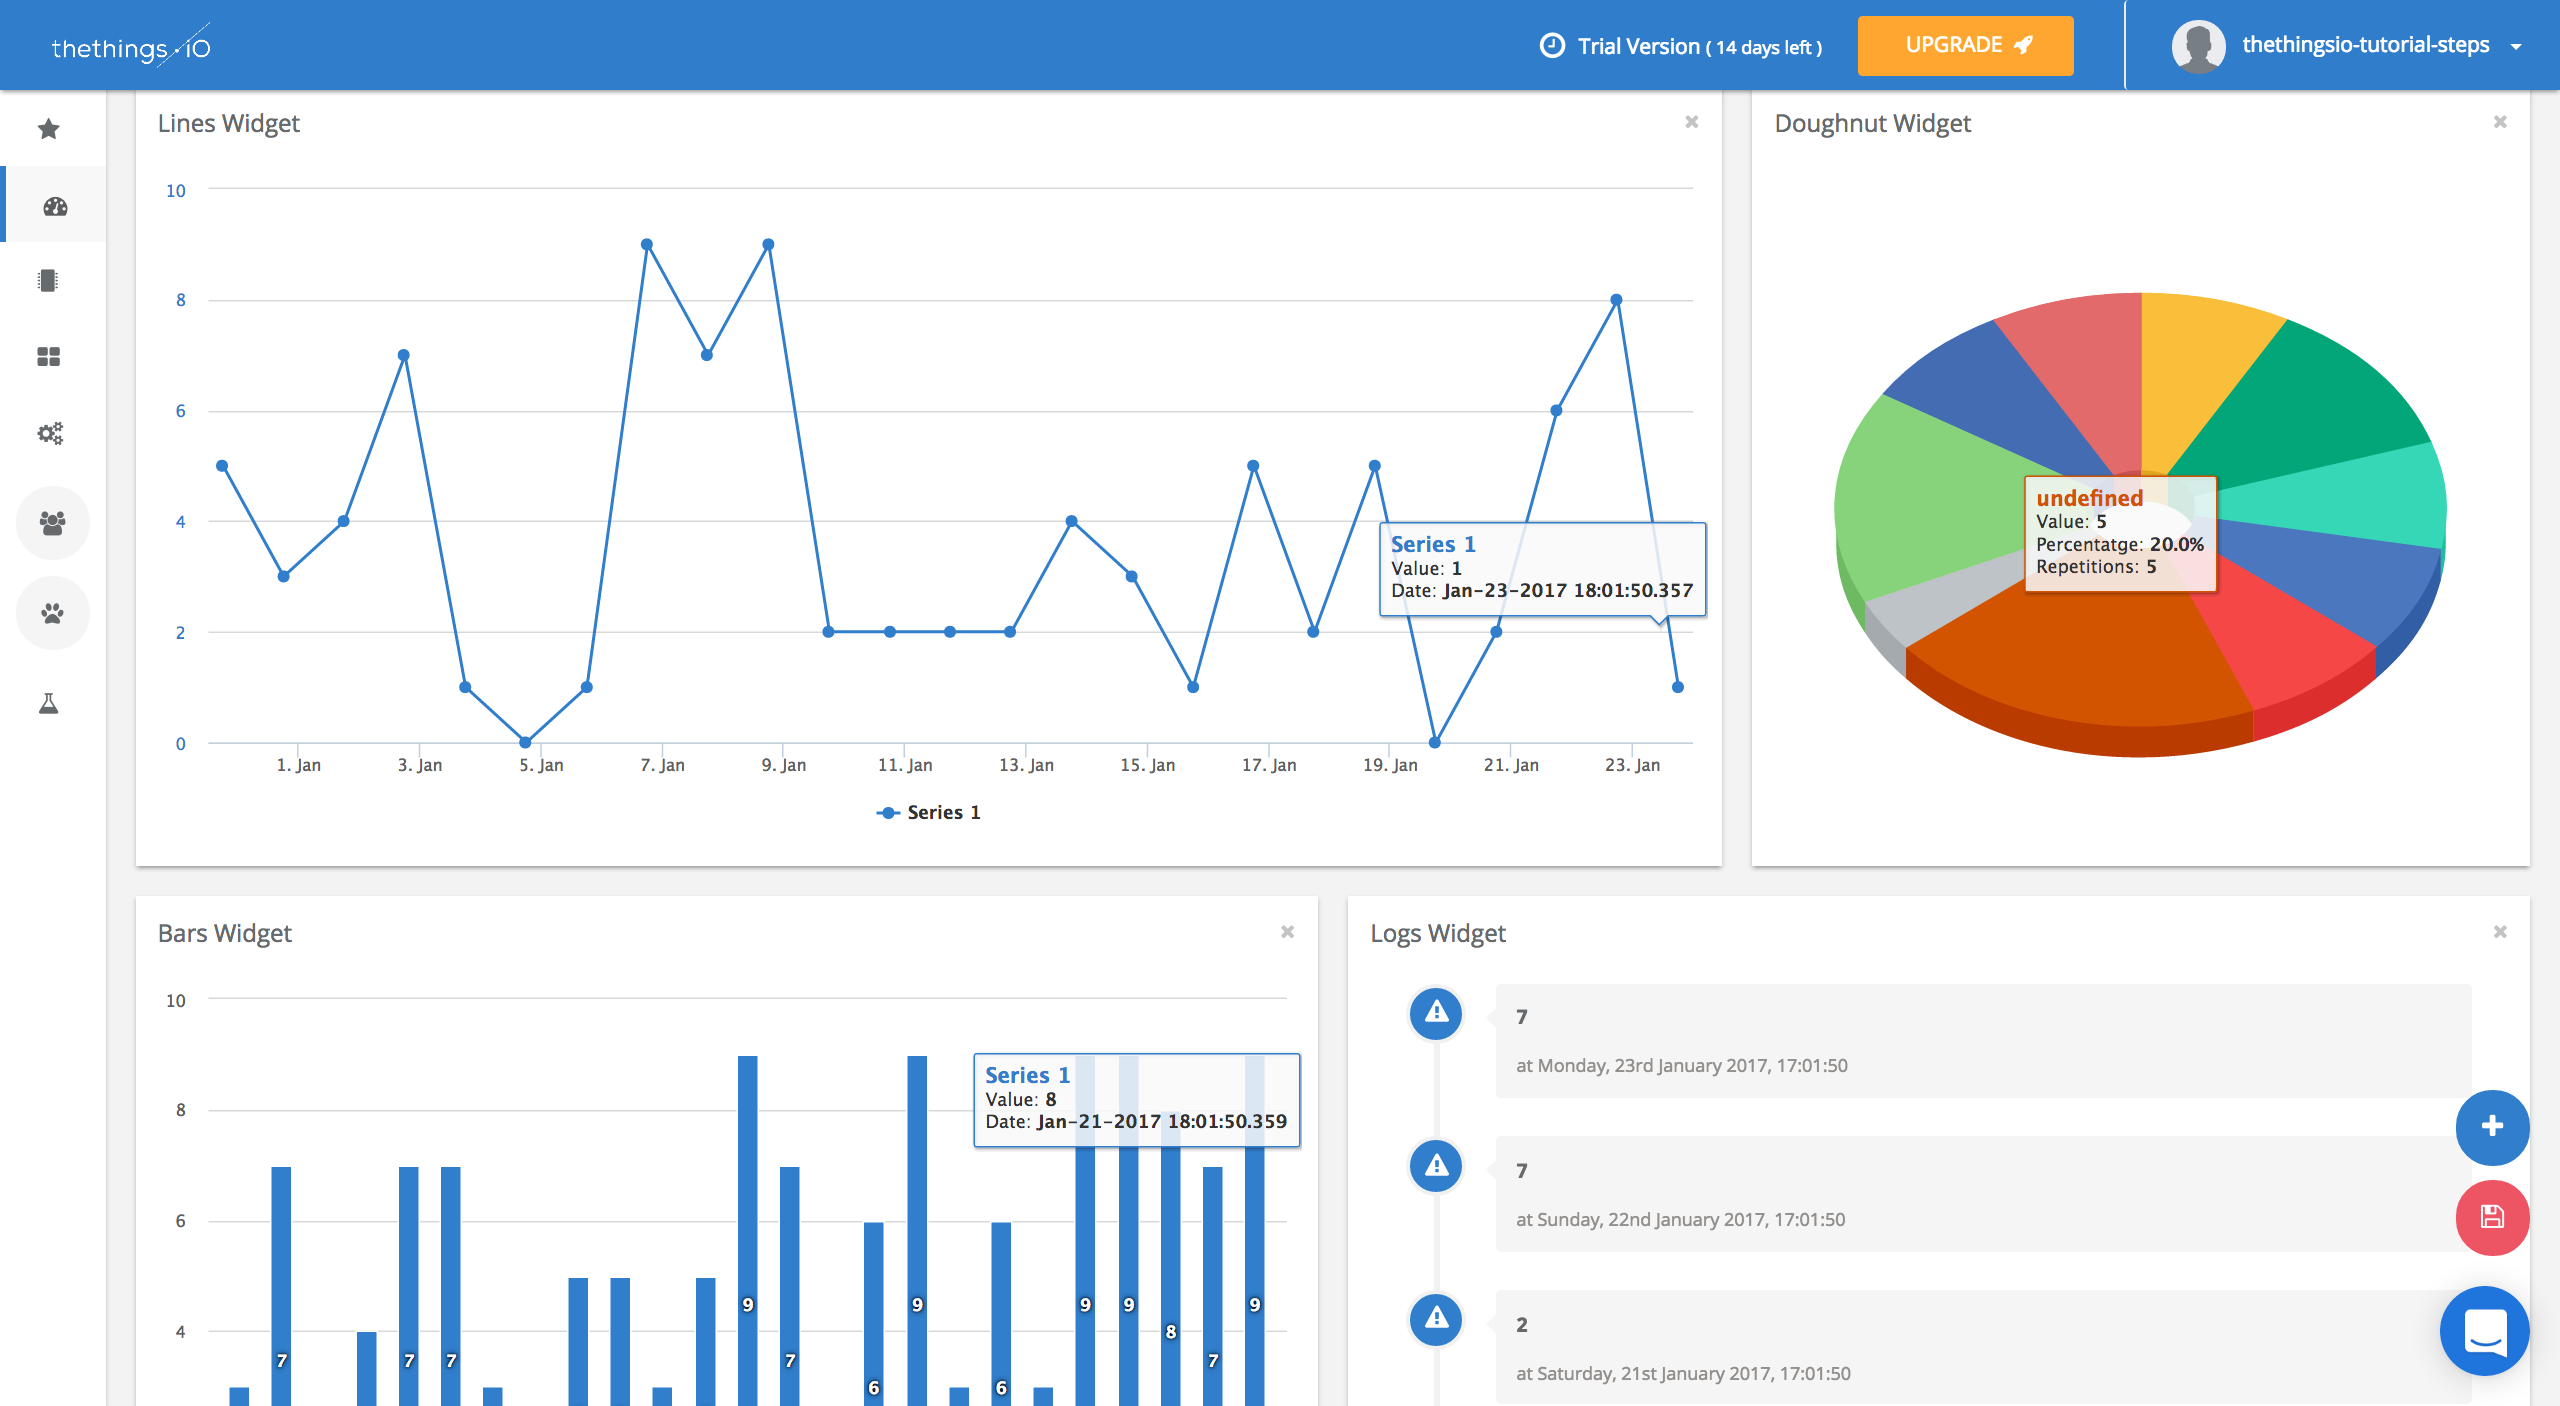
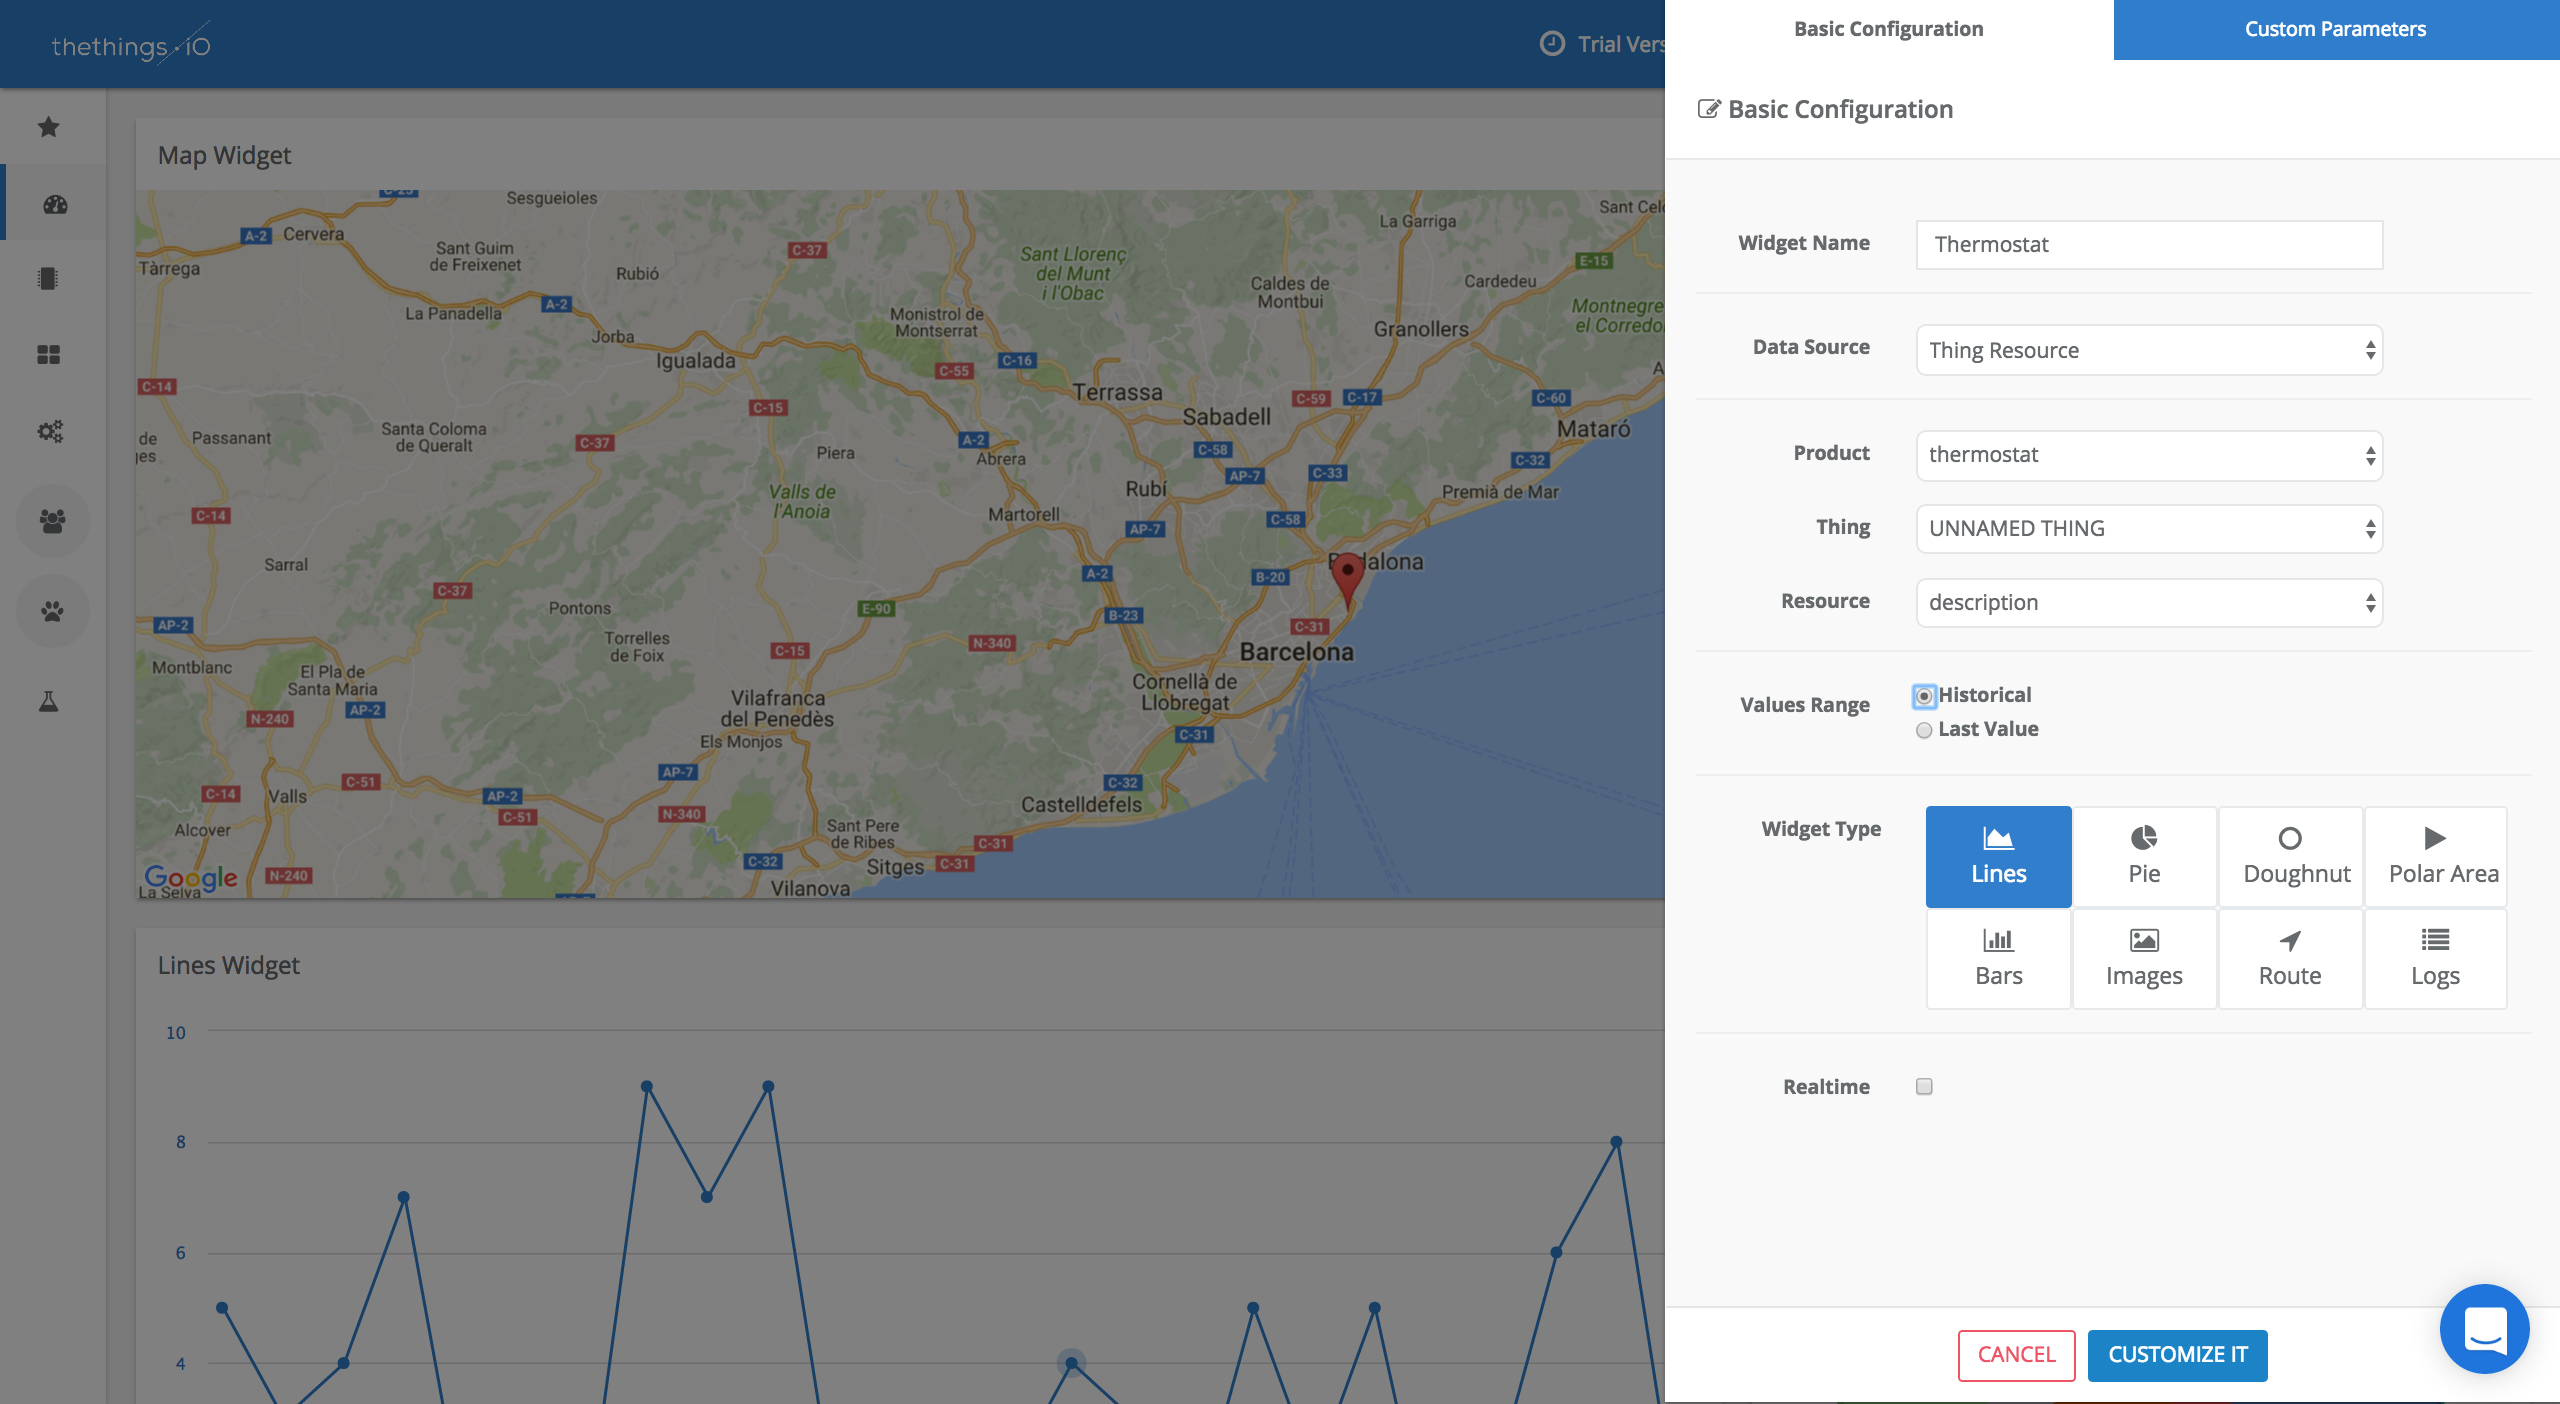
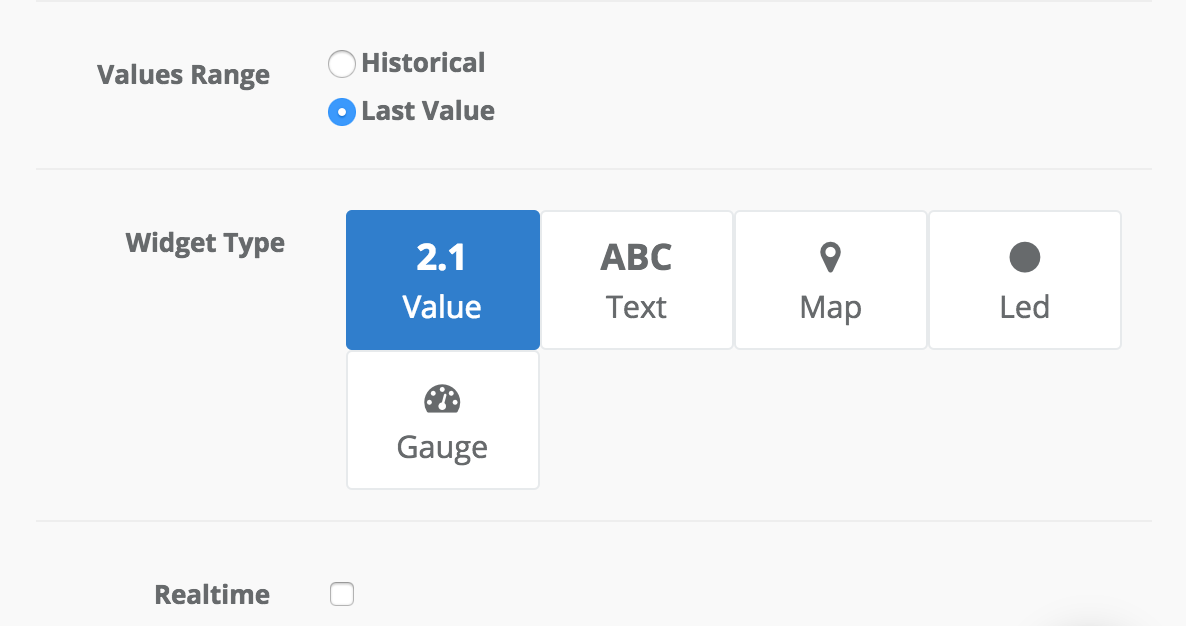
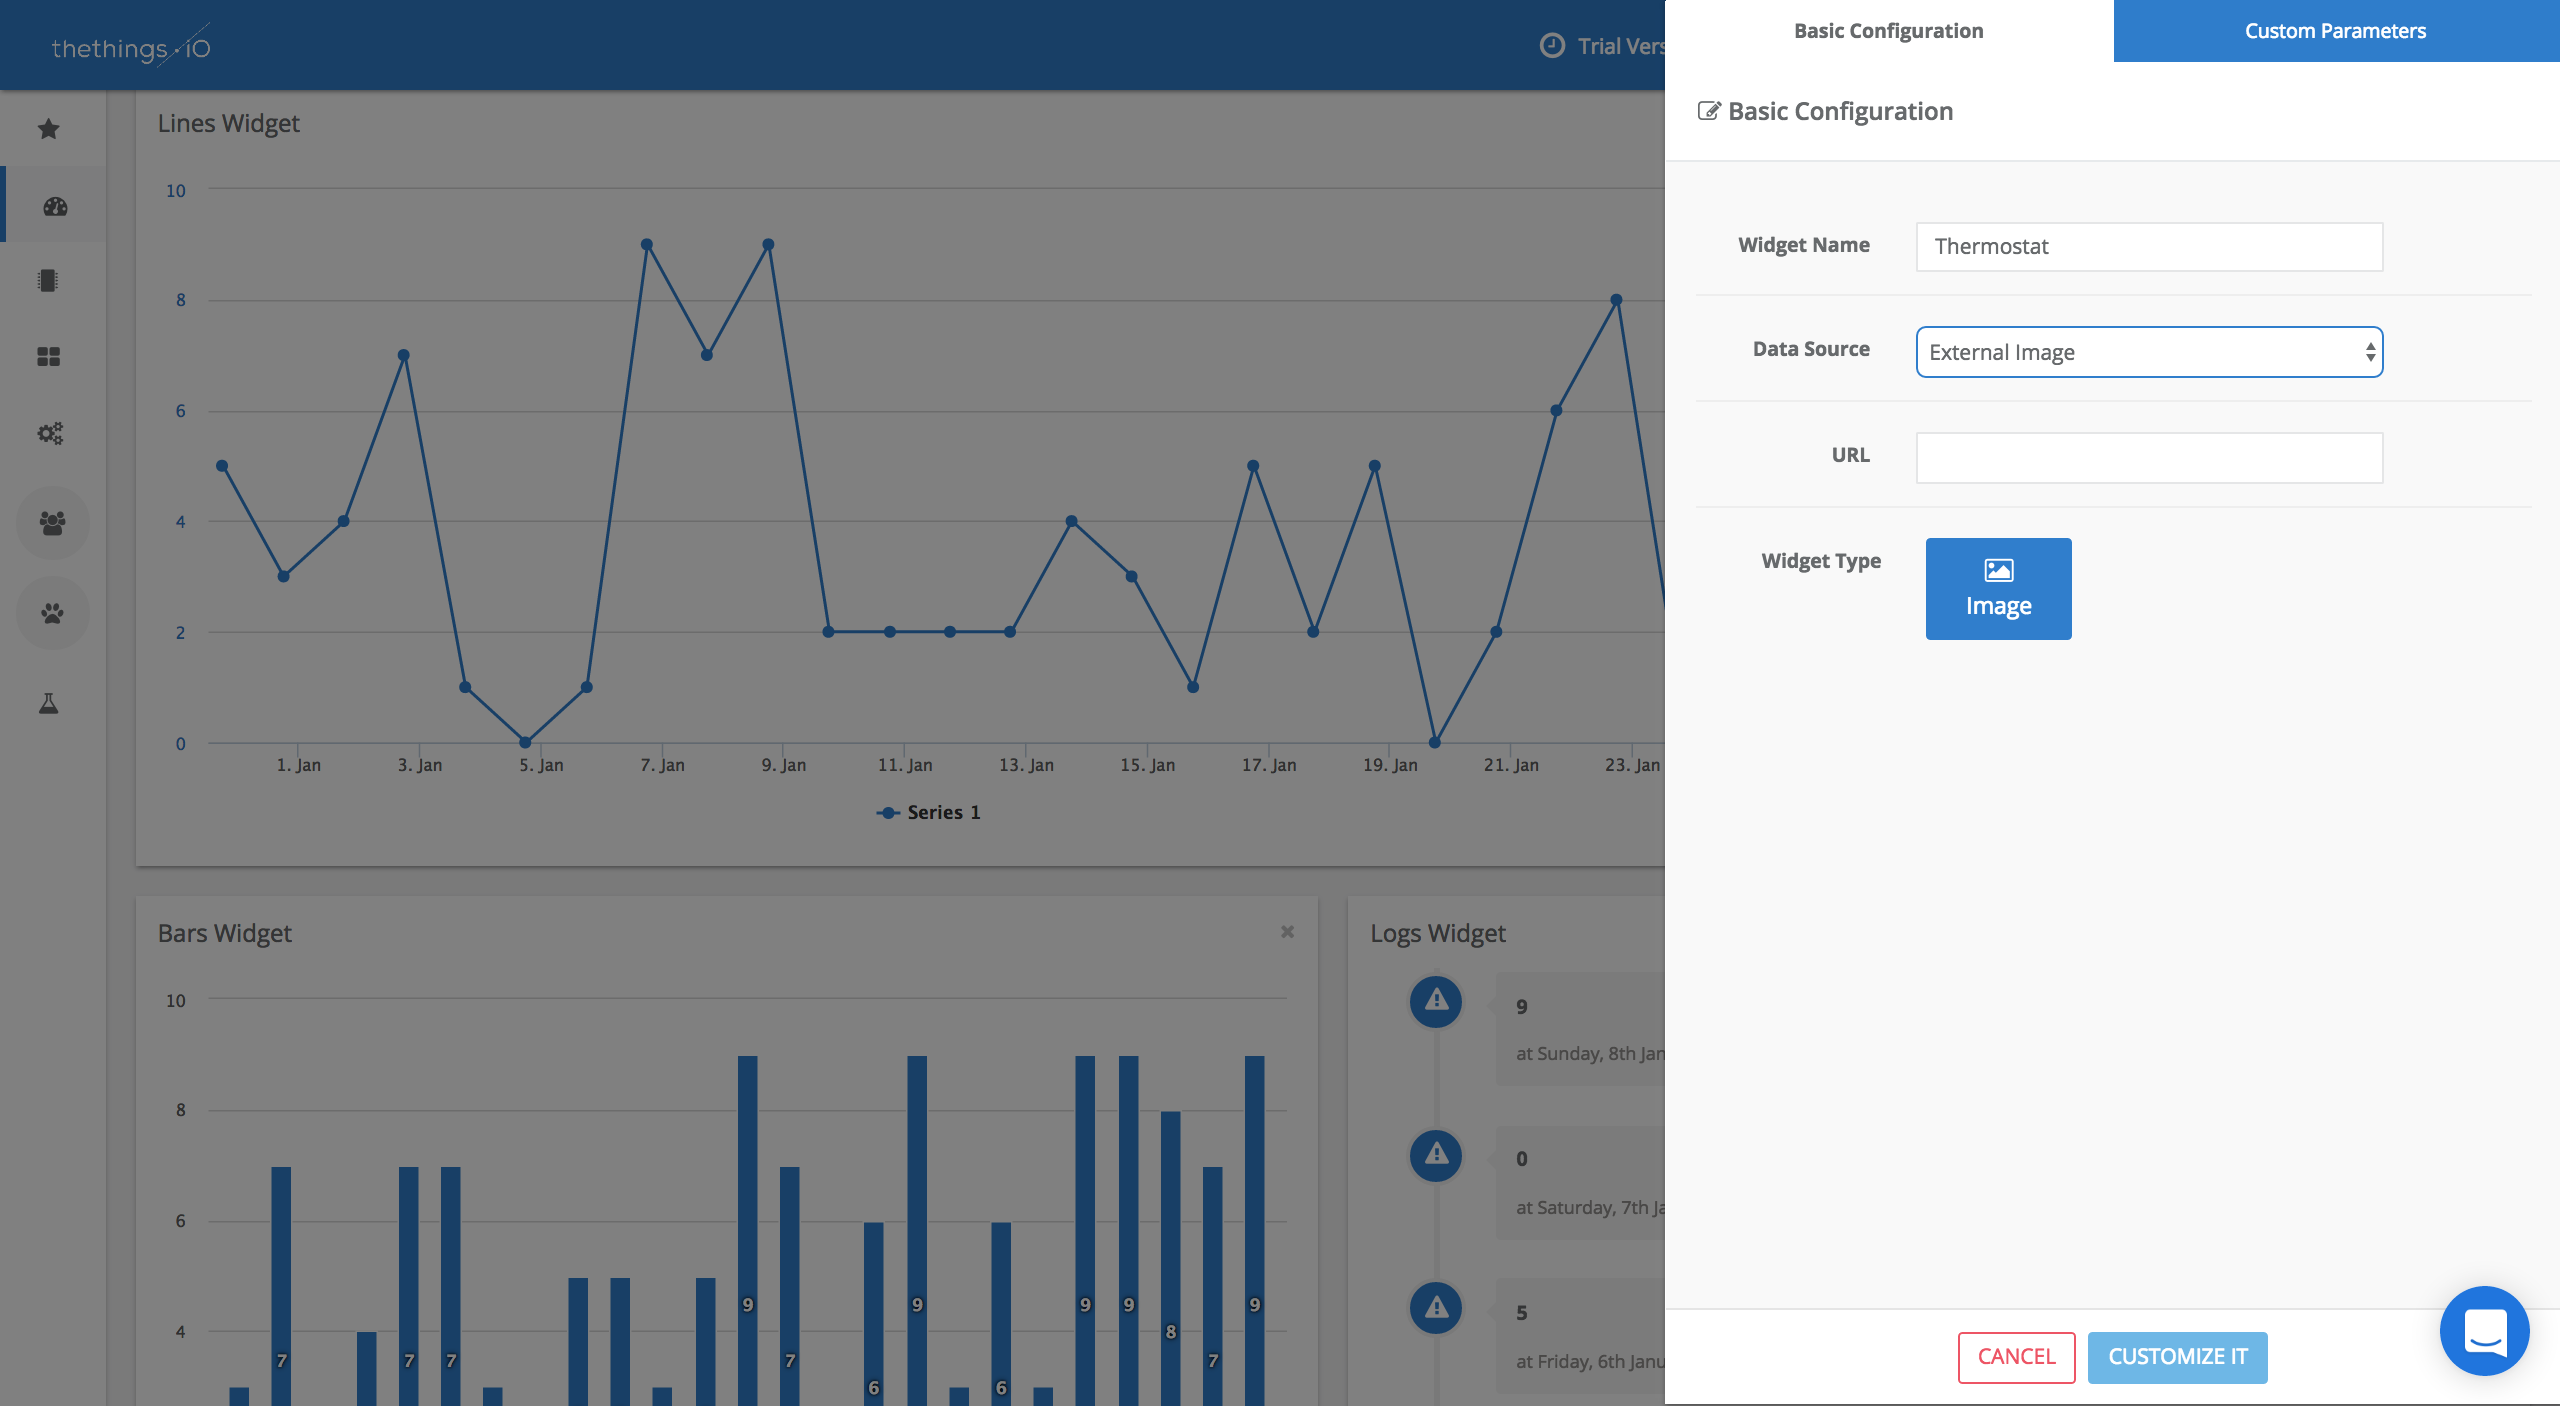
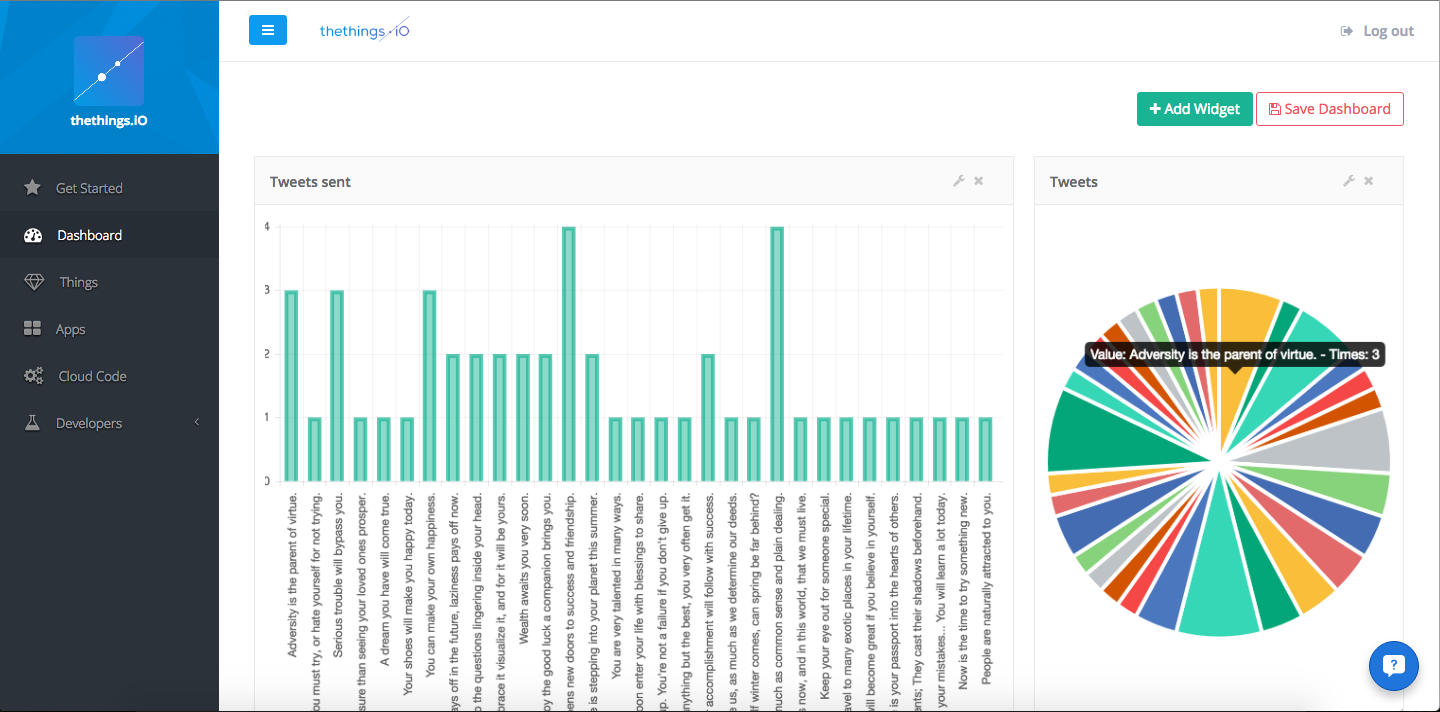
Step 3: Visualize your Tweets and Customize your dashboard (if you want to)
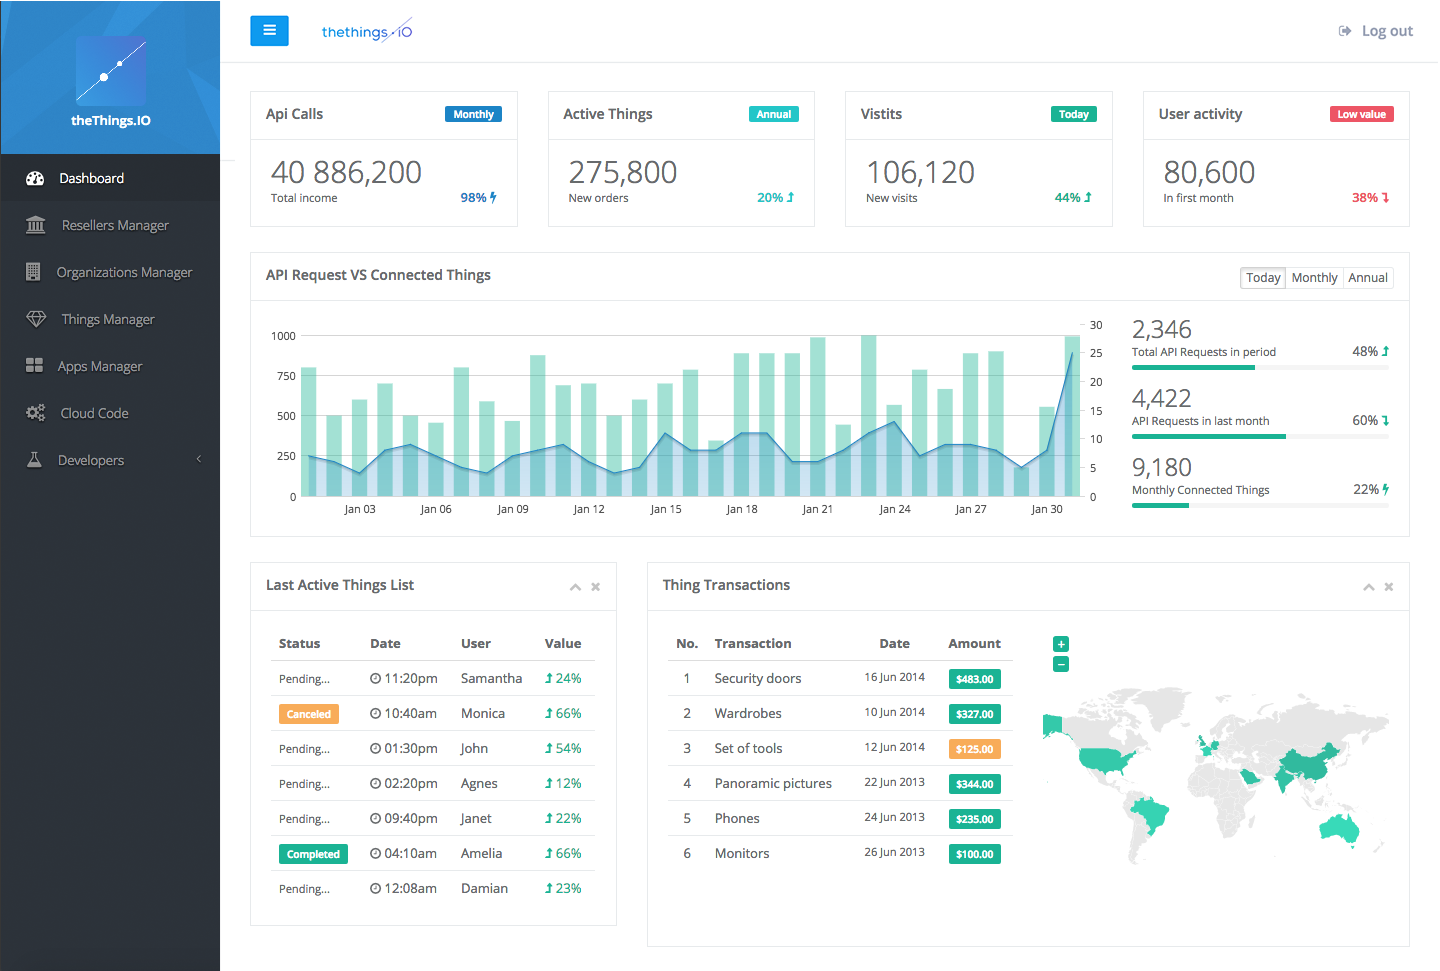
All the data your thing generates can be tracked and seen in your dashboard, so anytime your thing sends a tweet, it will be registered in the platform. Now its time to create a widget to display the tweets sent. Click Add Widget and create the widget that you want with the resource ‘tweet’ (specified in the trigger).
You can fully customize your dashboard. If you want to learn how, just click here.
And that’s it. If you want to learn more about thethings.iO features then you cannot miss these posts about Twilio and Sigfox!
And make sure you follow us on Twitter to keep you posted about the Internet of Things world and thethings.iO latest news!